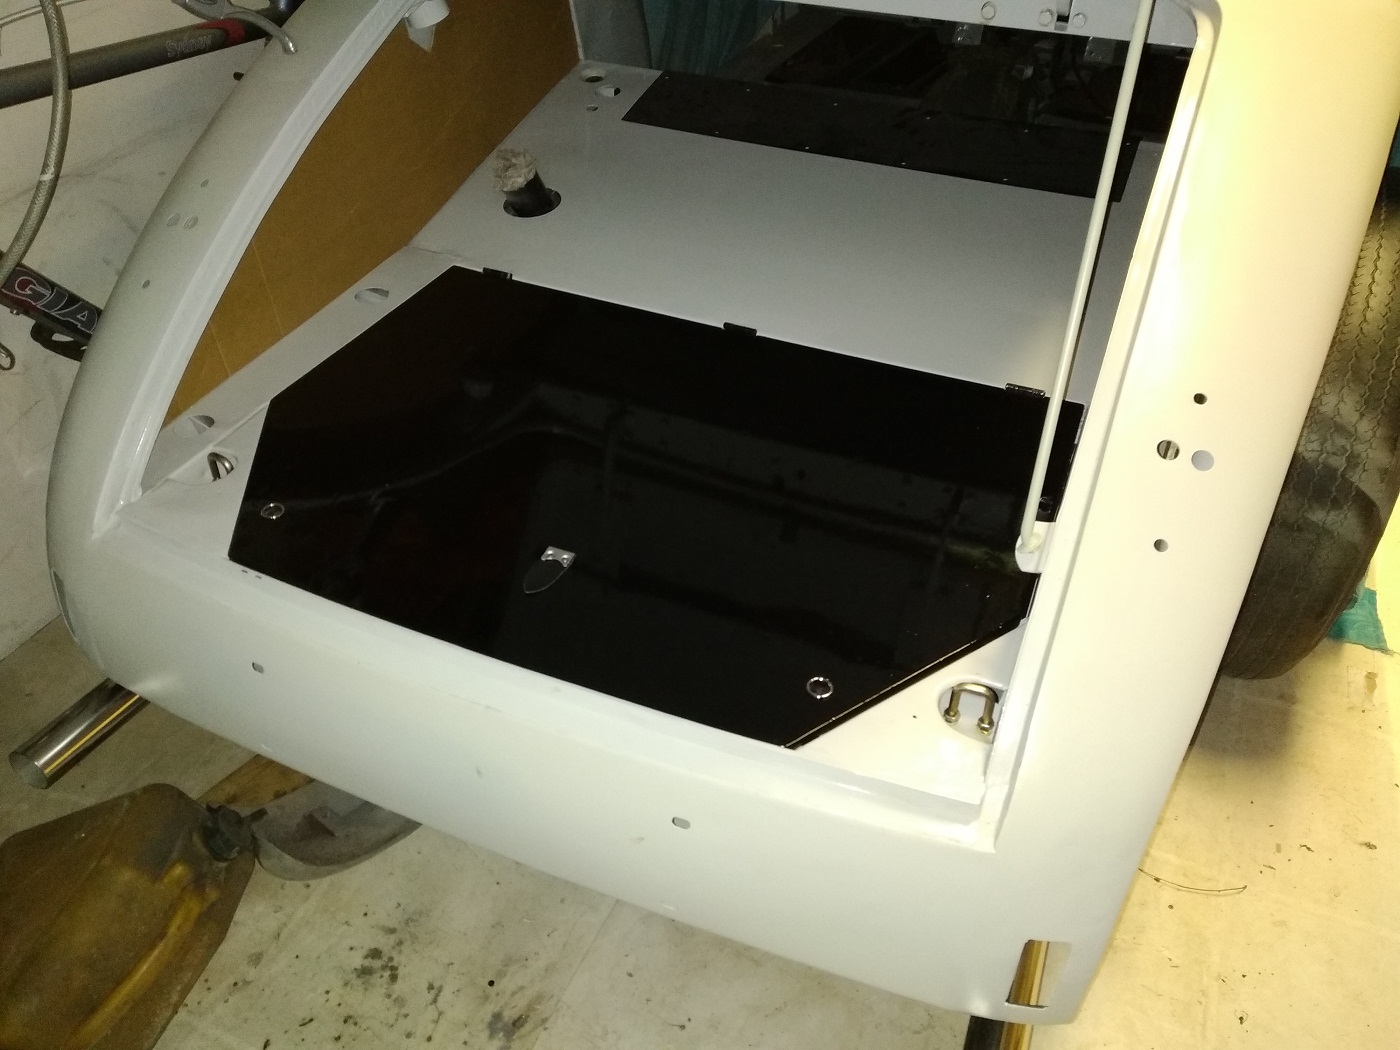
The XK140 Fixed Head Coupe has two batteries one on each side. Each battery is 6V and, because they are used in series, the total voltage will be 12V. (See also Battery Box Right Side)
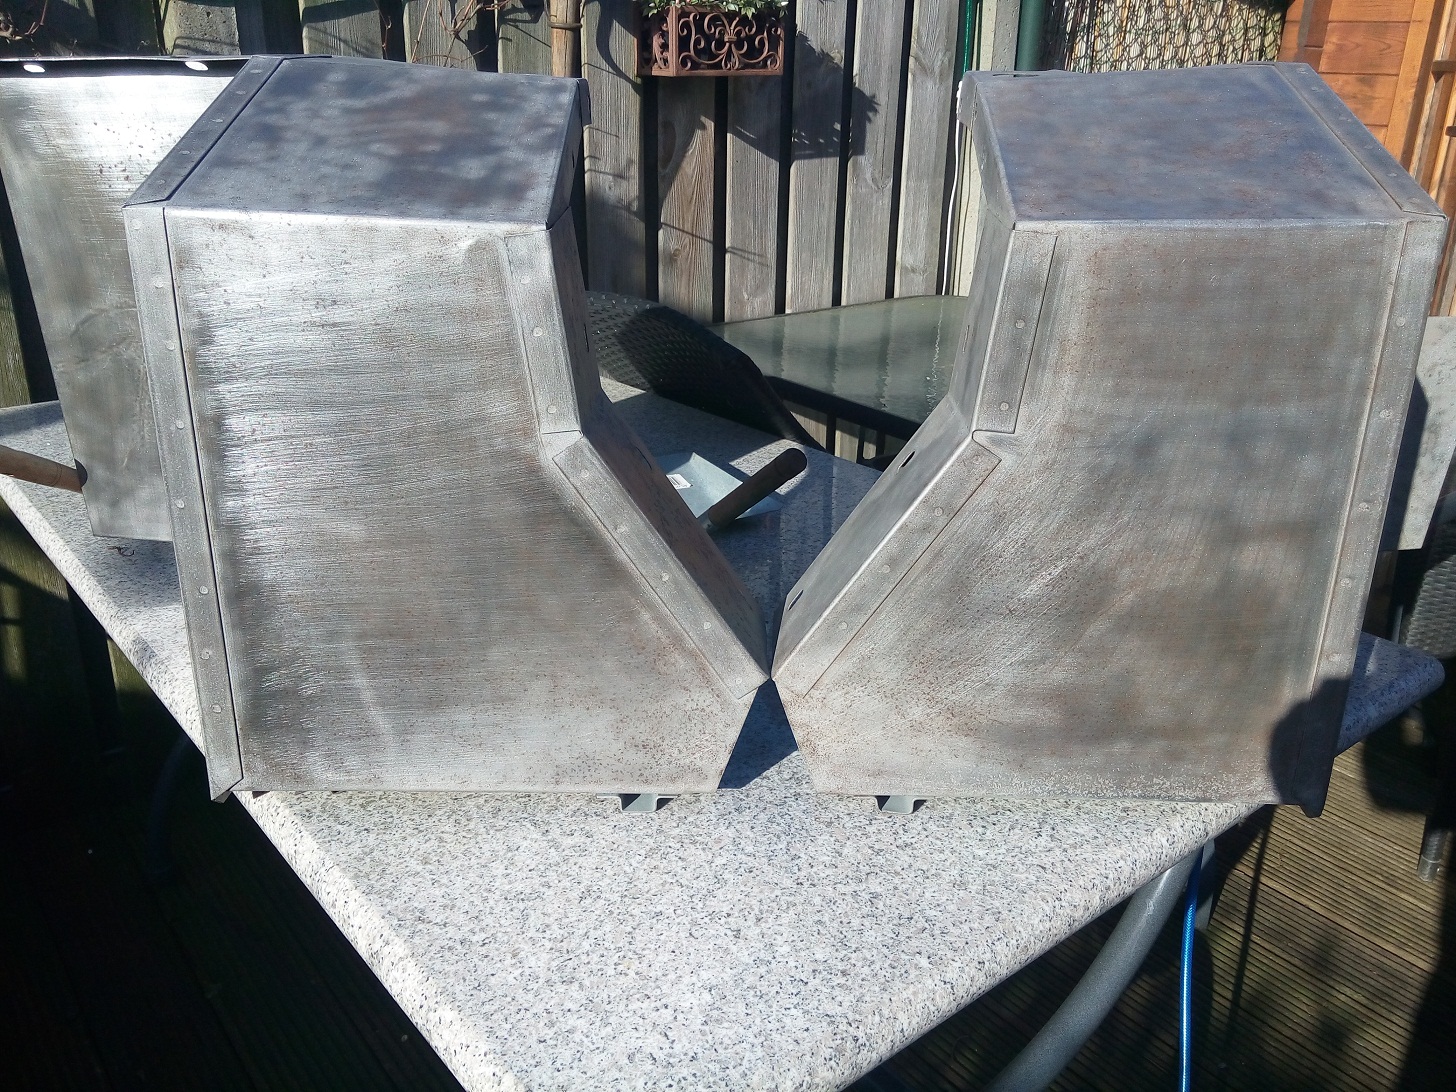
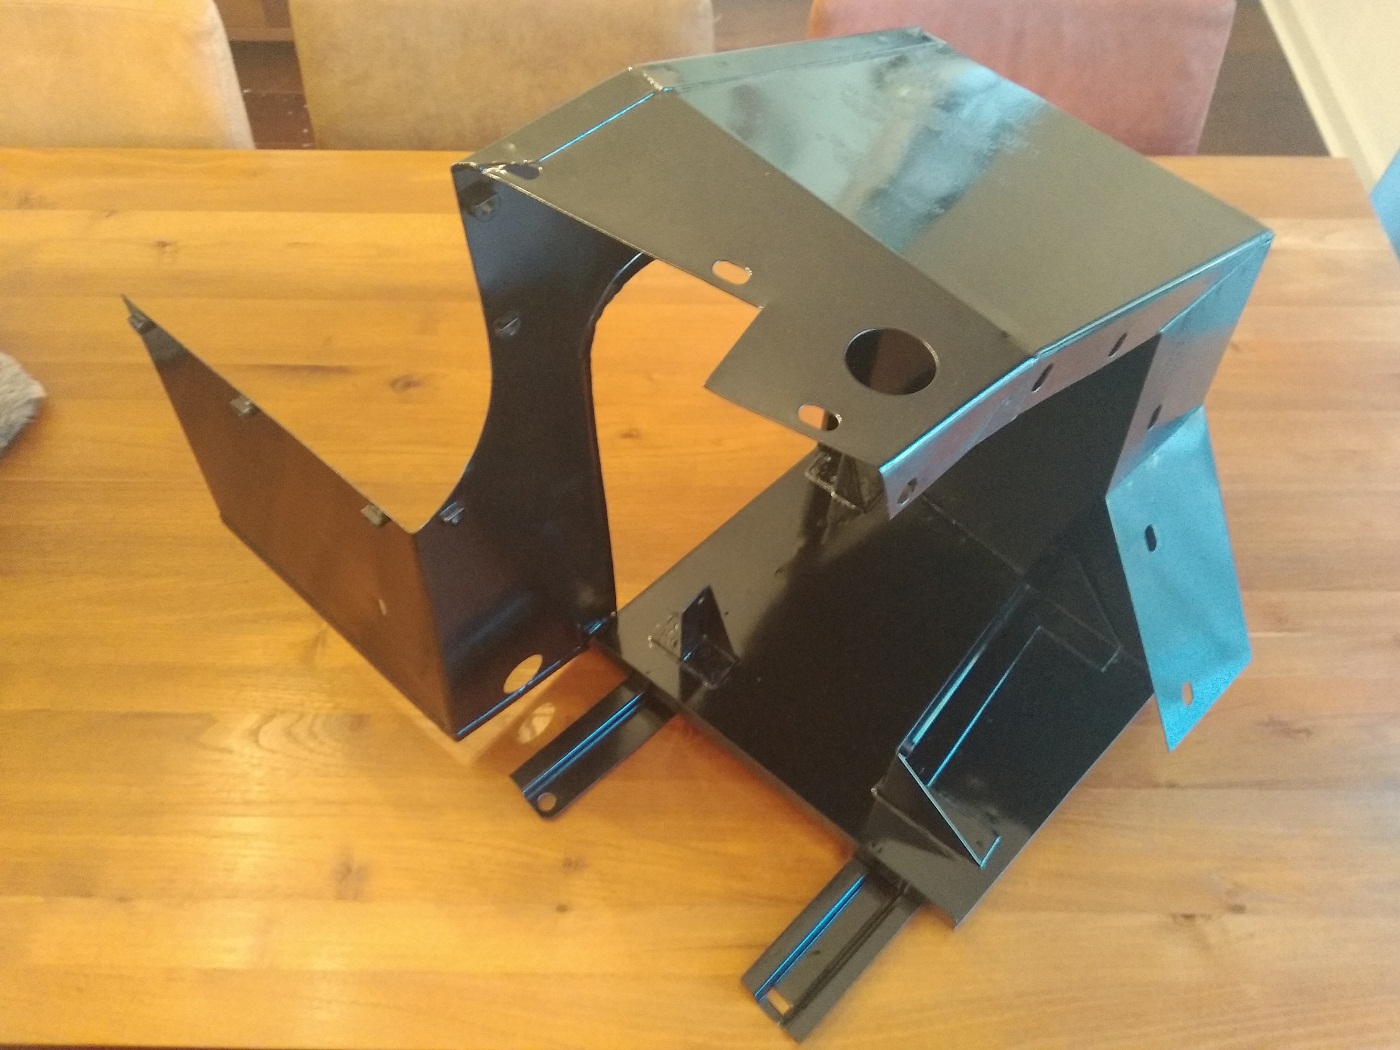
Due to spilled acid in the past the bottom and some brackets where rotten away completely. So these parts has been replaced with some new fresh sheet metal. Everything is spot welded to each other and, of course, painted black as original.
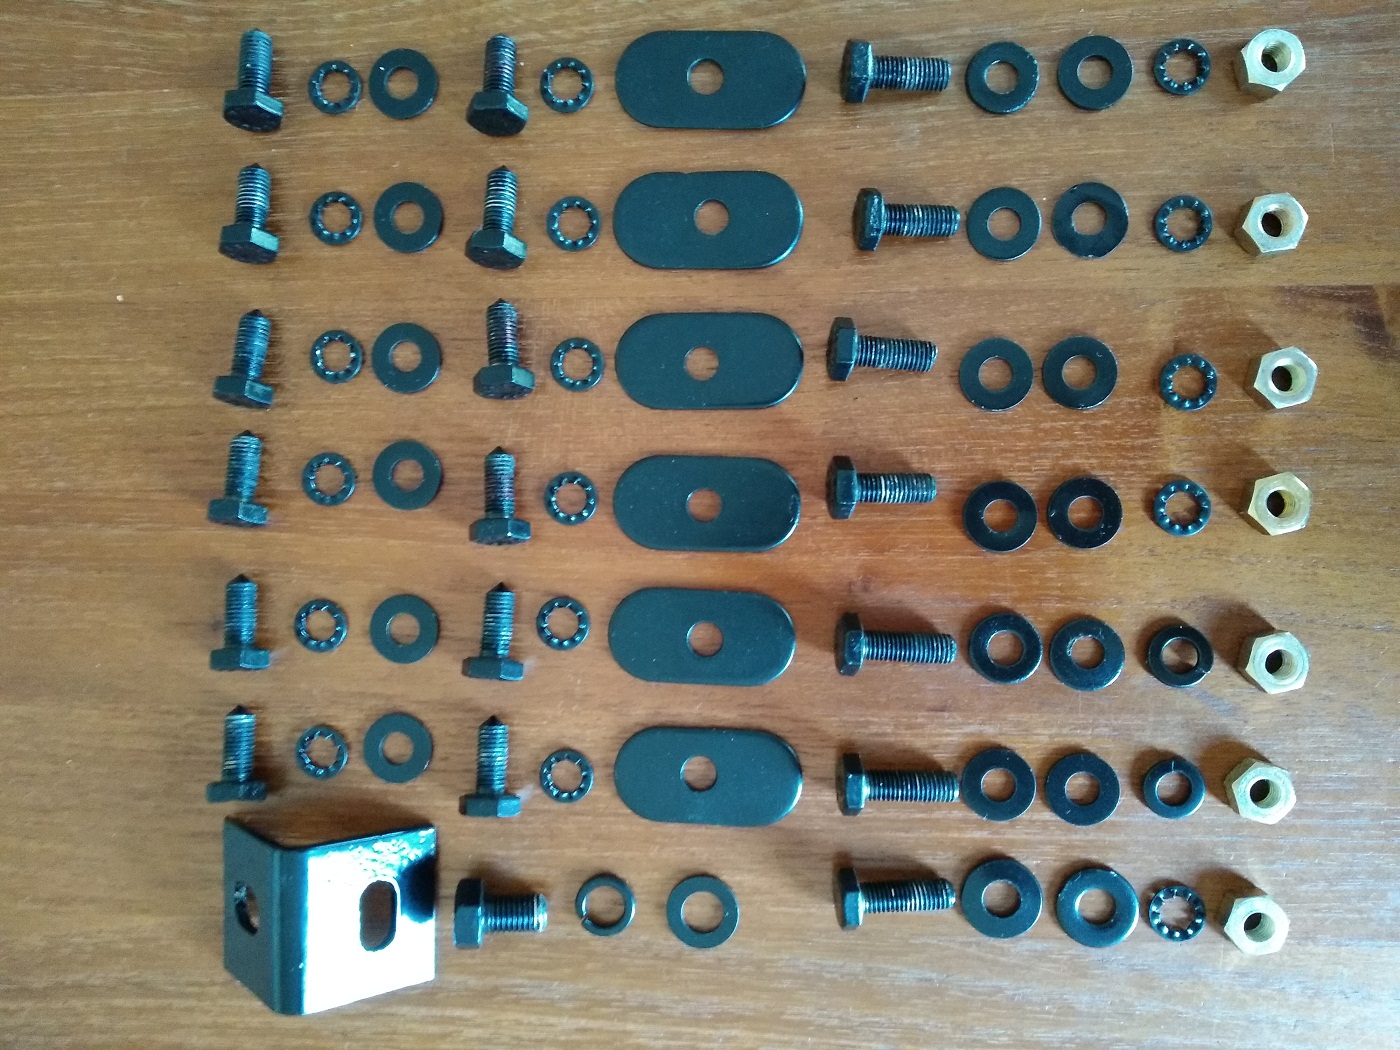
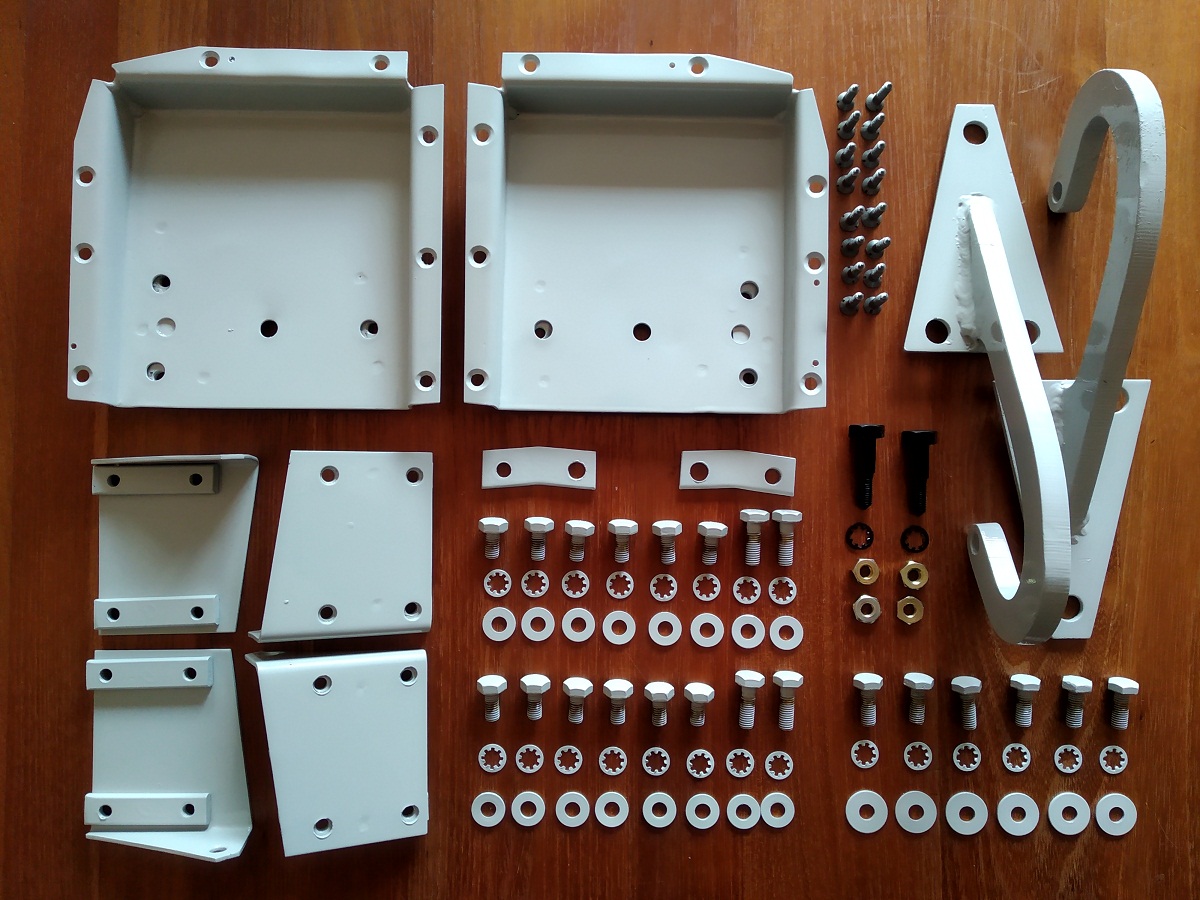
Parts needed to mount the battery box
The battery box for the right side
We now only need to mount the battery and battery door to close the opening , and to finished off this part. (See Battery Box Doors )
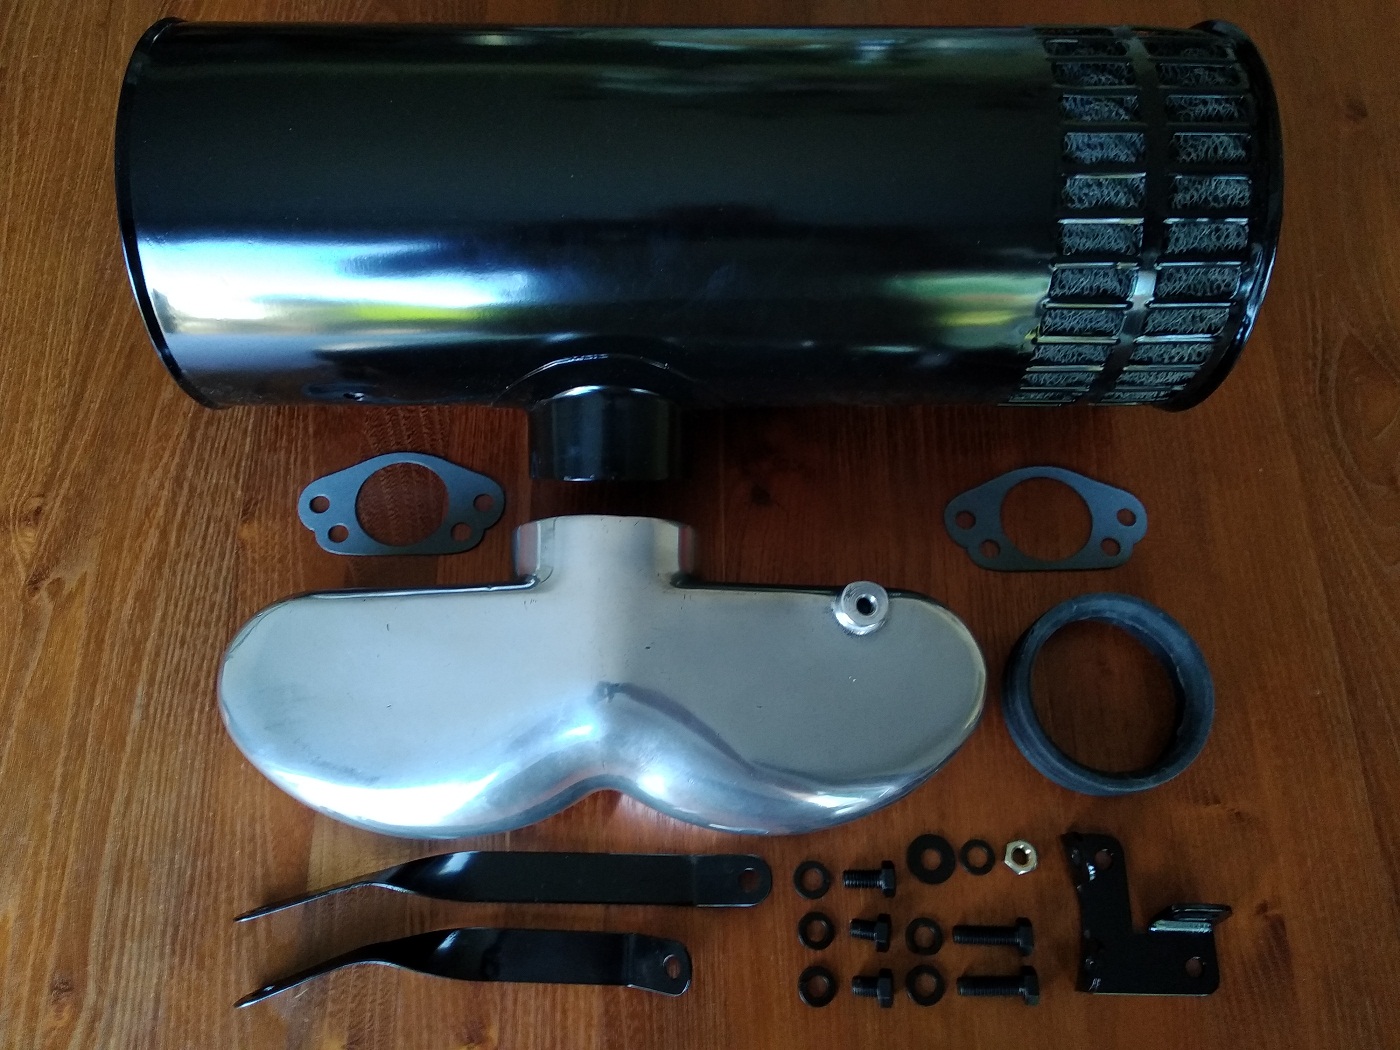
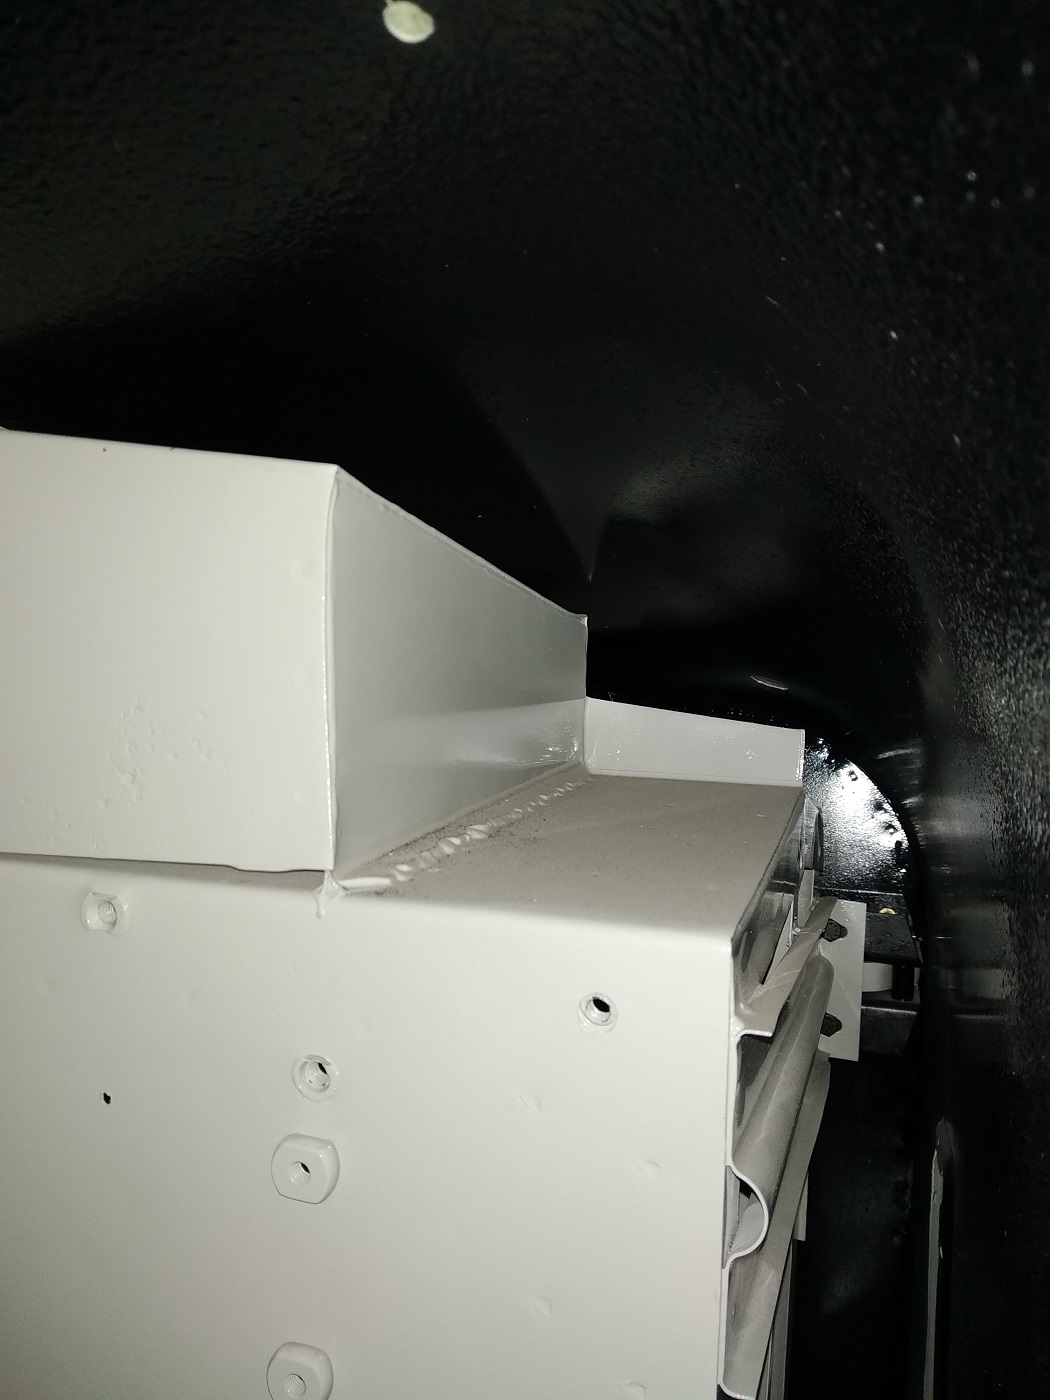
The air filter, special version for the FHC, was available in the pile of parts belonging to the car. The brackets needed to mount it to the water outlet and to the air inlet where not available and made by myself. I also reshaped the right part of the air filter by removing the lid because it was badly damaged in the past. By removing the lid it could be straighten from the inside which was much easier.
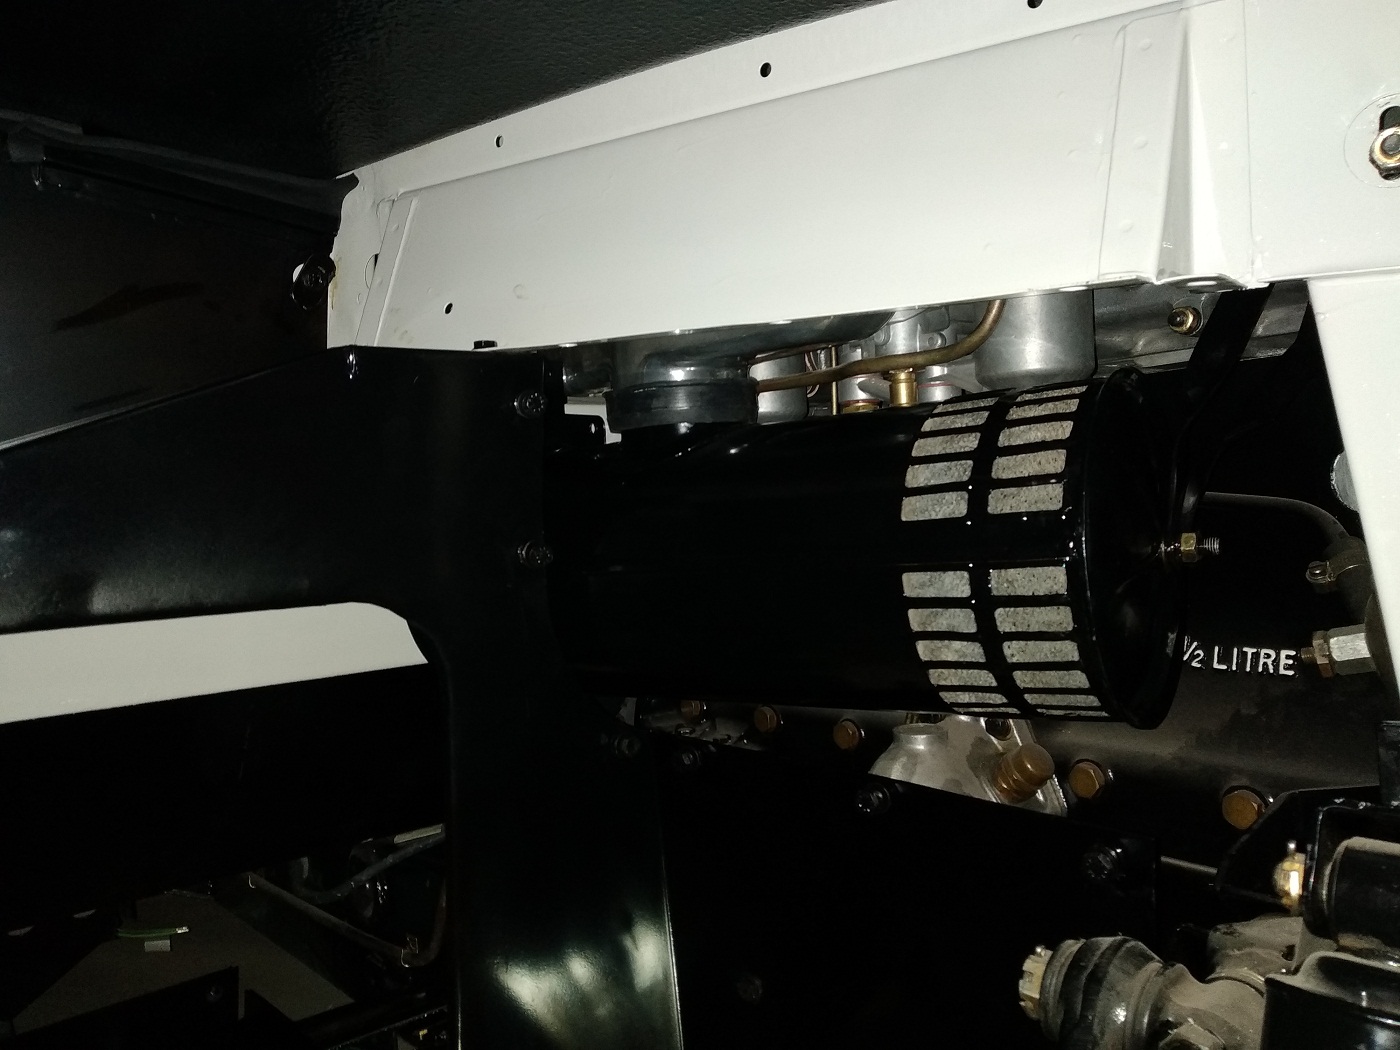
All parts needed for mounting the air filterThe air filter mounted on the carburetors
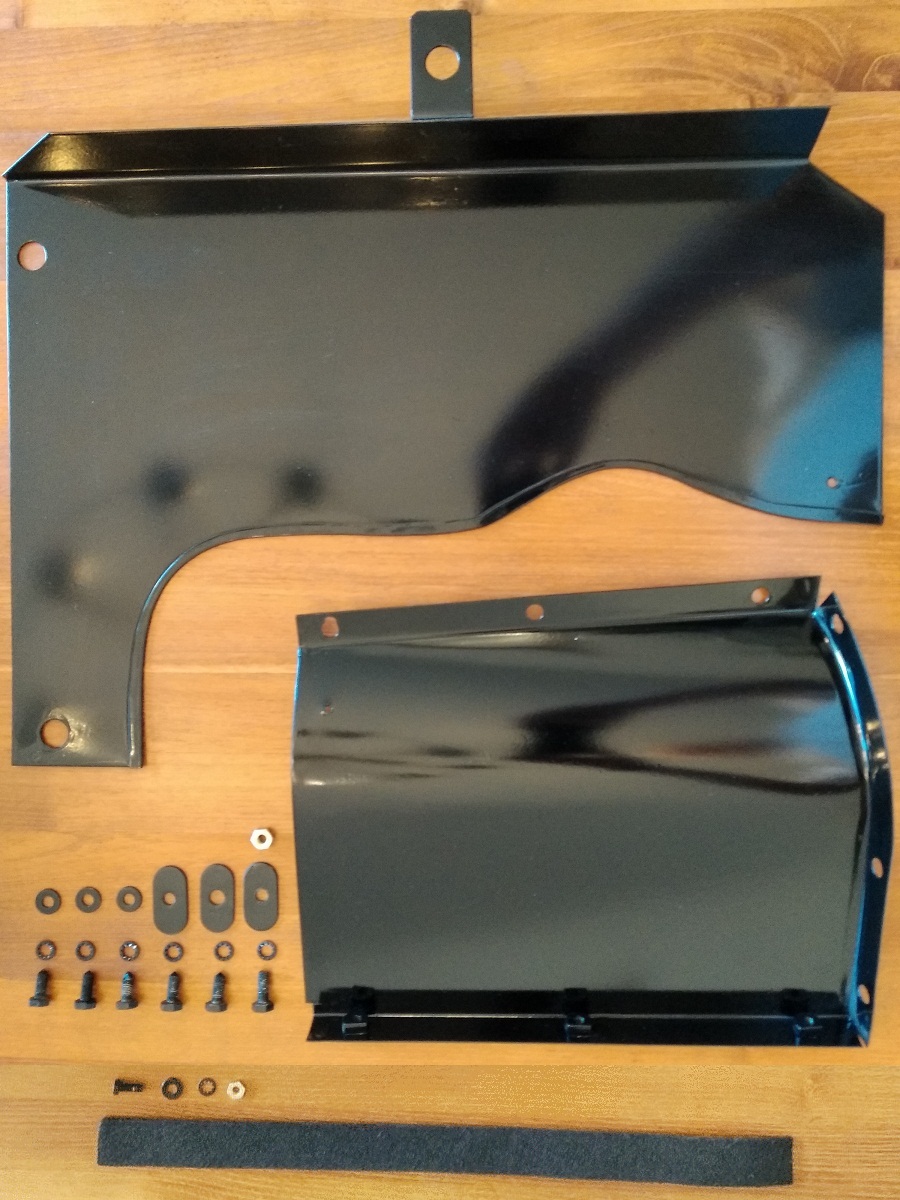
The air filter will be protected from water and dirt by splash screen. This splash screen consist of two parts : – one before the front wheel (protecting the ignition) – one after the front wheel (protecting the air filter)
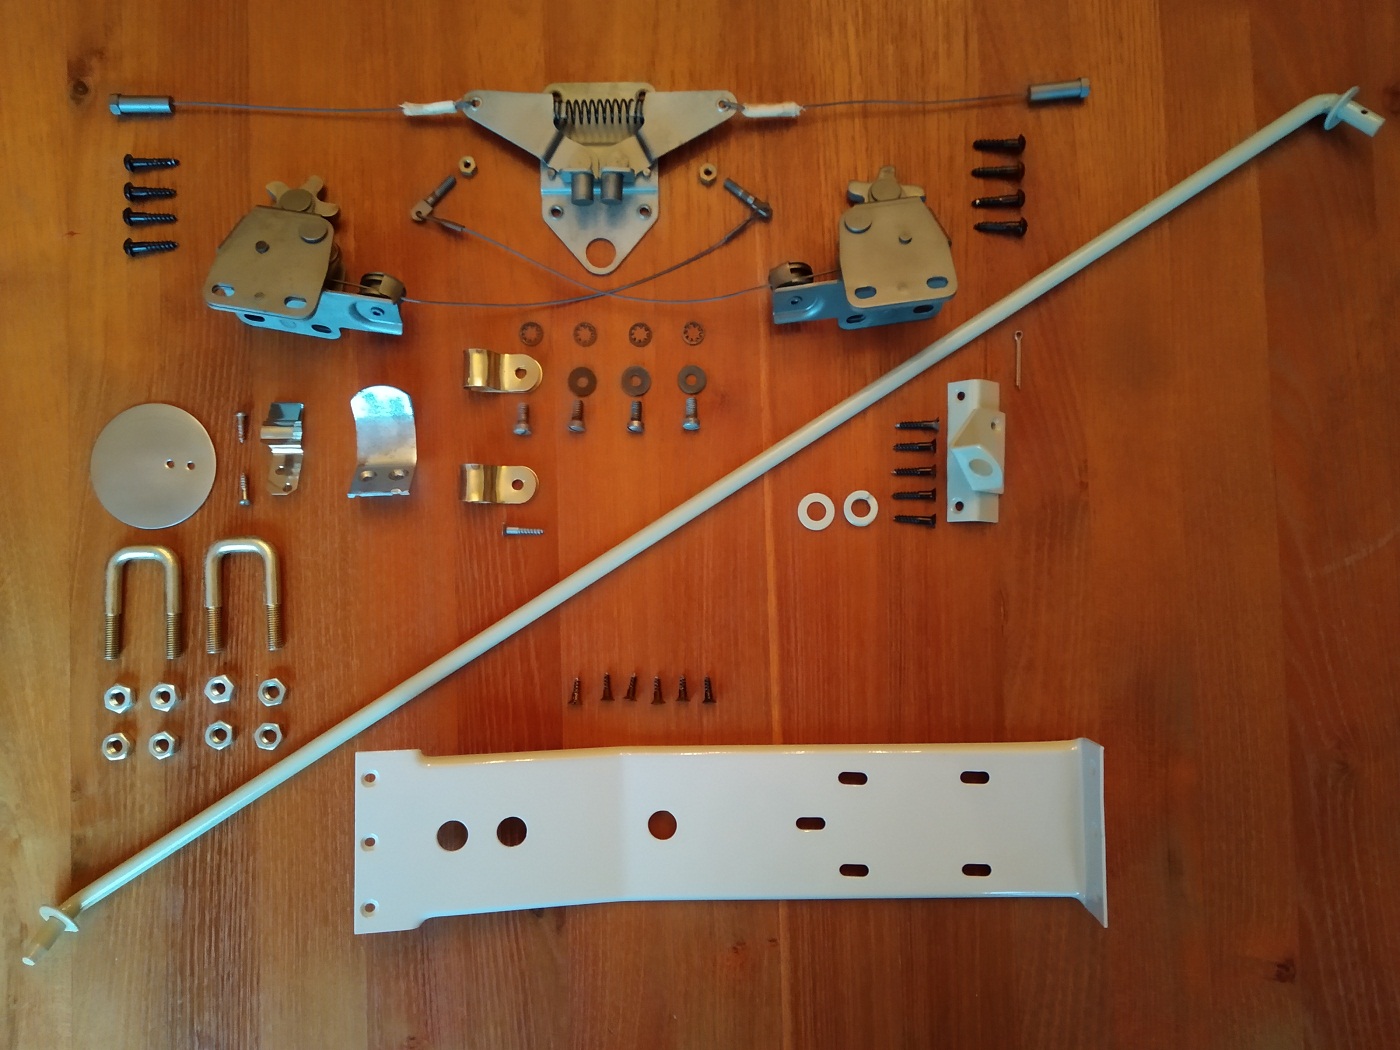
Parts needed for the splash screens
Splash screens mounted before the air filter and ignition
The XK140 Fixed Head Coupe has two batteries one on each side. Each battery is 6V and, because they are used in series, the total voltage will be 12V. (See also Battery Box Left Side)
Due to spilled acid in the past the bottom and some brackets where rotten away completely. So these parts has been replaced with some new fresh sheet metal. Everything is spot welded to each other and, of course, painted black as original.
Parts needed to mount the battery box
The battery box for the right side
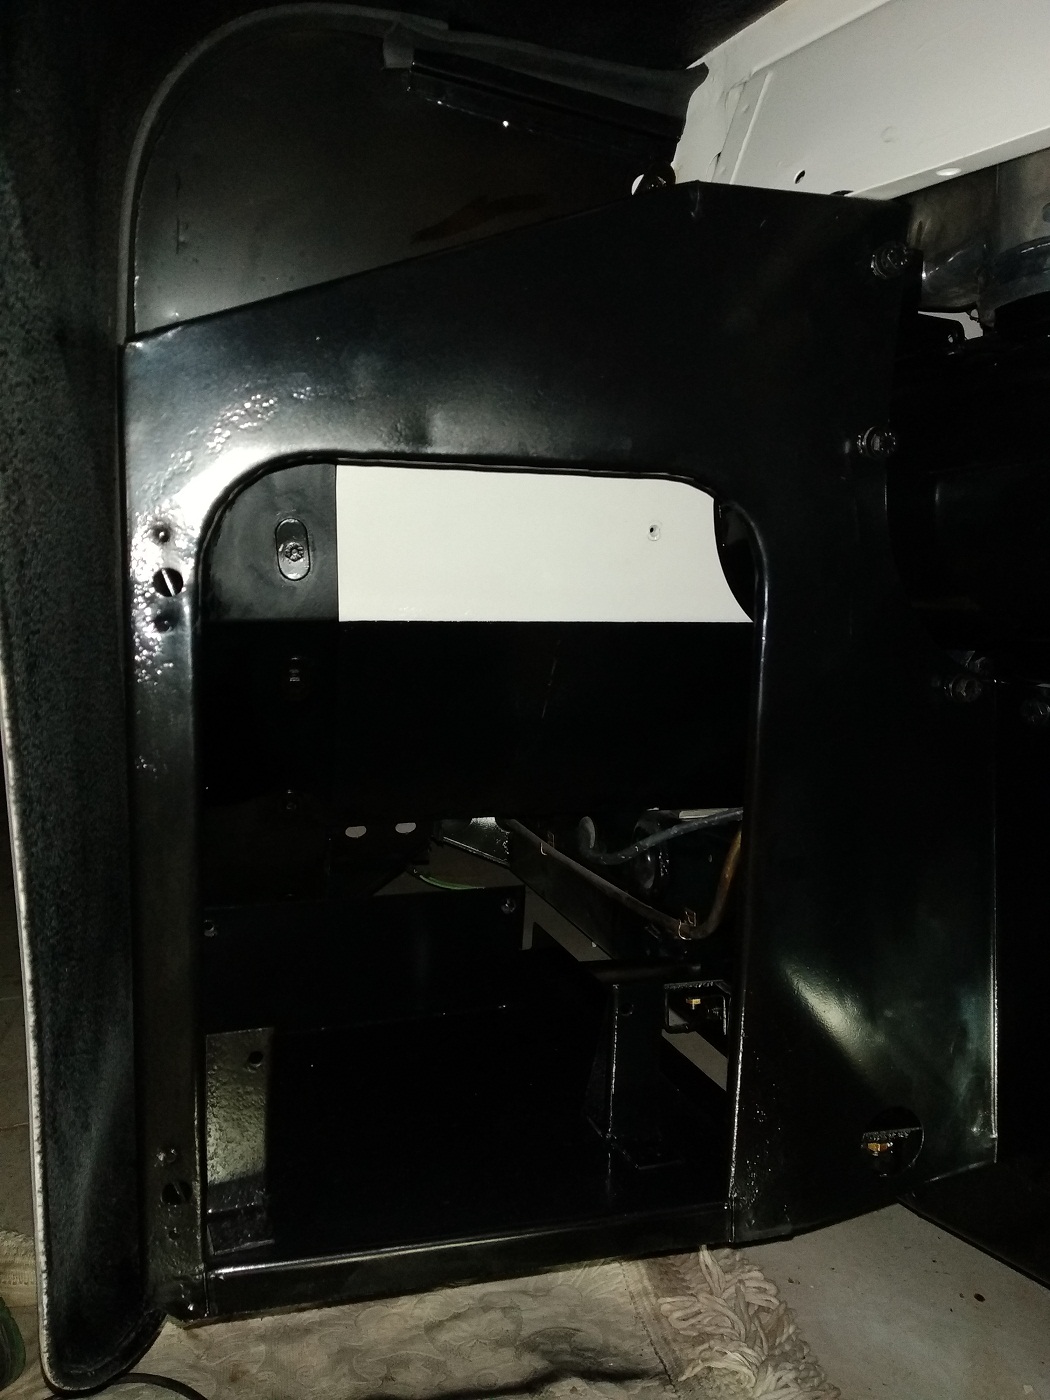
The right side battery box mounted on the right side of the car
We now only need to mount the battery and battery door to close the opening , and to finished off this part. (See Battery Box Doors )
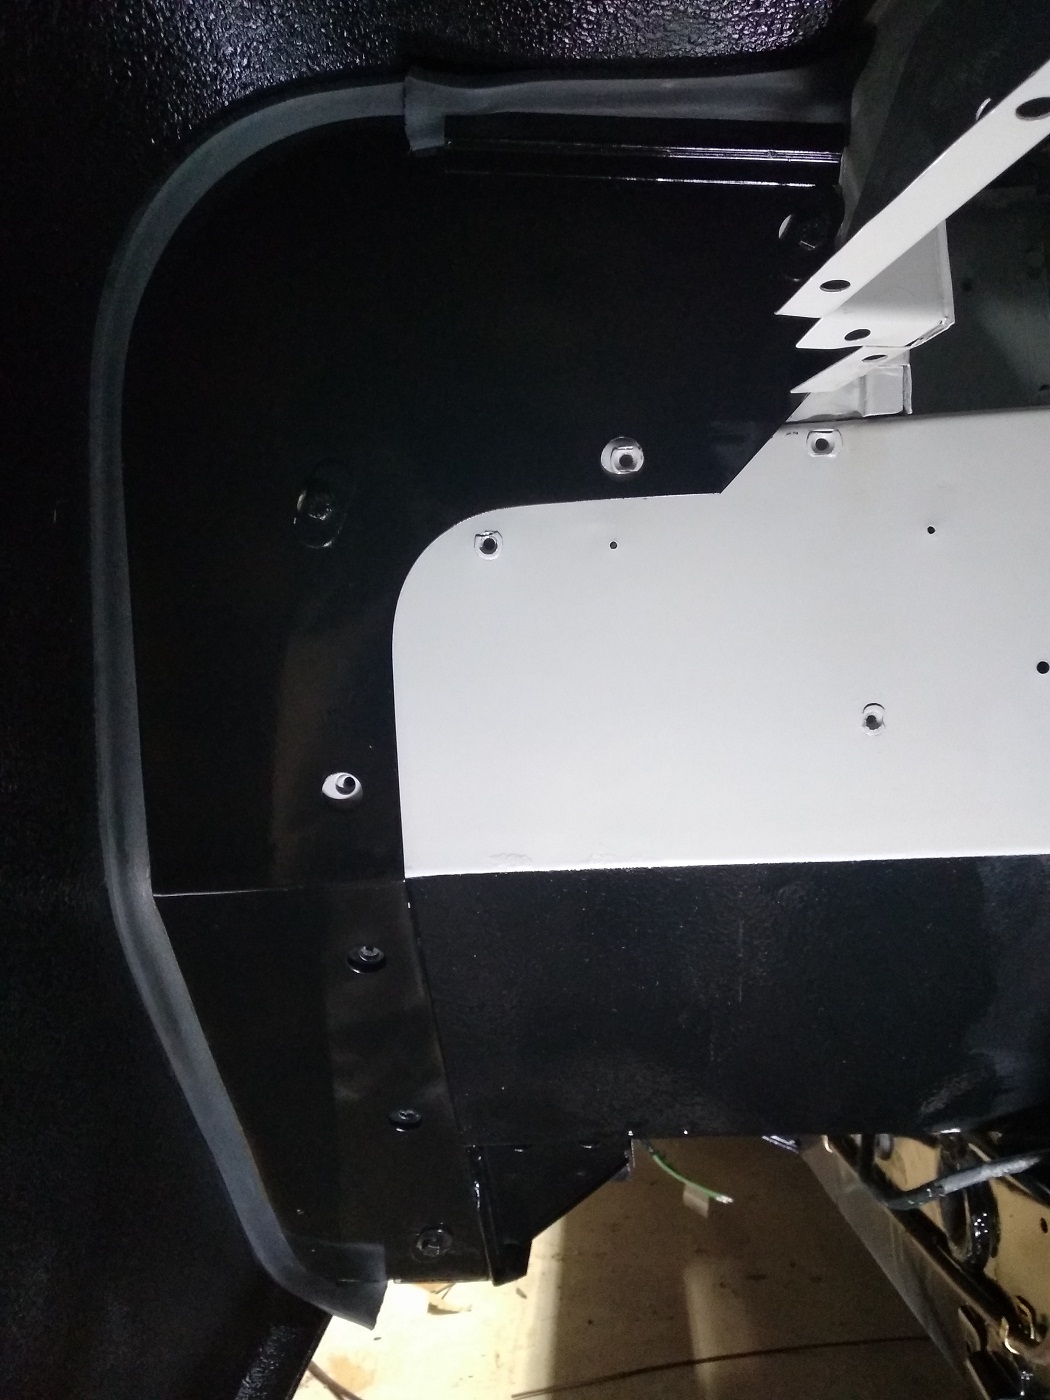
The protect the body of the car Jaguar designed a mud shield which was mounted just behind the battery box to prevent water and dirt entering the car via this way.
Area behind the right mud shield
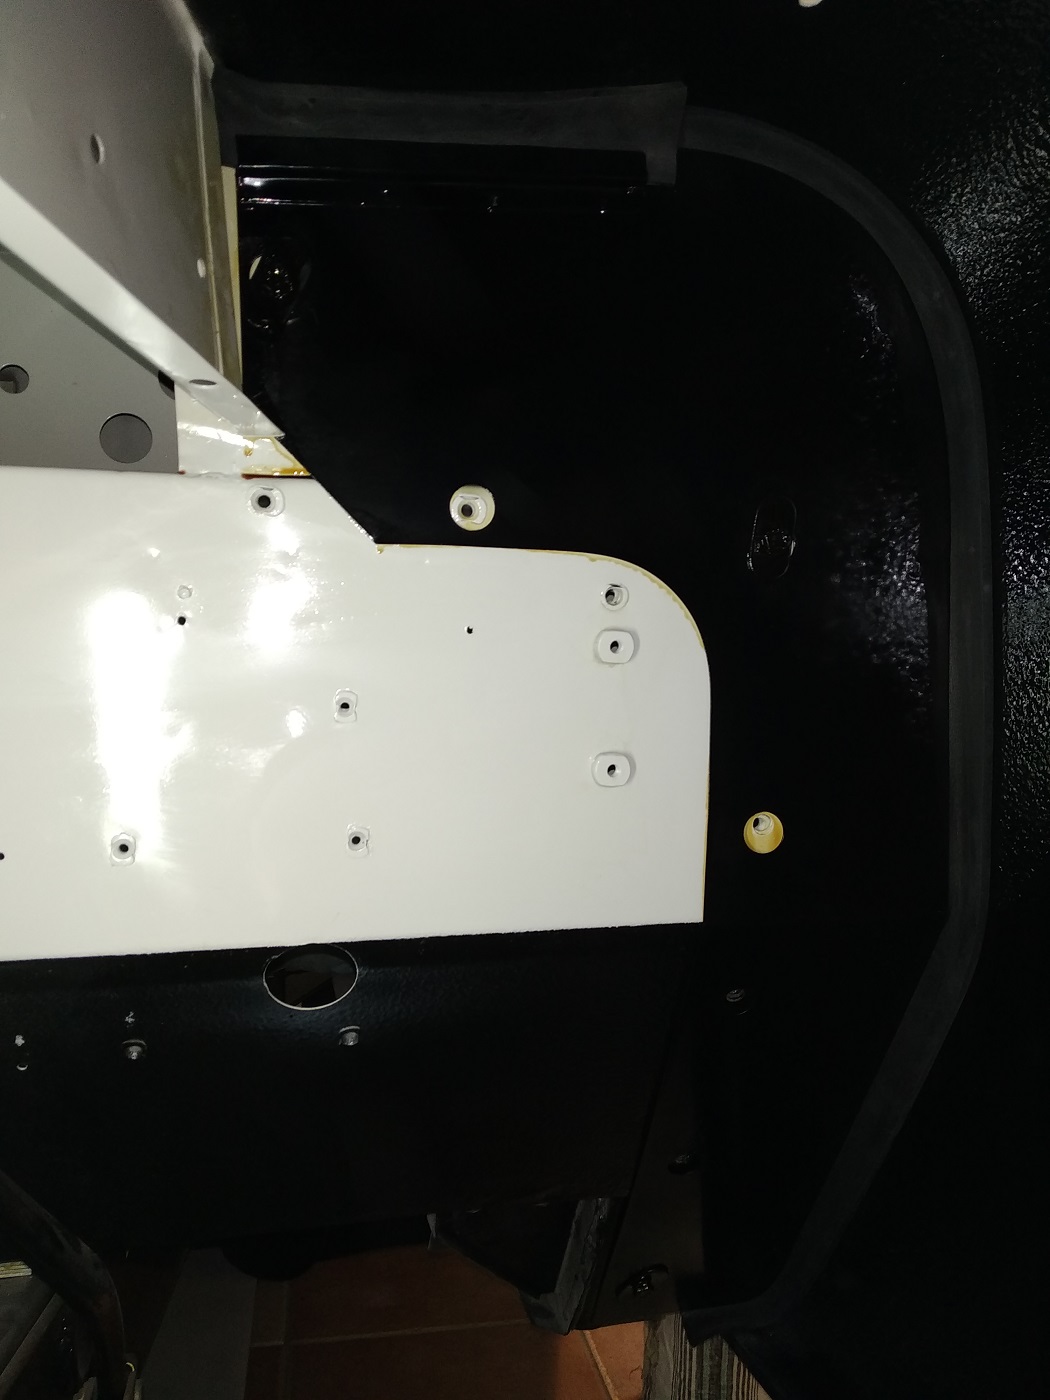
Area behind the left mud shield
Area on the right side has been closed with the mud shield
Area on the left side has been closed with the mud shield
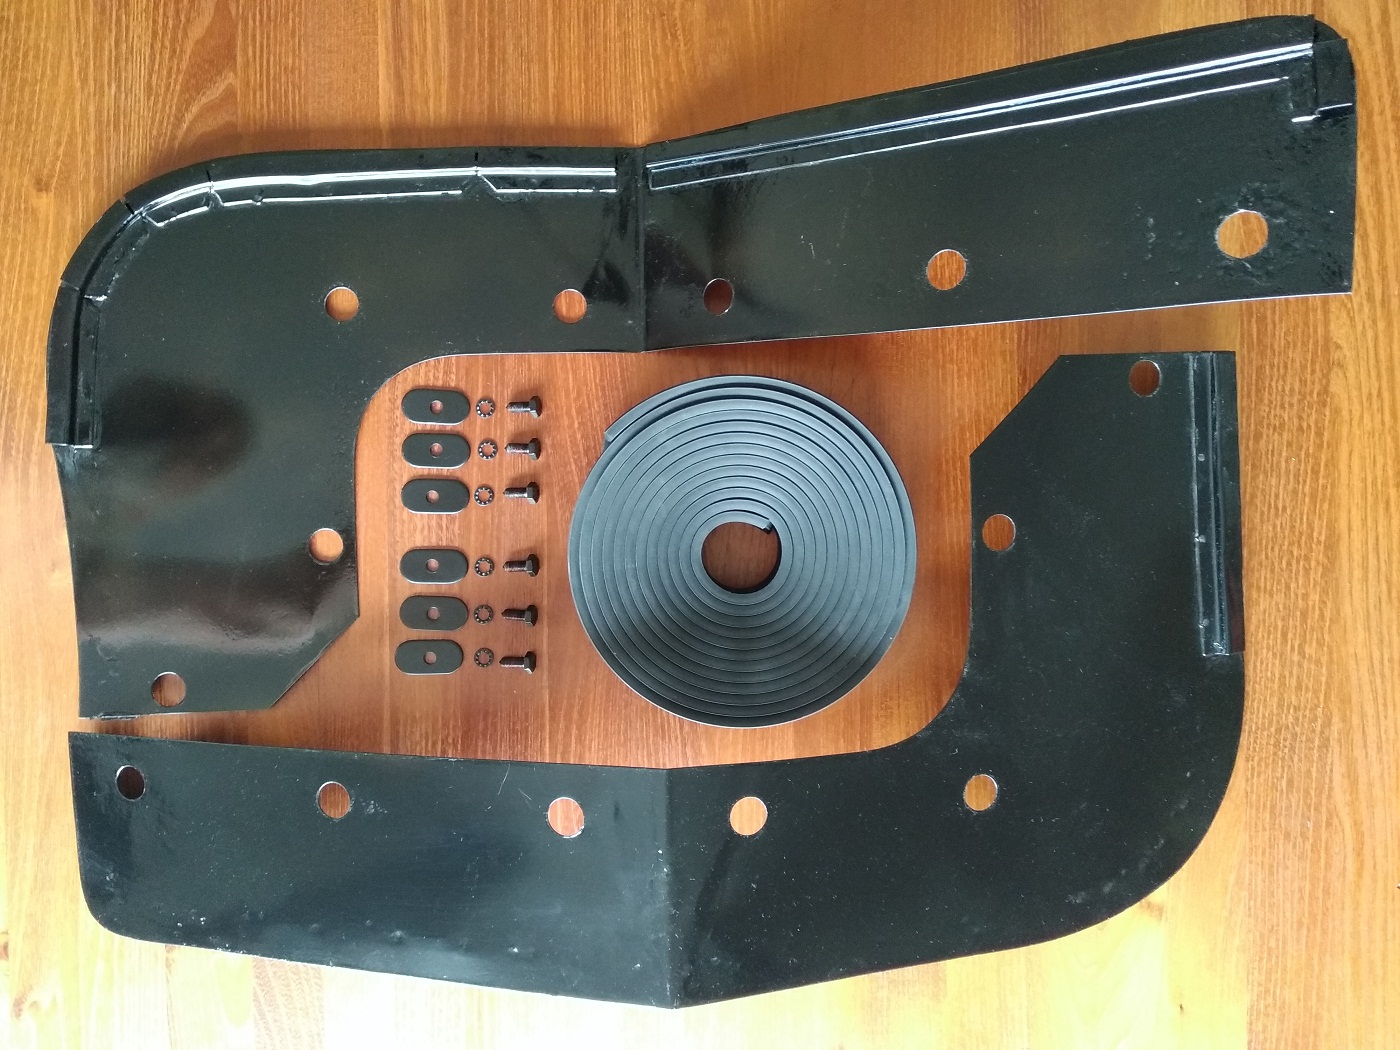
Parts need for mounting the Left and right side mud shields behind the battery boxes
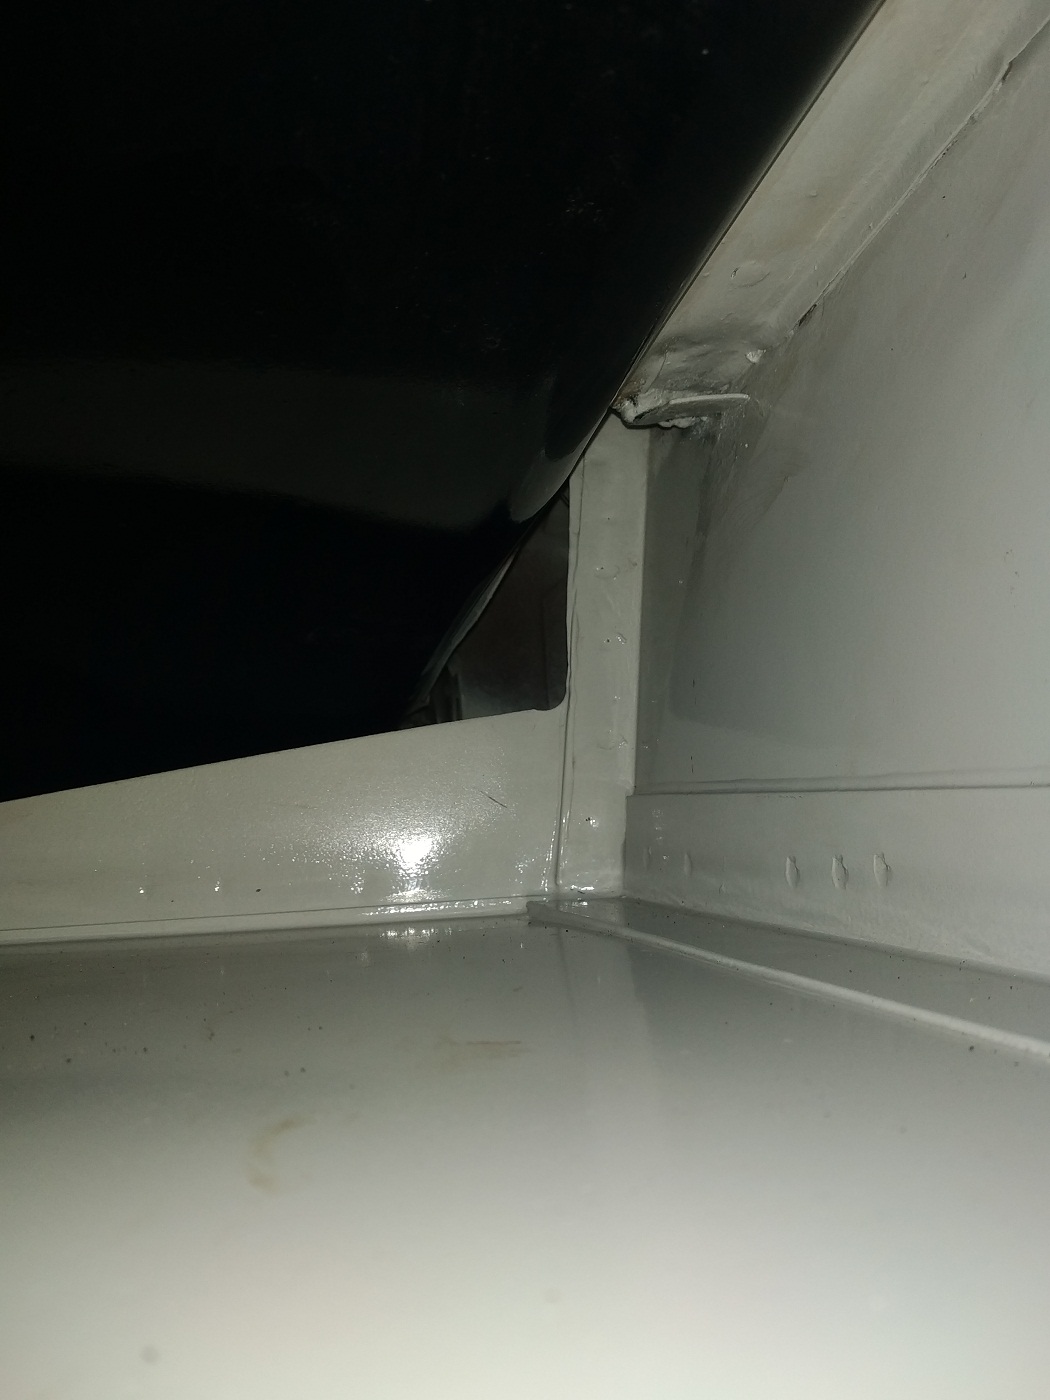
The space between the inner front wing and the mud shield is sealed of with a rubber strip. On the photo above the mounting mechanism for the rubber strip can been seen on both sides of the mud shield
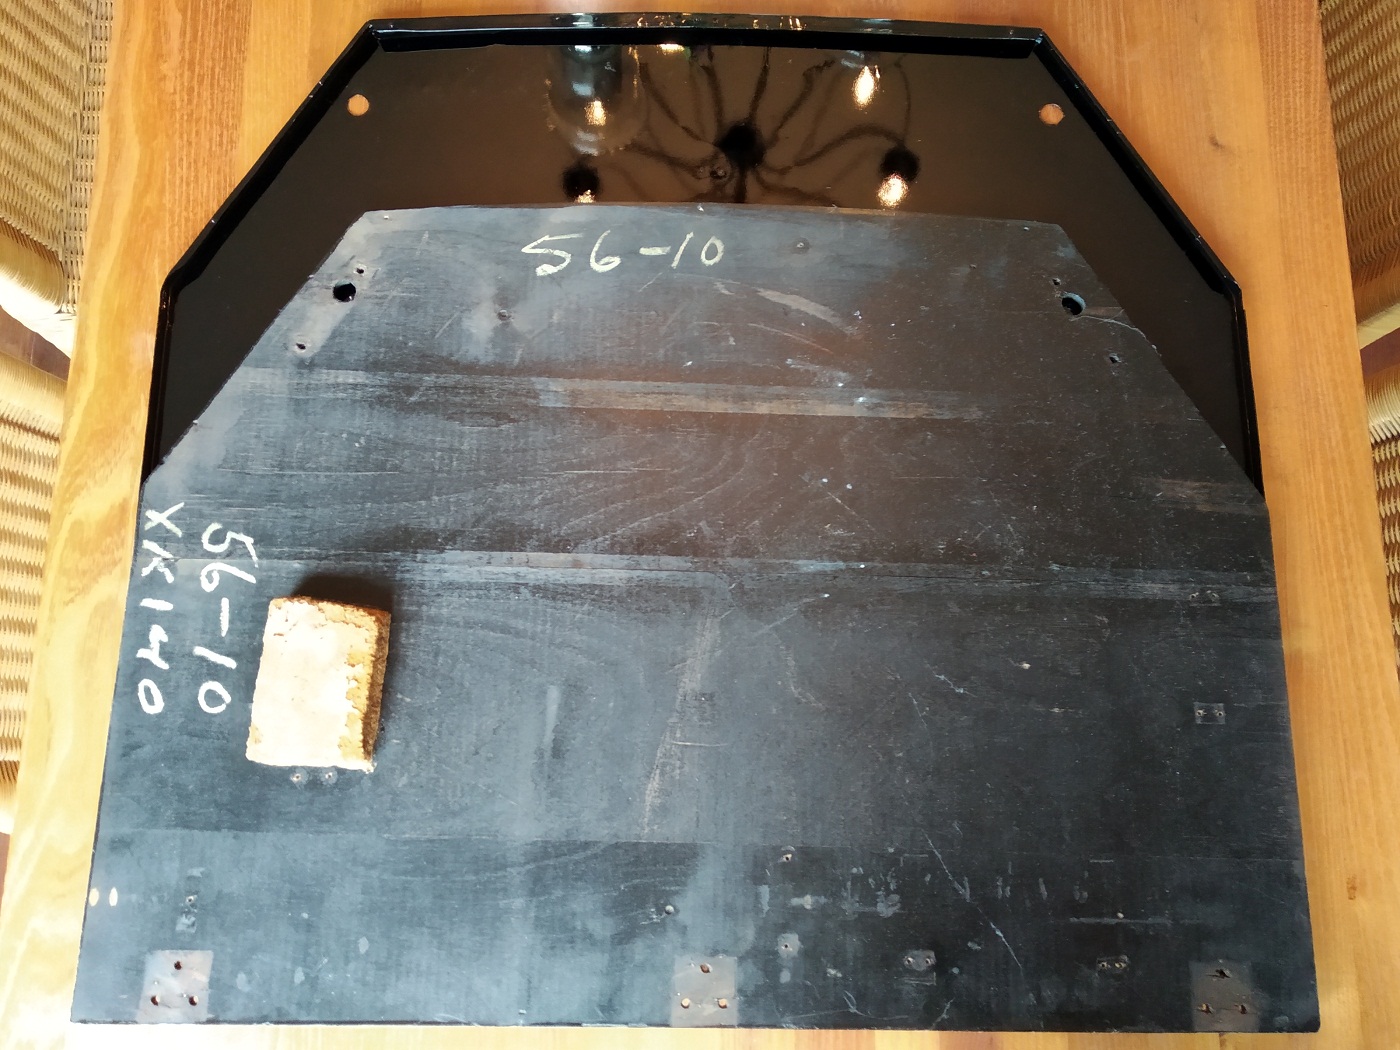
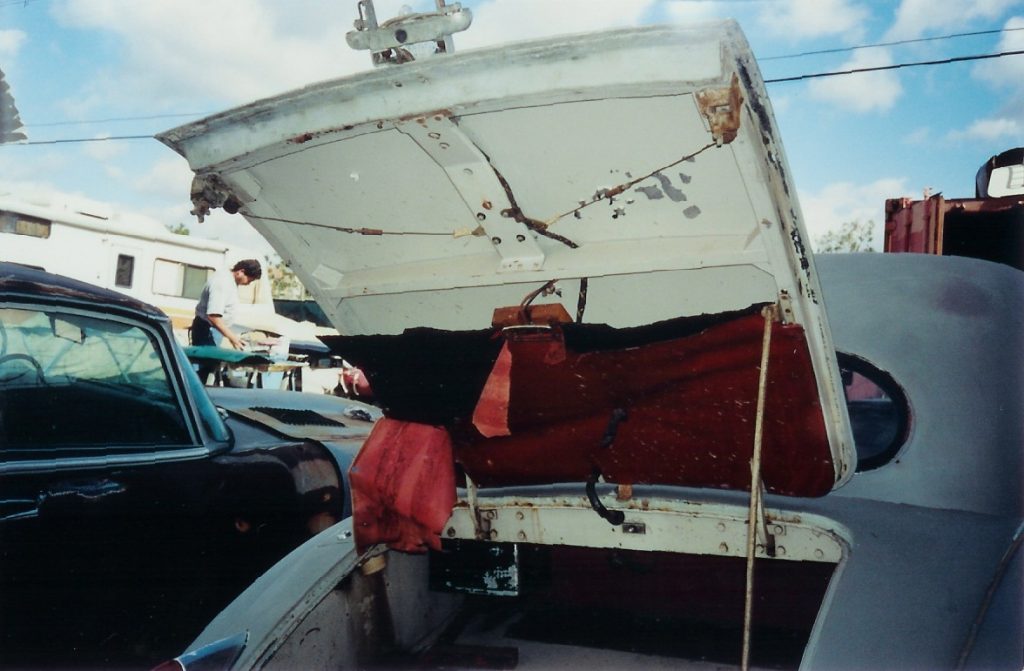
The spare wheel cover consists of a wooden piece of 7 layer plywood (1/2″ thick) covered with aluminium sheet metal. Because there were some original markings on the inside, I decided to keep then together with the original black paint. The aluminium sheet metal was damaged so I straighten it and painted it high gloss black.
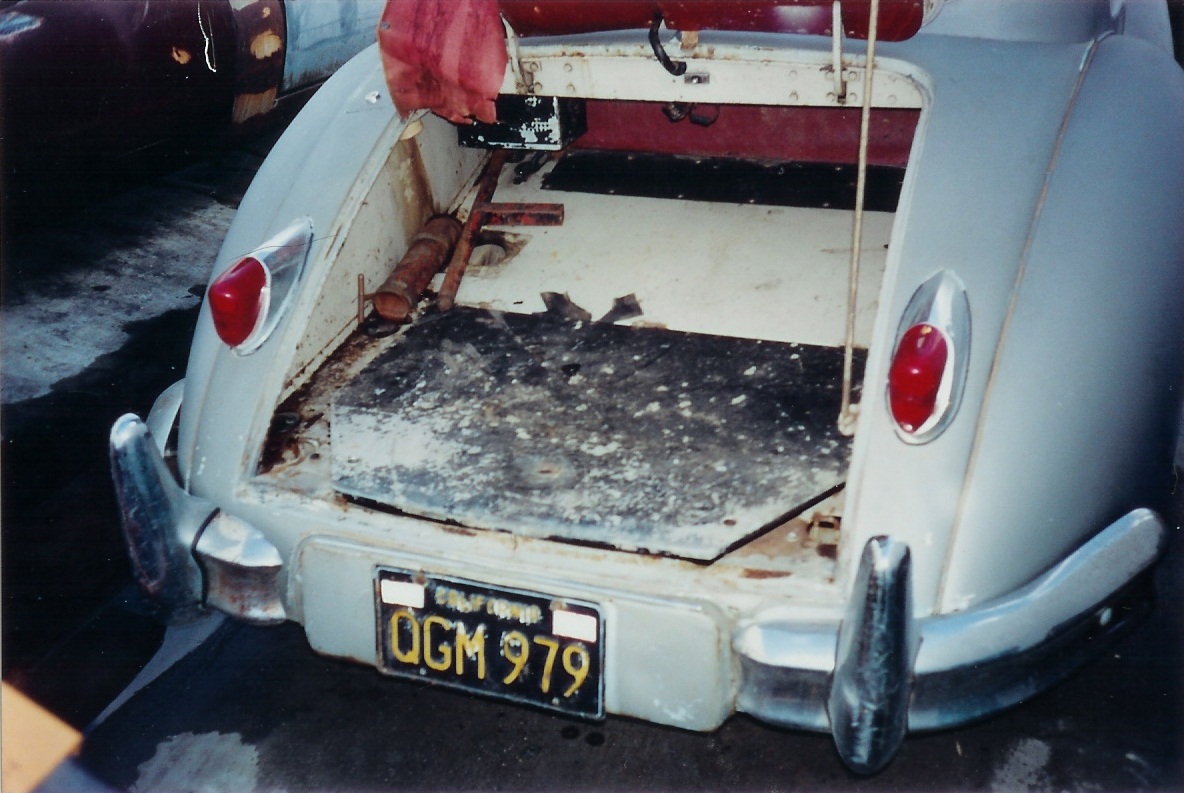
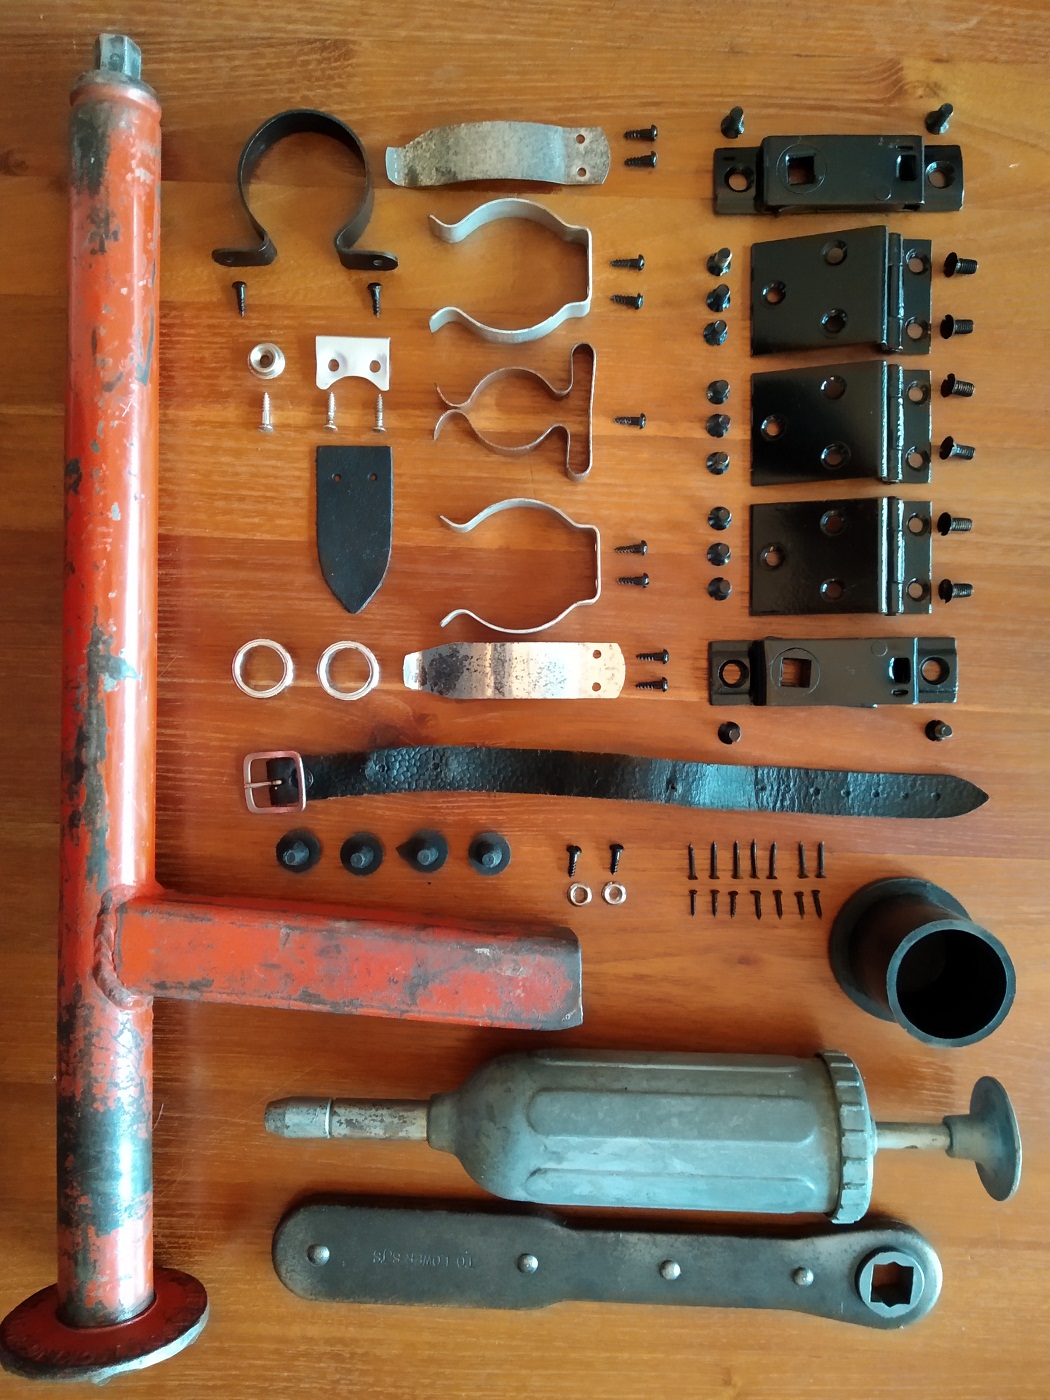
Spare Wheel Cover in Original conditionAll parts needed to rebuild the spare wheel cover
The Jack together with the other tools has been kept as original.
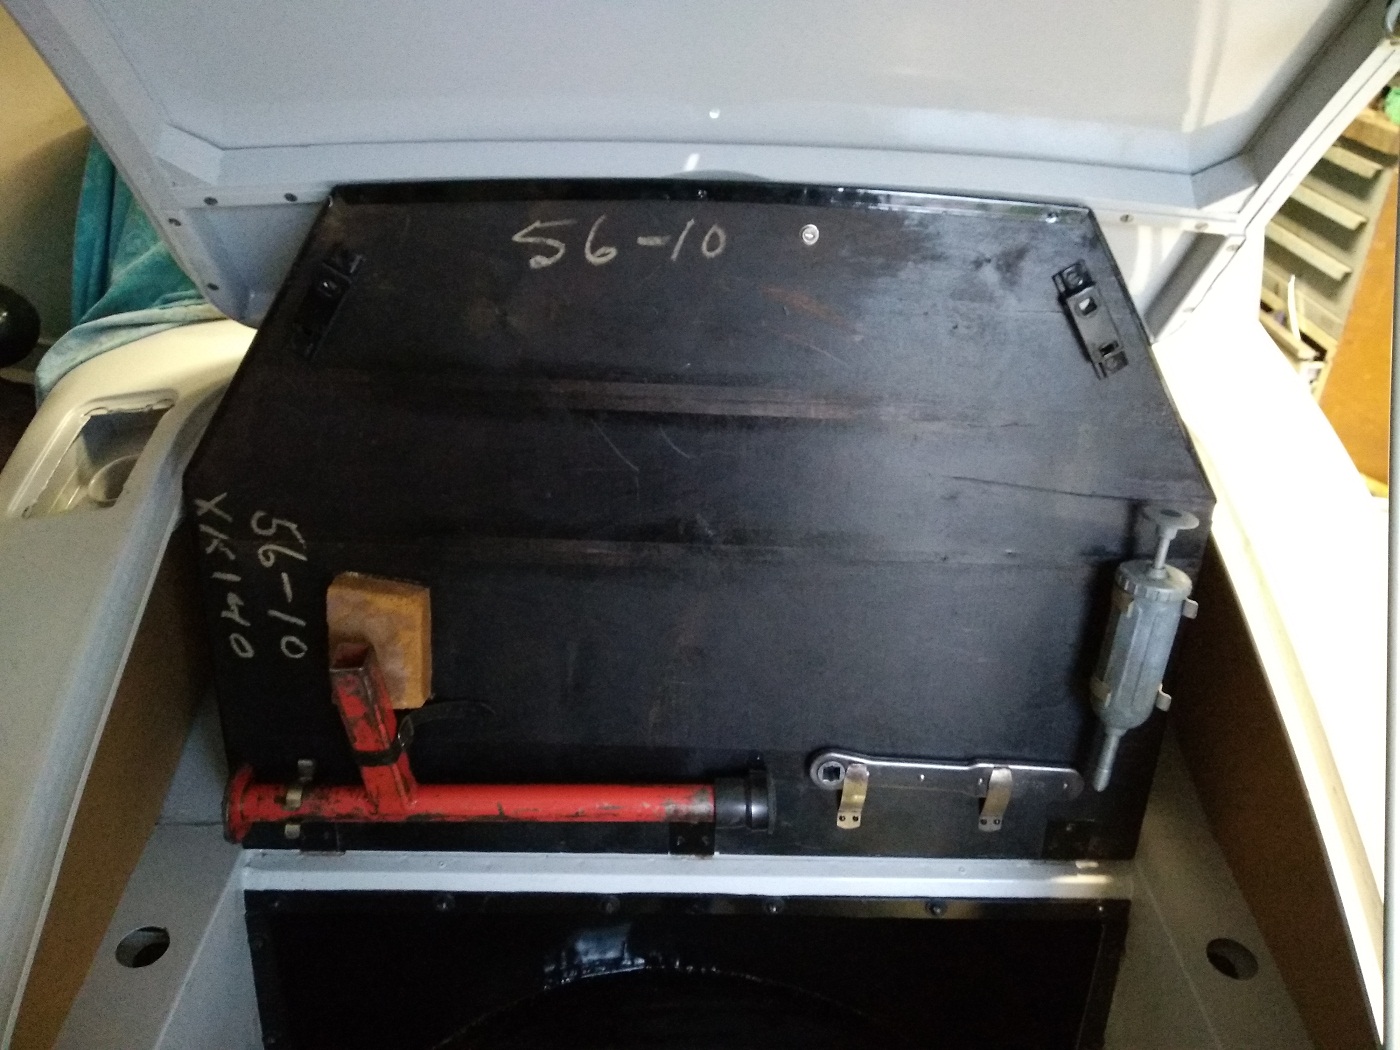
The original marking on the inside of the spare wheel coverThe spare wheel cover in open positionThe spare wheel cover in closed position (A big difference with the first picture)
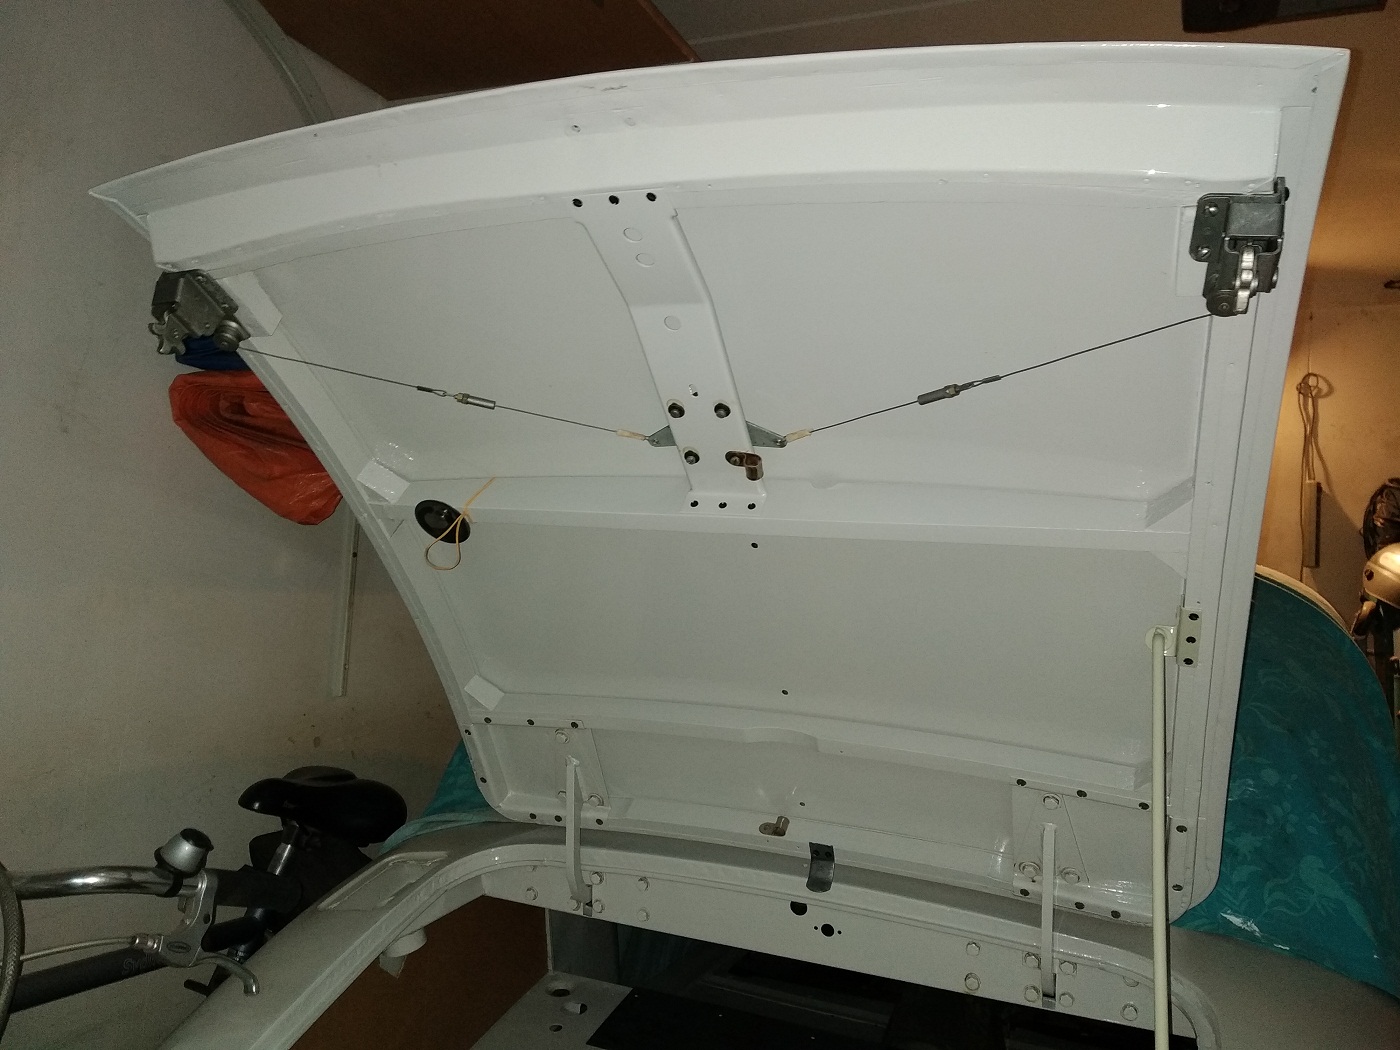
The boot lid itself has been cleaned (all original paint has been removed) before it is painted again in epoxy primer and the inside is also finished with Pearl grey gloss. Also all parts needed for the rebuild has been restored.
All parts needed to rebuild the boot lid hingsAll parts needed to rebuild the boot lid locking mechanismBoot lid monted
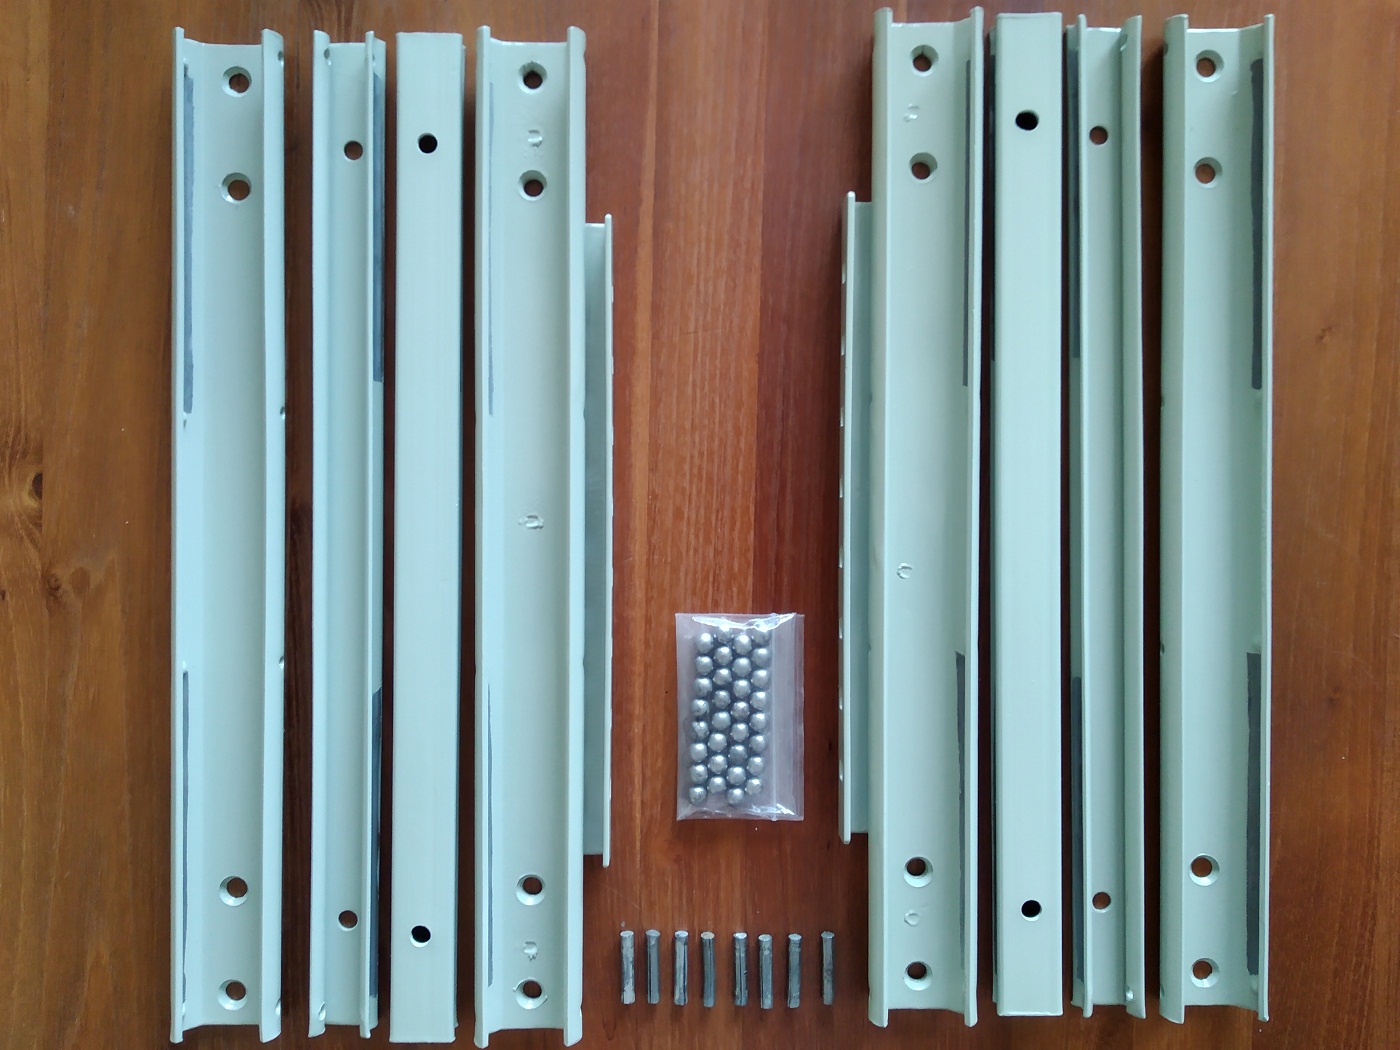
The seat runners, used to adjust the front seats backwards or forwards, where pretty rusty. To be able to remove the rust also from the inside I took them completely apart. Because these parts are pretty small I was able the sandblast them myself.
The seat runners as removed from the car
As you can see from the photo’s there is not much paint left, So I assumed they where painted in the same color as the base frame of the front seats (White with a greenish tint).
All parts needed to rebuild the front seat runners
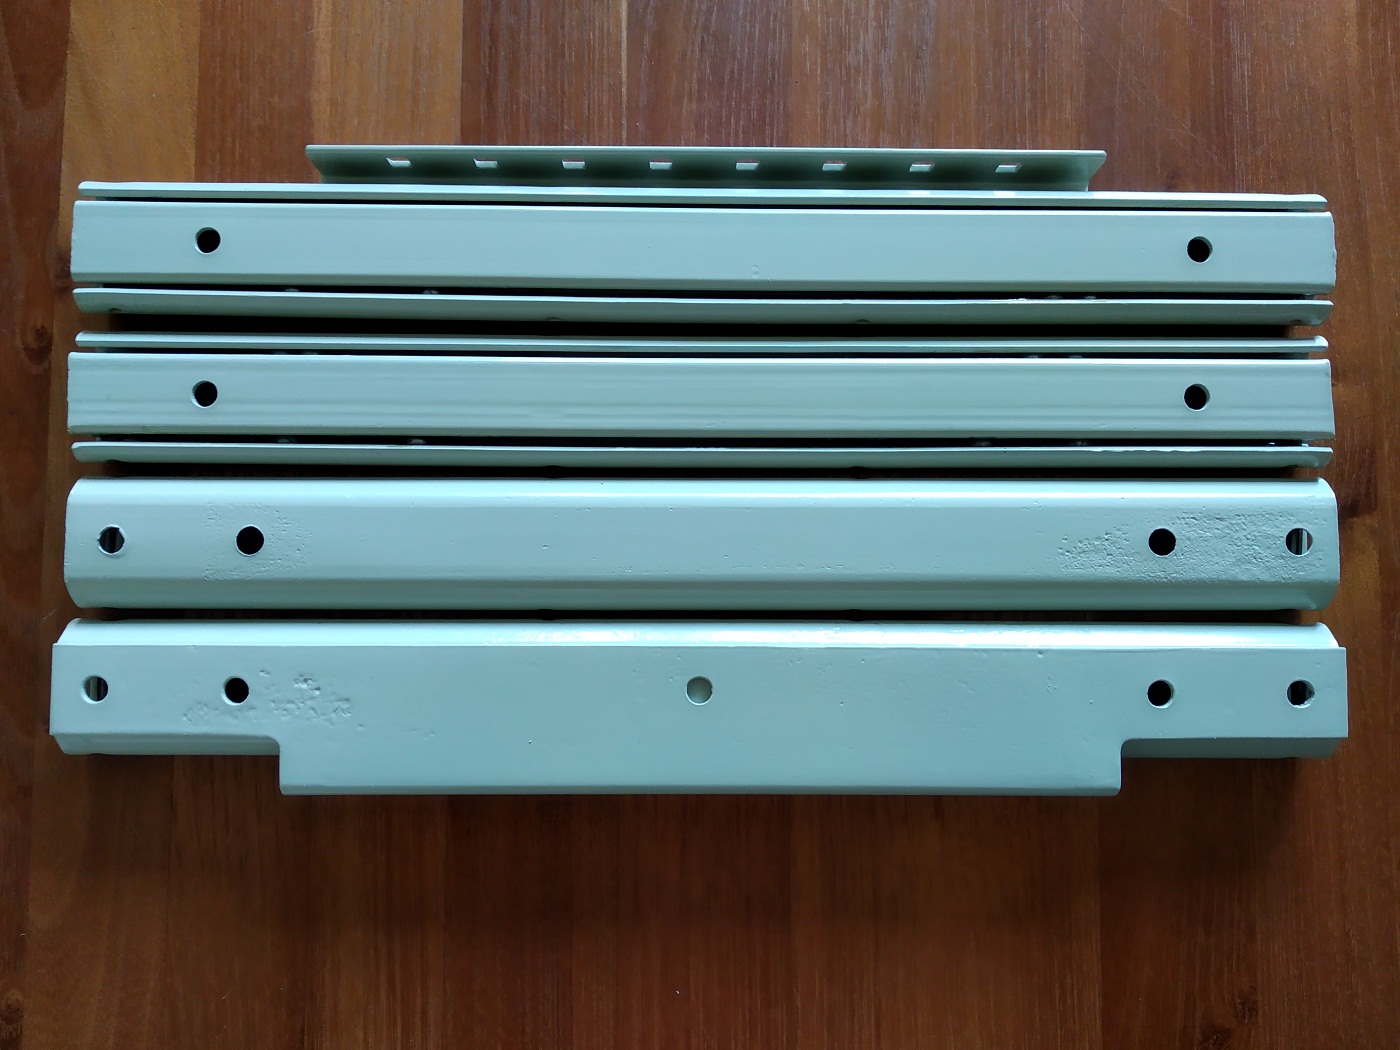
After everything is painted in epoxy primer and the greenish white, it was reassembled again. The 8 small metal tubes are used as a final stop, to prevent the runner is moving too far outside the base part. The place where the ball are rolling are left unpainted to guarantied a smooth operation.
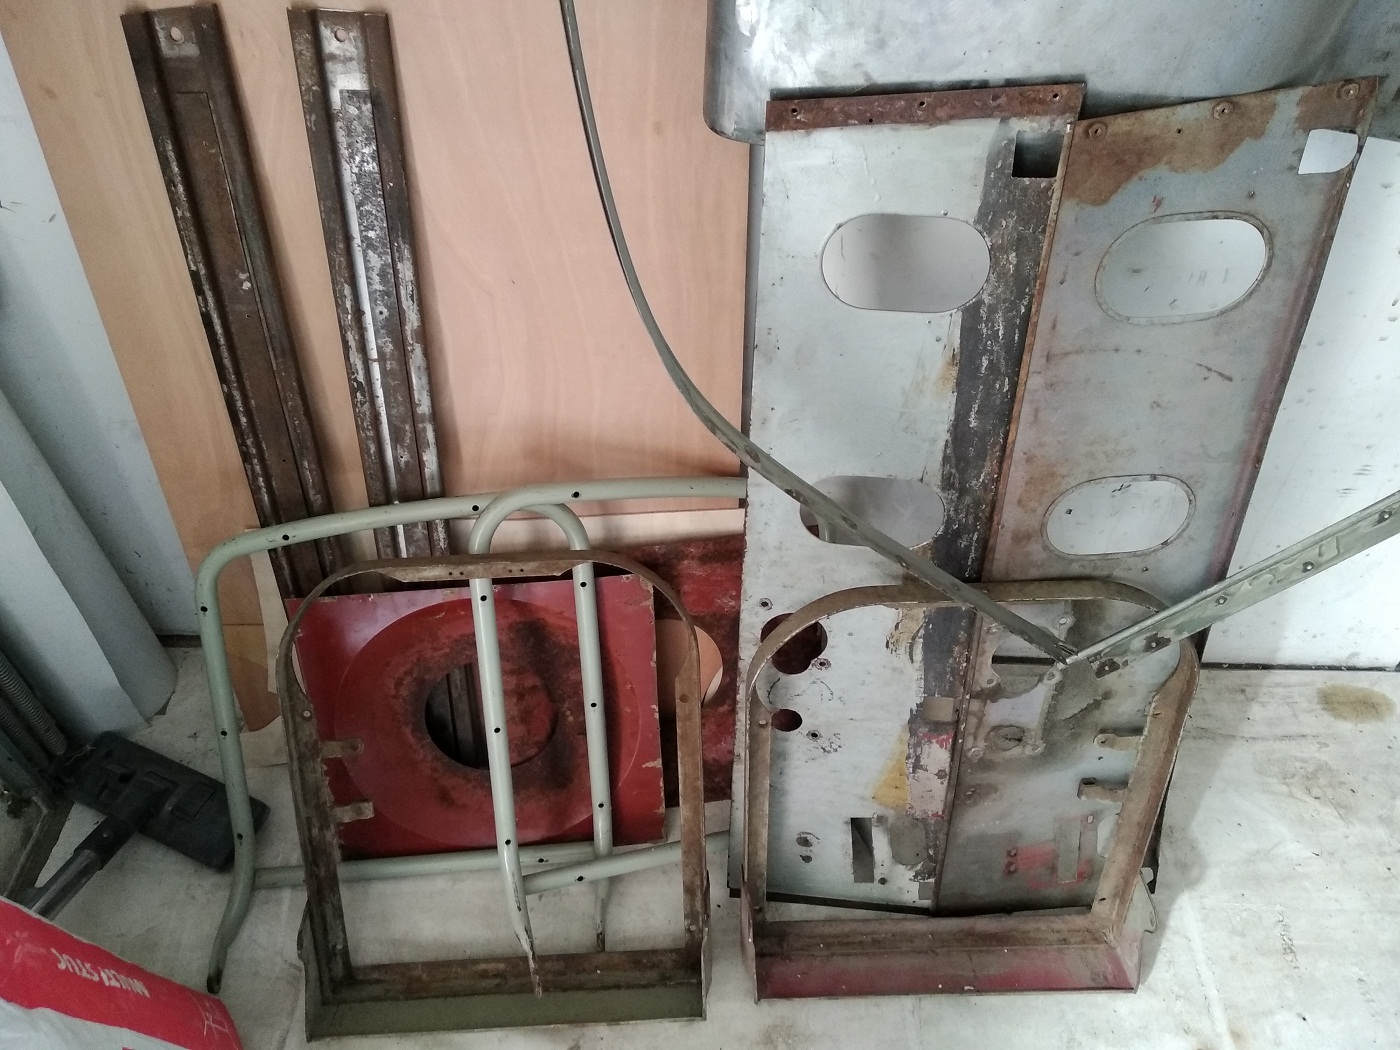
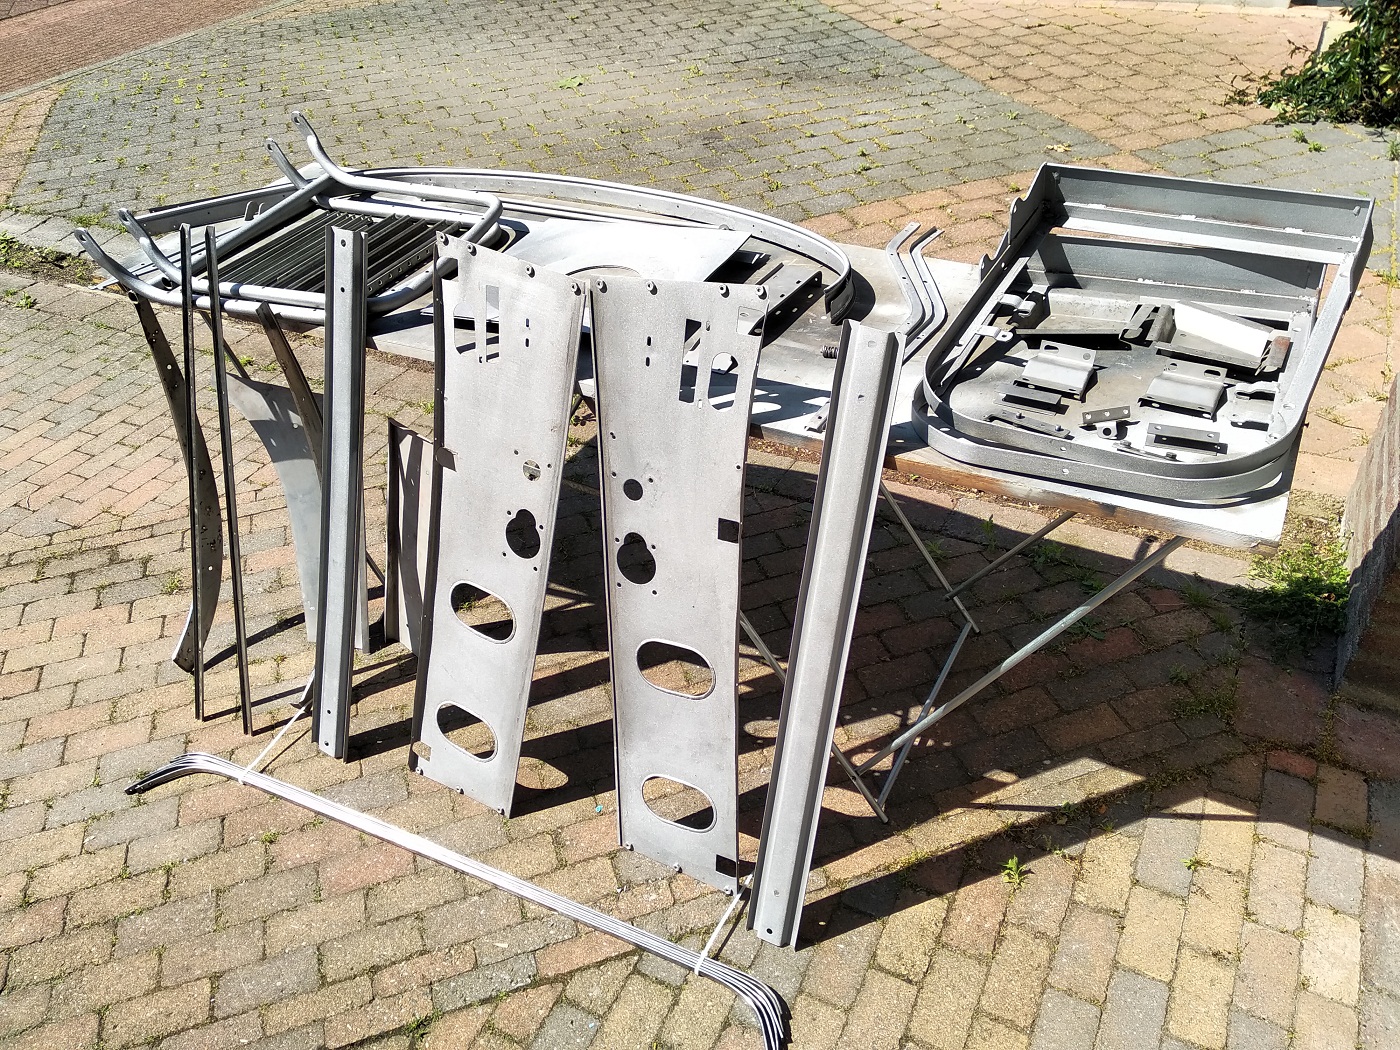
Until now I was able to sand-glass blast everything myself. For the parts that where to big for the cabin I did it with wire brushes (with or without the help of a drilling machine). But the steel doors are very difficult to clean from the inside and sand blasting seems the only easy solution. I’ve always been very reserved with sand blasting parts by specialized companies because I am afraid that the parts will be damaged in some way.
Parts brought to the sand blasterParts returned from the sand blaster together with all other parts sandblasted by myself
After inspecting I found out that the surface of all parts where made very rough and before I could start painting it had to be sanded very well. I also had to straighten out some sheet metal parts because they very distorted. The right door also show some kind of dent and will need to be repaired. The same hold for the left door because the lower part of the door has been replace completely
After the sand blasting I also found two parts which show holes through the metal which are in need to be welded before they can be painted.
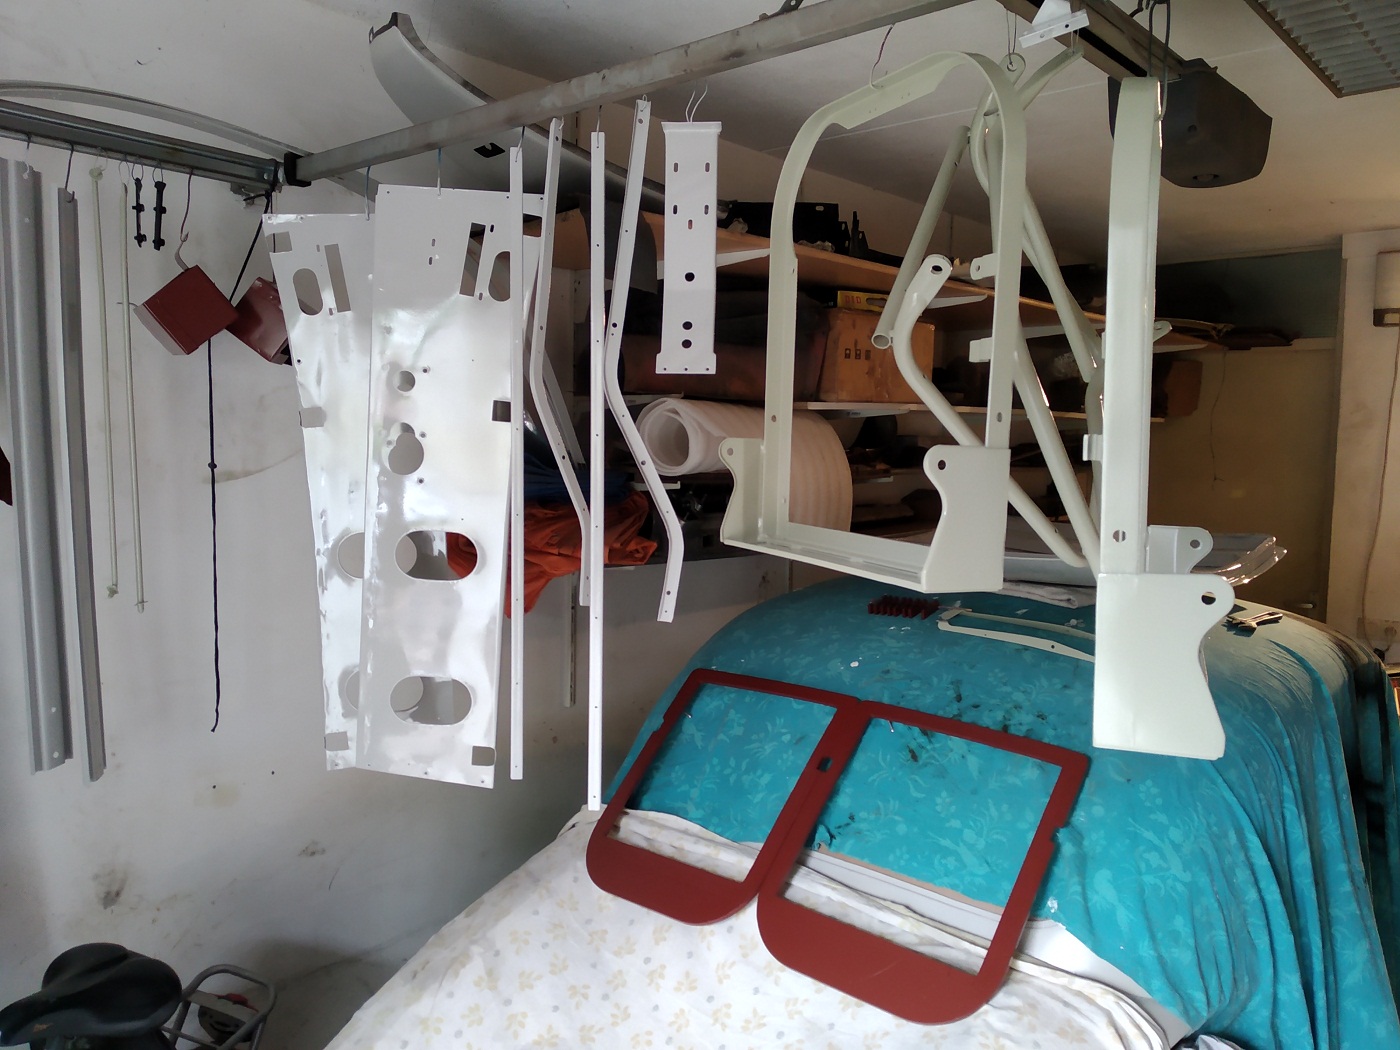
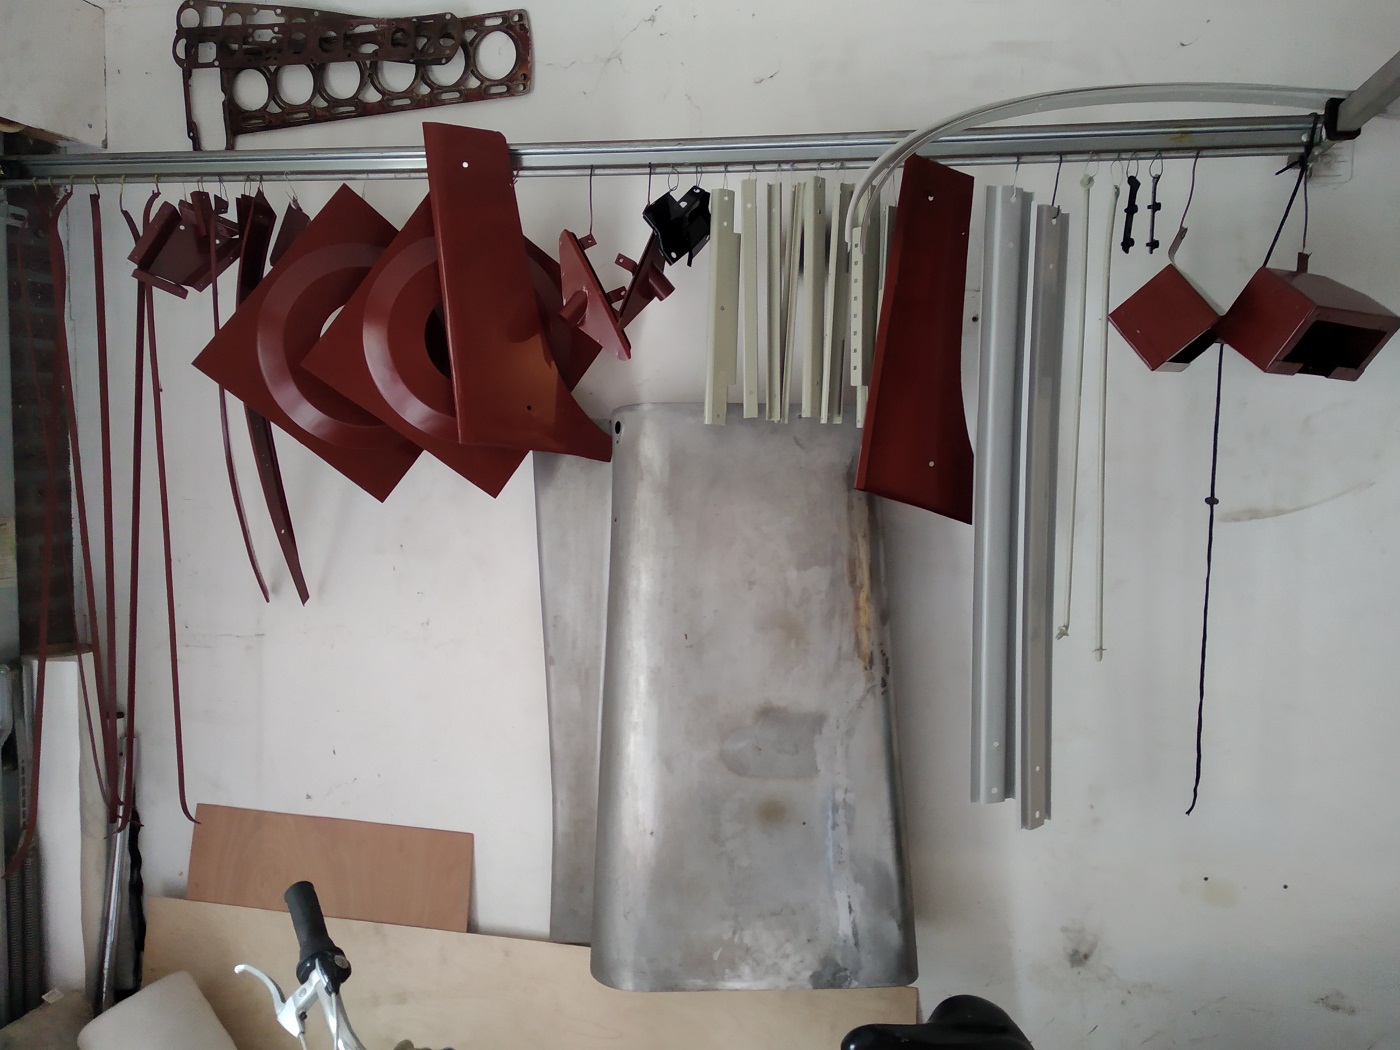
All parts are, as mentioned before, sanded and painted in 2K Epoxy primer, before they are painted in the correct color;
High gloss black (TH de beer 2K) Parts below the dash and for spare wheel tray cover (not on the pictures)
Pearl grey (TH de beer 2K Special made) Parts which are visible
Red brown (Sikkens 2K, ACC colormap 408H5 50% gloss) Parts which are not visible directly
Light green (Sikkens 2K, ACC colormap 436F1 70% gloss) Front seat frames
The last items which are still in need of some fresh layer epoxy primer are;
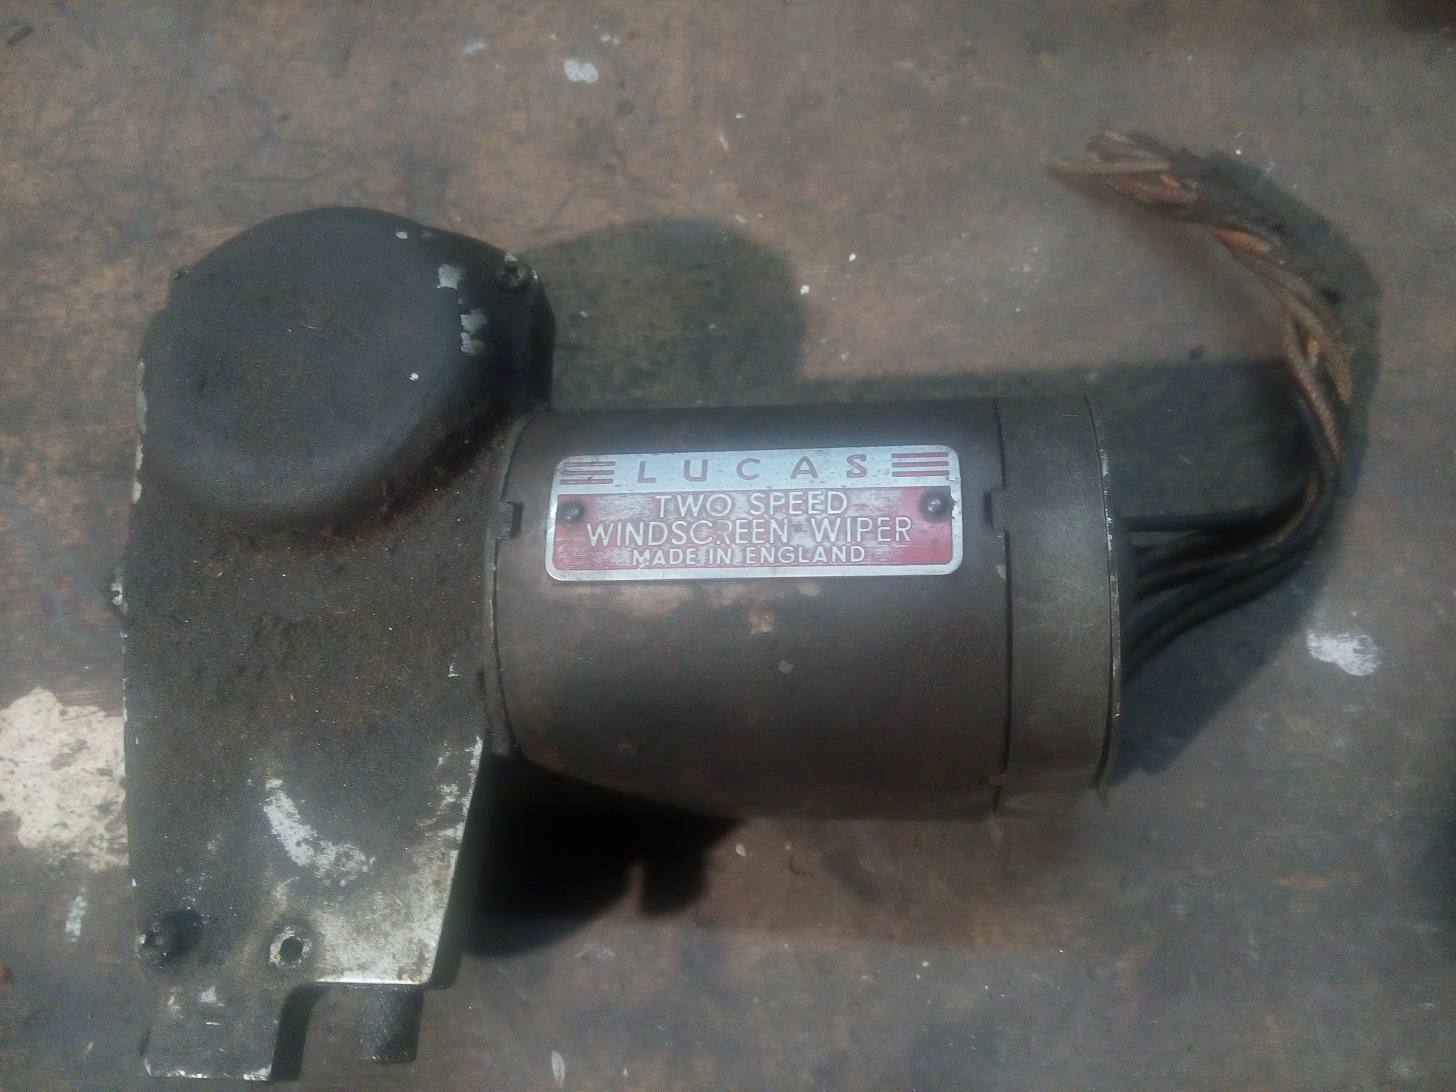
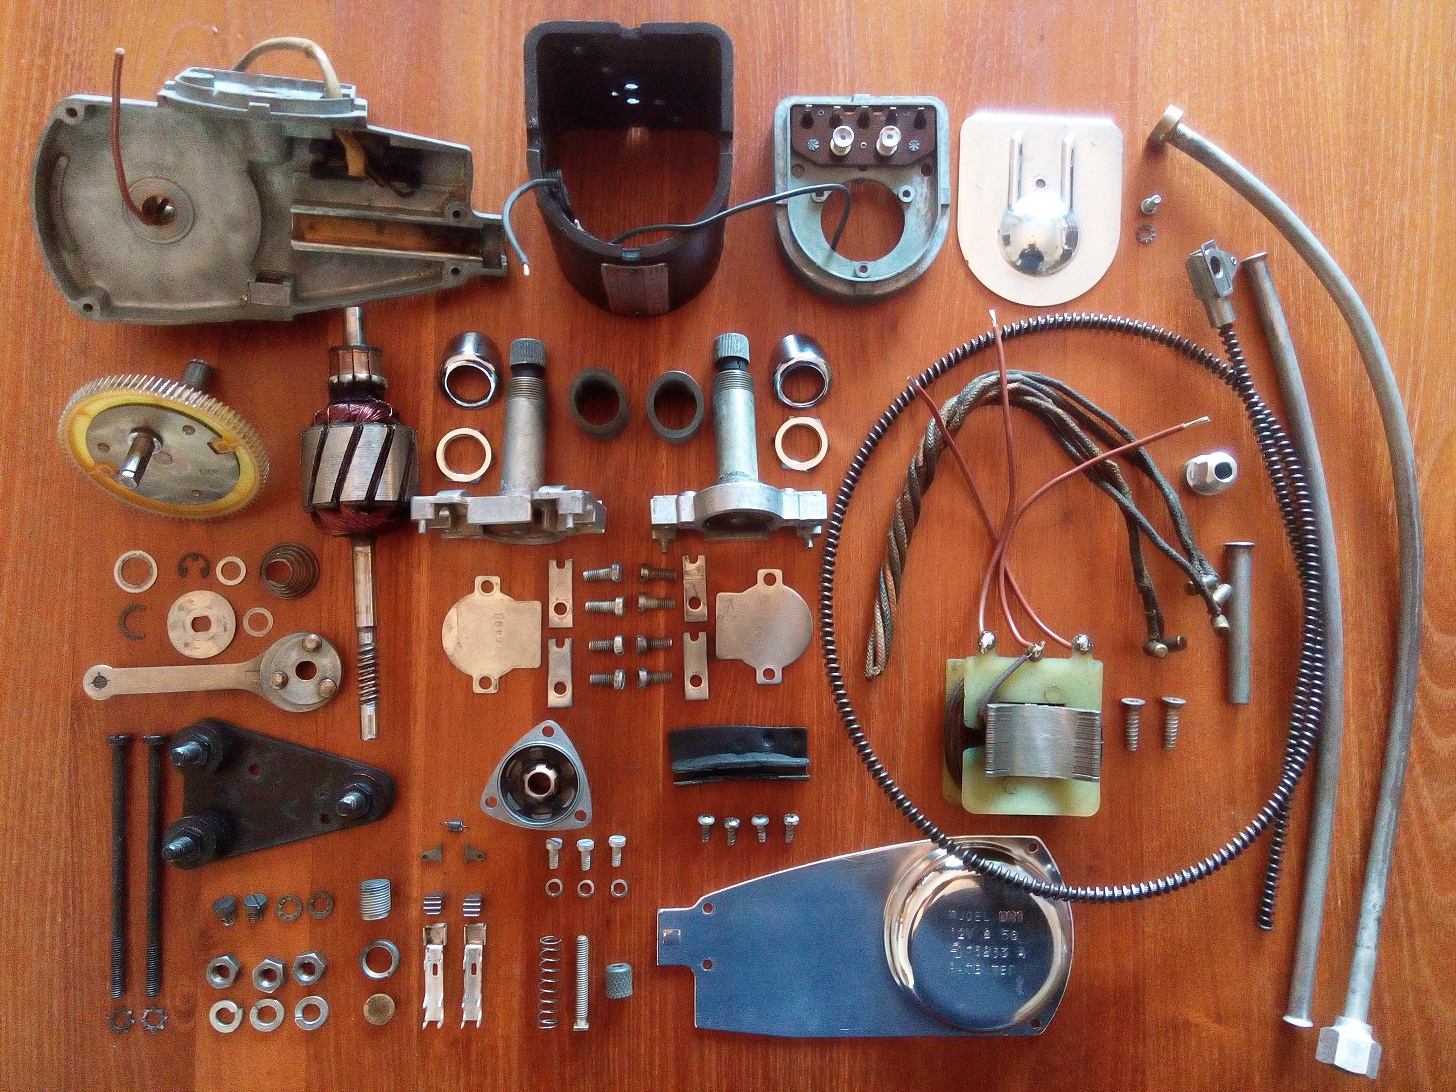
After inspecting the wiper motor, located inside the left front wing, came to the following conclusion:
The paint of the main housing is still in decent condition and therefor I decided to do a simple touch-up.
The mounting bracket and motor brushes are replaced by new ones.
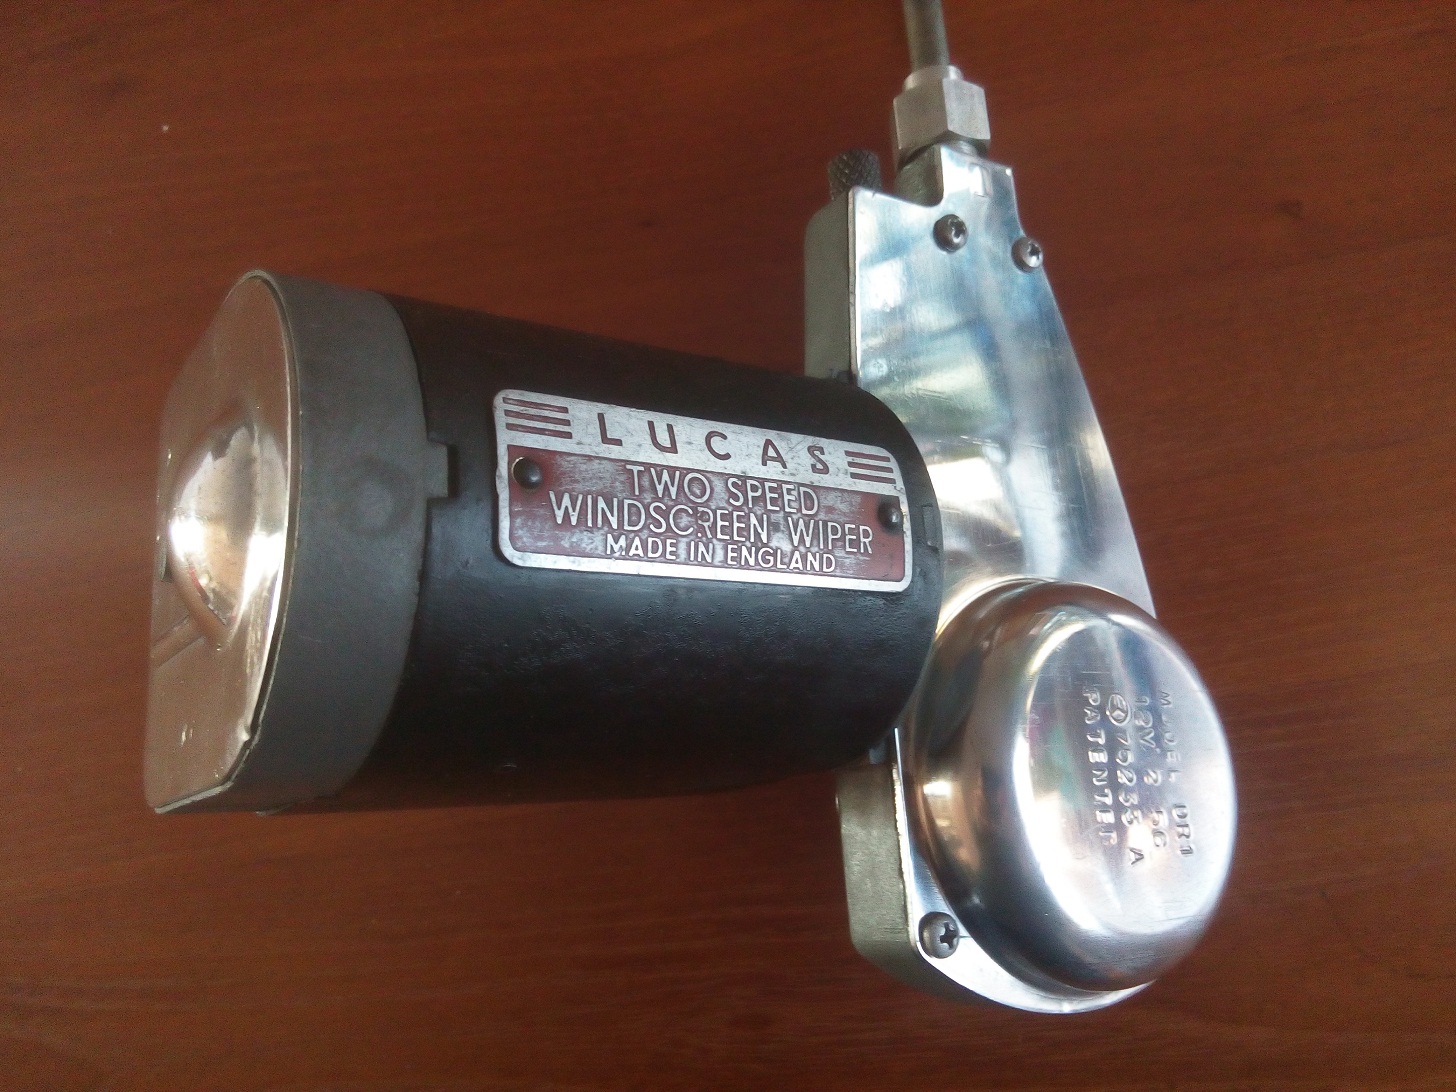
I decided to keep the Lucas tag original.
All wiring needs to be replaced by new silicone rubber type wiring.
(The isolation material on the internal wiring was completely gone!)
All other parts just need to be cleaned thoroughly
(Especially the outside and the inside of gears housing)
All parts needed to rebuild the windscreen motor
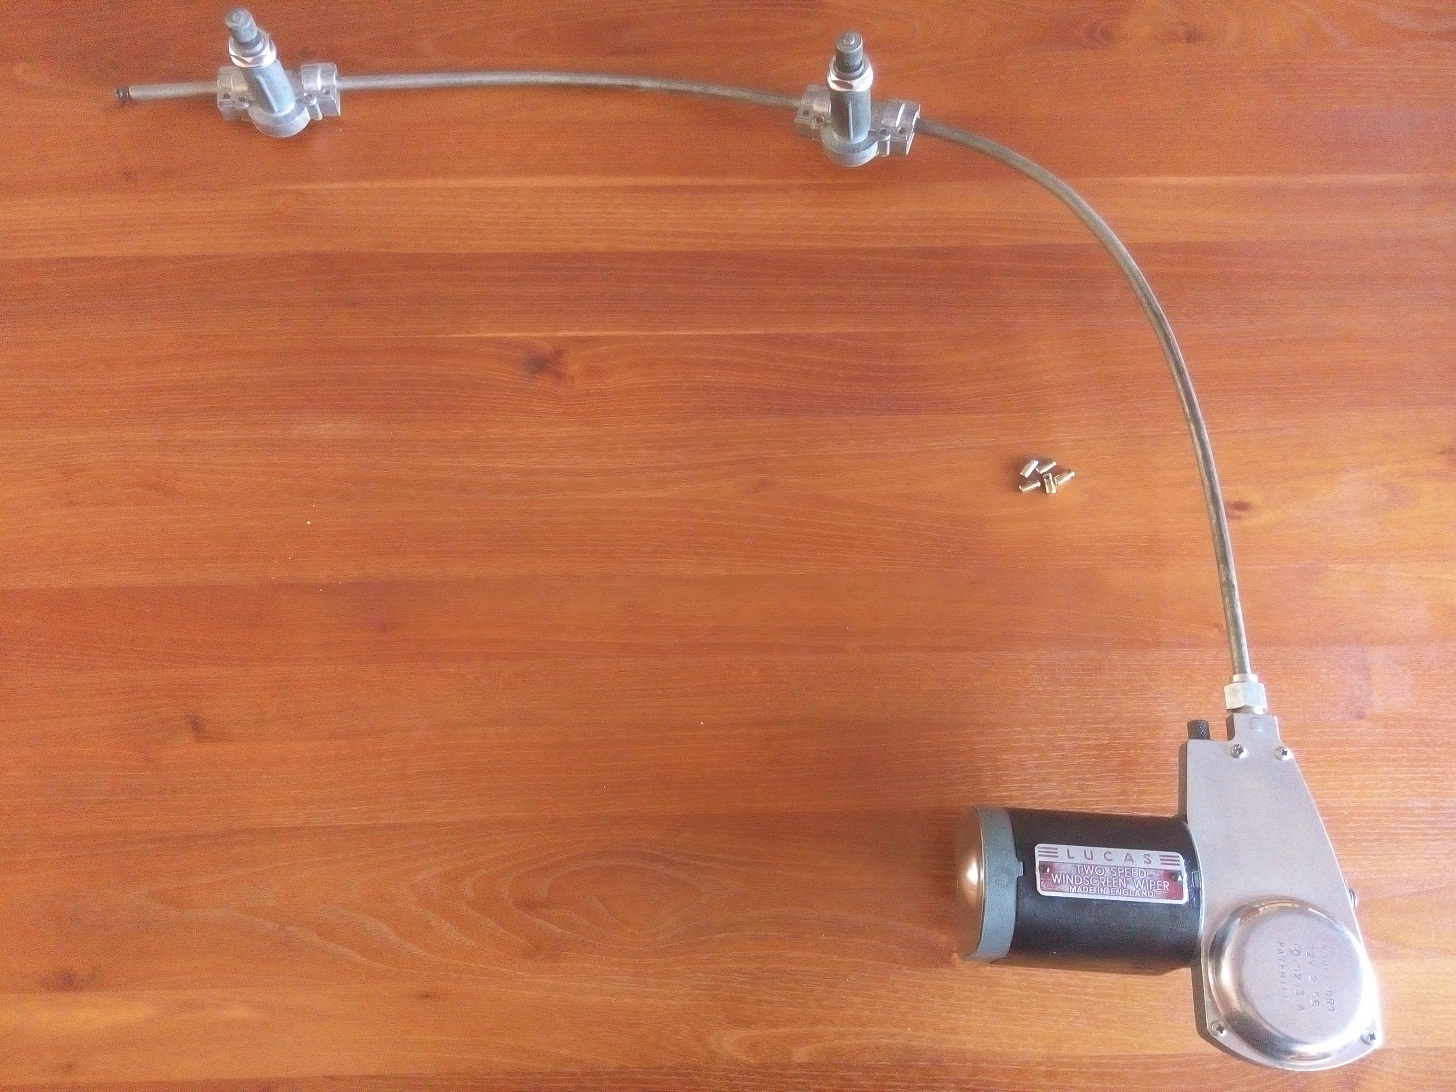
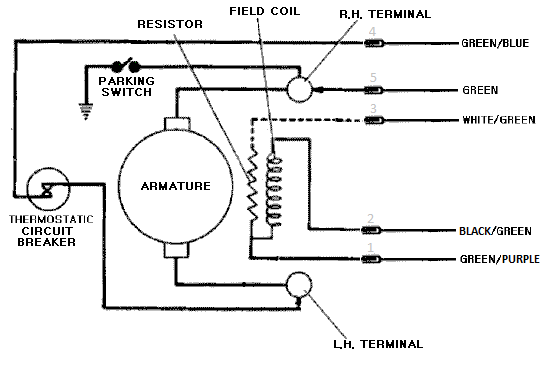
As seen on the last photo two windscreen wipers can be connected and will be set in motion by the gears, located behind polished lid. The cable in the parts overview will be pushed and pulled back and forth to get the wiper arms in movement. This engine has 5 electrical connections as shown in the schematic below