nov 222020
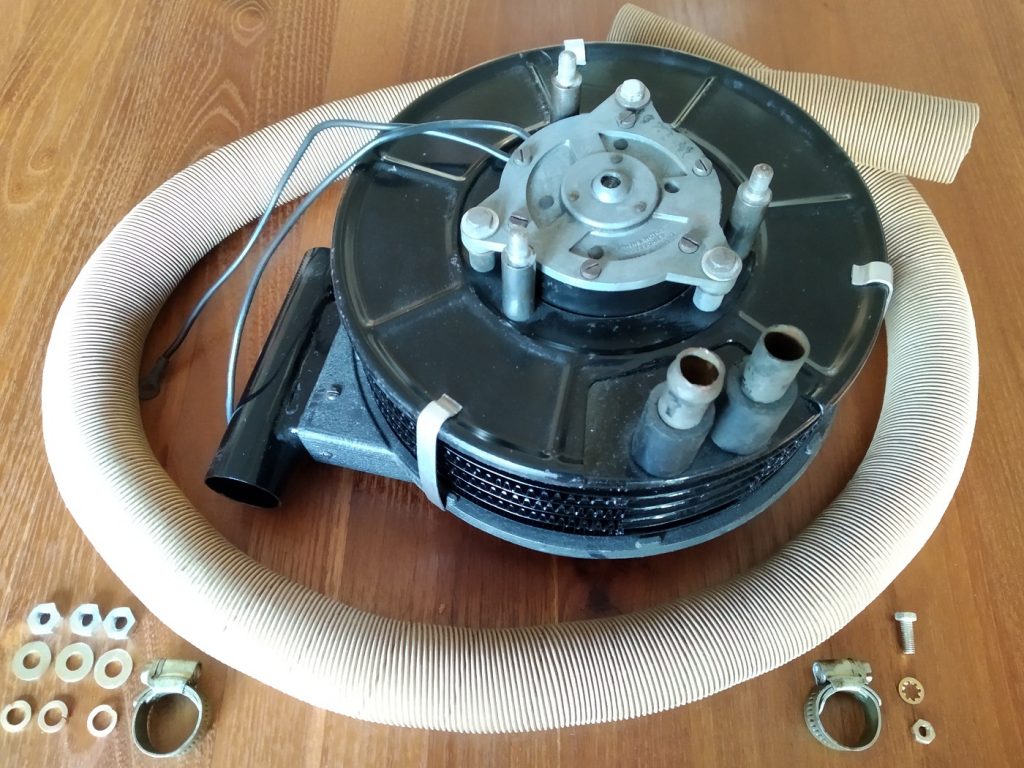
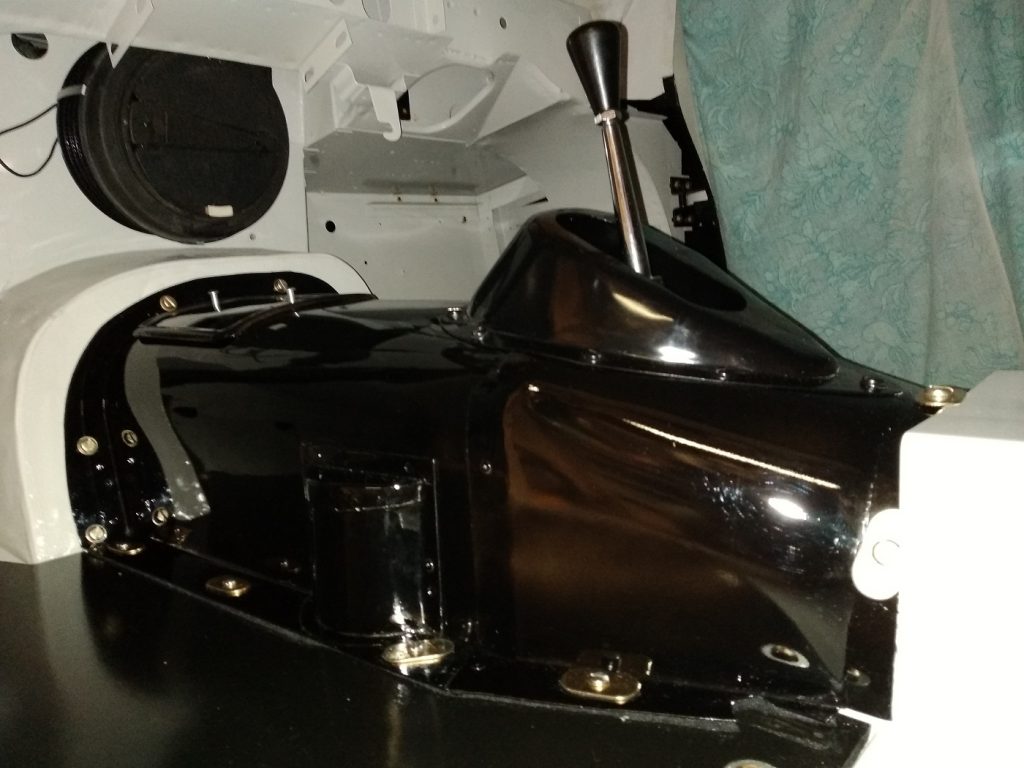
Now the car heater can be mounted onto the car itself, in the first part the car heater itself has been rebuild (see Car Heater I)
When this part has been mounted the water circuit has been finished and can be filled with coolant. The paper hoses will also be mounted but the chrome windshield defrosters, which are connected at the other side, are mounted when the dashboard is fitted.
Hi Peter, I have just come across your website.
I’m getting towards the end of restoring my XK140 FHC and having spent a large amount of time, money and effort, I can see that you have gone through a similar process!
Can I give you my congratulations on the very high standard of your work and also your website showing the detailed photos of your progress.
Keep up the good work, I hope you enjoy driving the car when its finally finished!
Best regards
Glyn
Hi Glyn,
Thanks for your reaction, hopefully it can be used as a guideline for other people during the restoration process.
Especially when your car is not 100% complete it helps when you know what you are looking for.
Best regards,
Peter