The seat runners, used to adjust the front seats backwards or forwards, where pretty rusty. To be able to remove the rust also from the inside I took them completely apart. Because these parts are pretty small I was able the sandblast them myself.
The seat runners as removed from the car
As you can see from the photo’s there is not much paint left, So I assumed they where painted in the same color as the base frame of the front seats (White with a greenish tint).
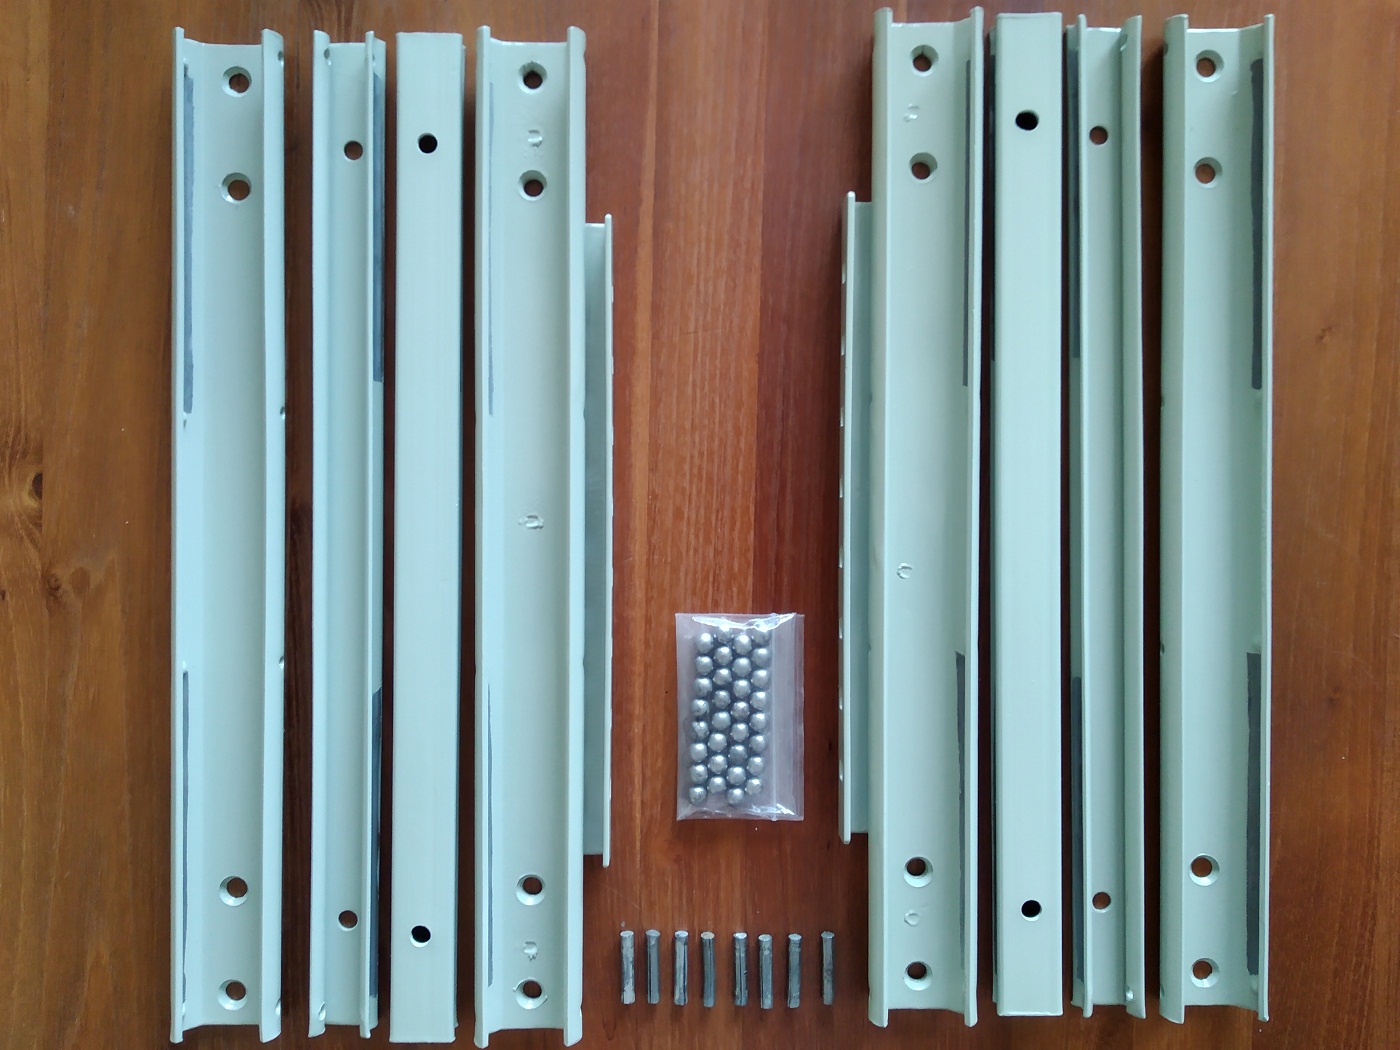
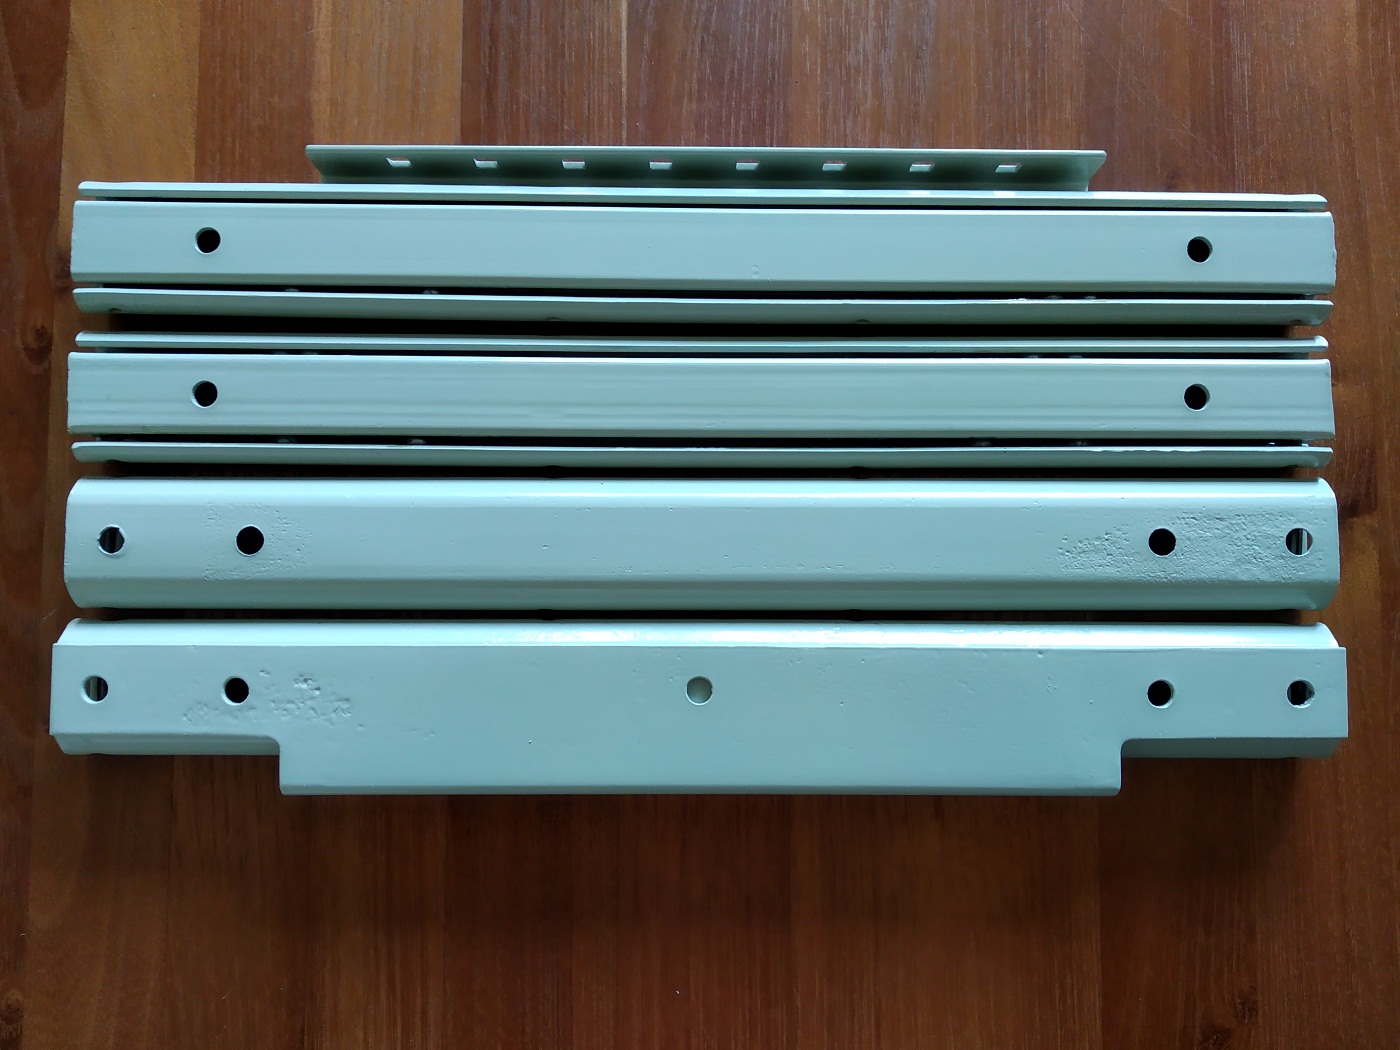
All parts needed to rebuild the front seat runners
After everything is painted in epoxy primer and the greenish white, it was reassembled again. The 8 small metal tubes are used as a final stop, to prevent the runner is moving too far outside the base part. The place where the ball are rolling are left unpainted to guarantied a smooth operation.
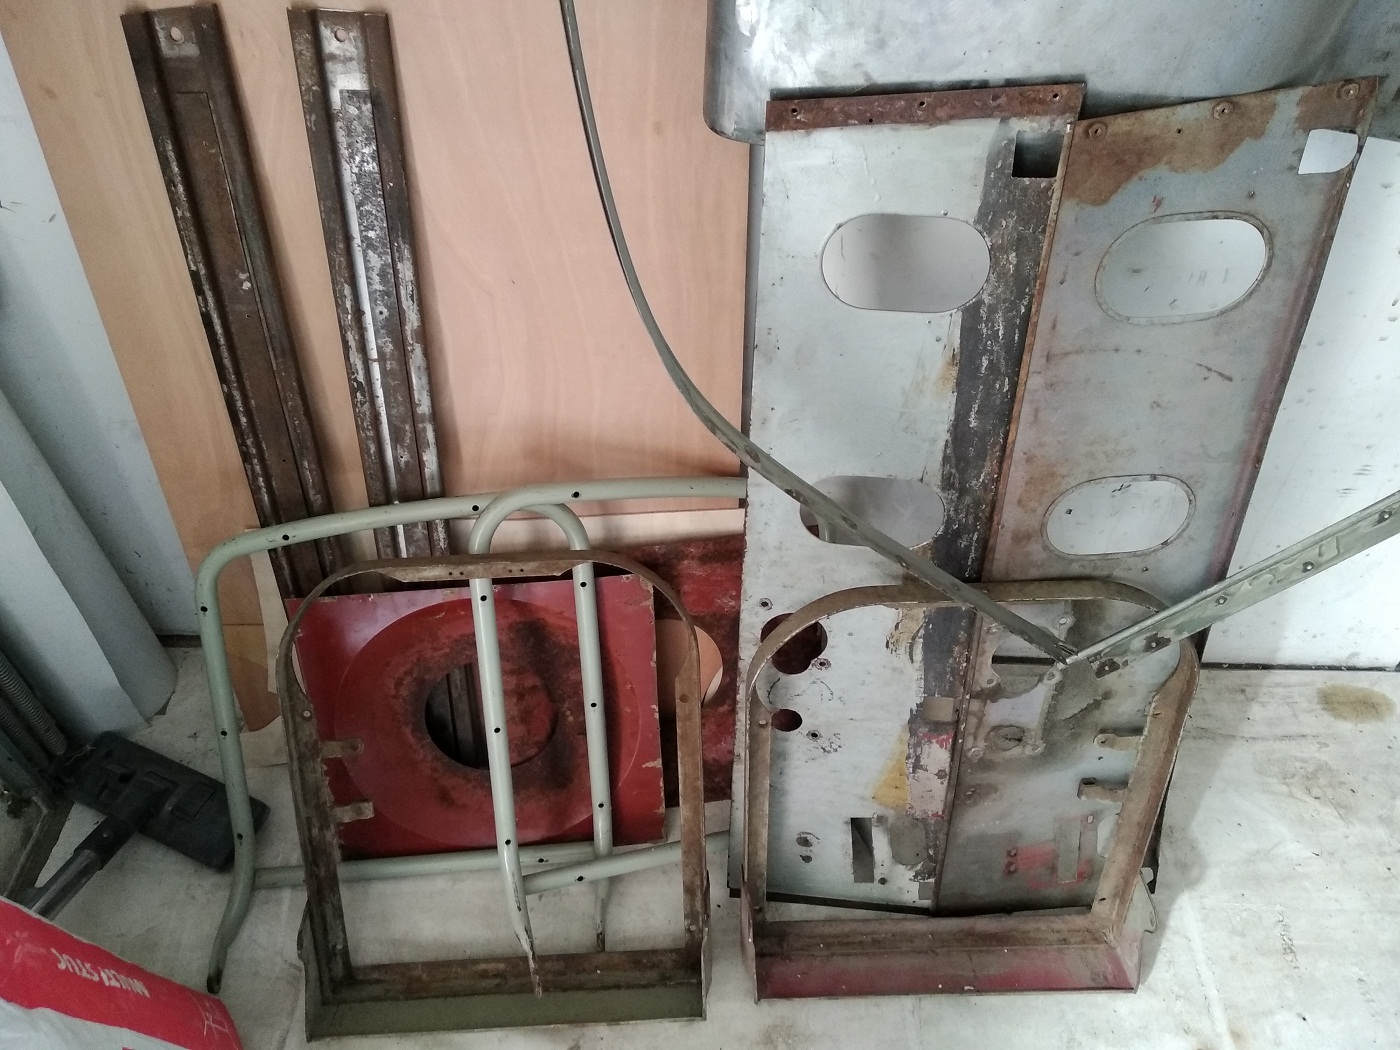
Until now I was able to sand-glass blast everything myself. For the parts that where to big for the cabin I did it with wire brushes (with or without the help of a drilling machine). But the steel doors are very difficult to clean from the inside and sand blasting seems the only easy solution. I’ve always been very reserved with sand blasting parts by specialized companies because I am afraid that the parts will be damaged in some way.
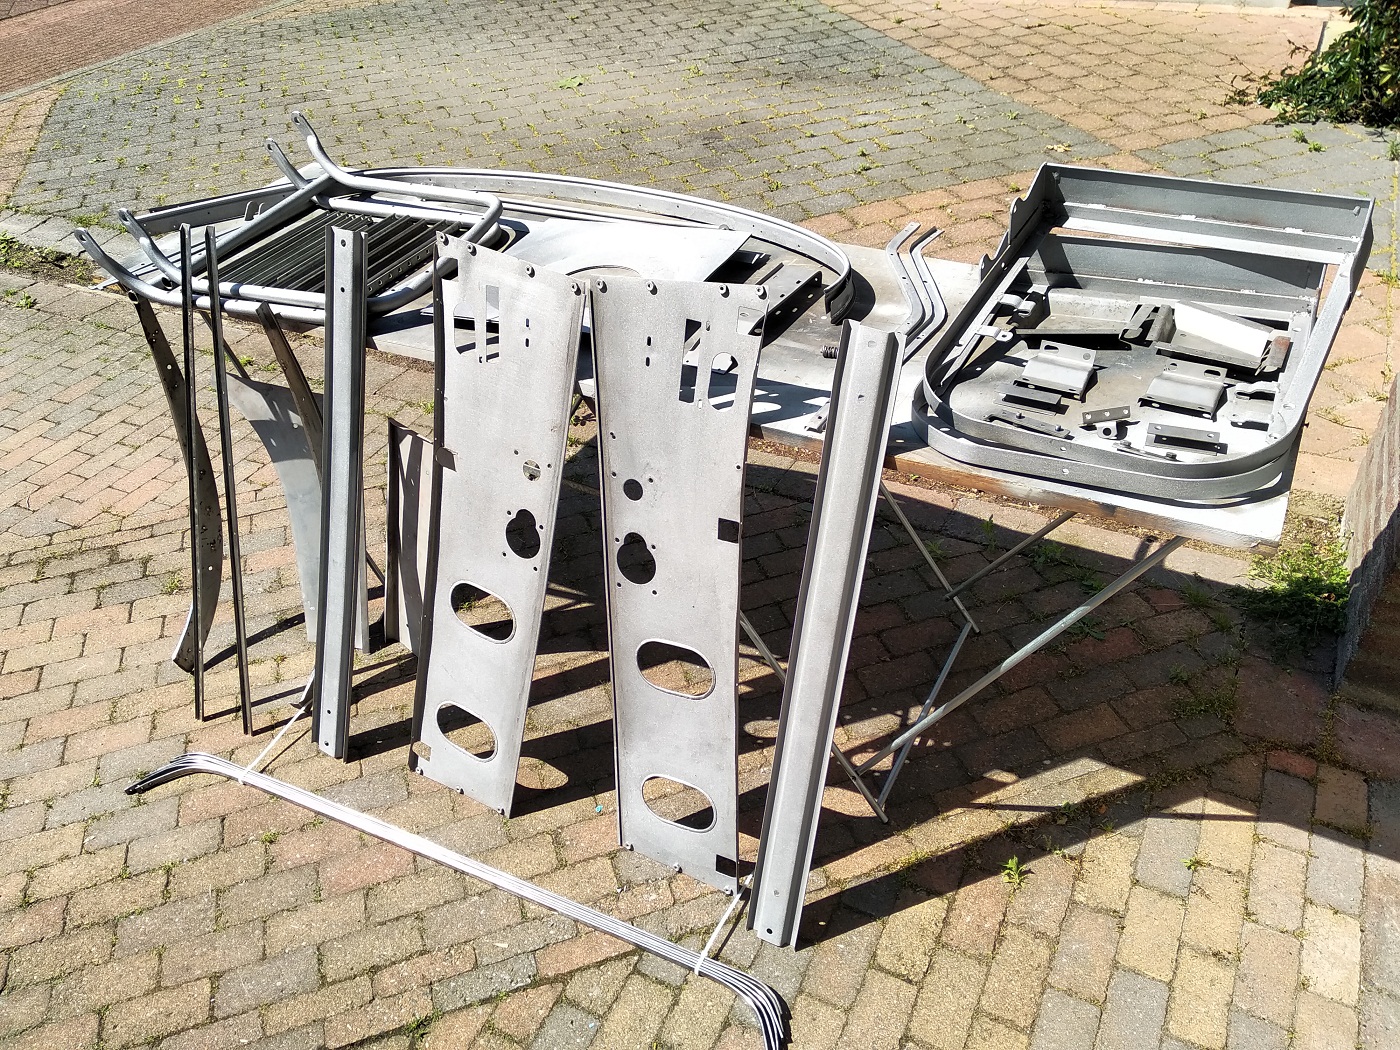
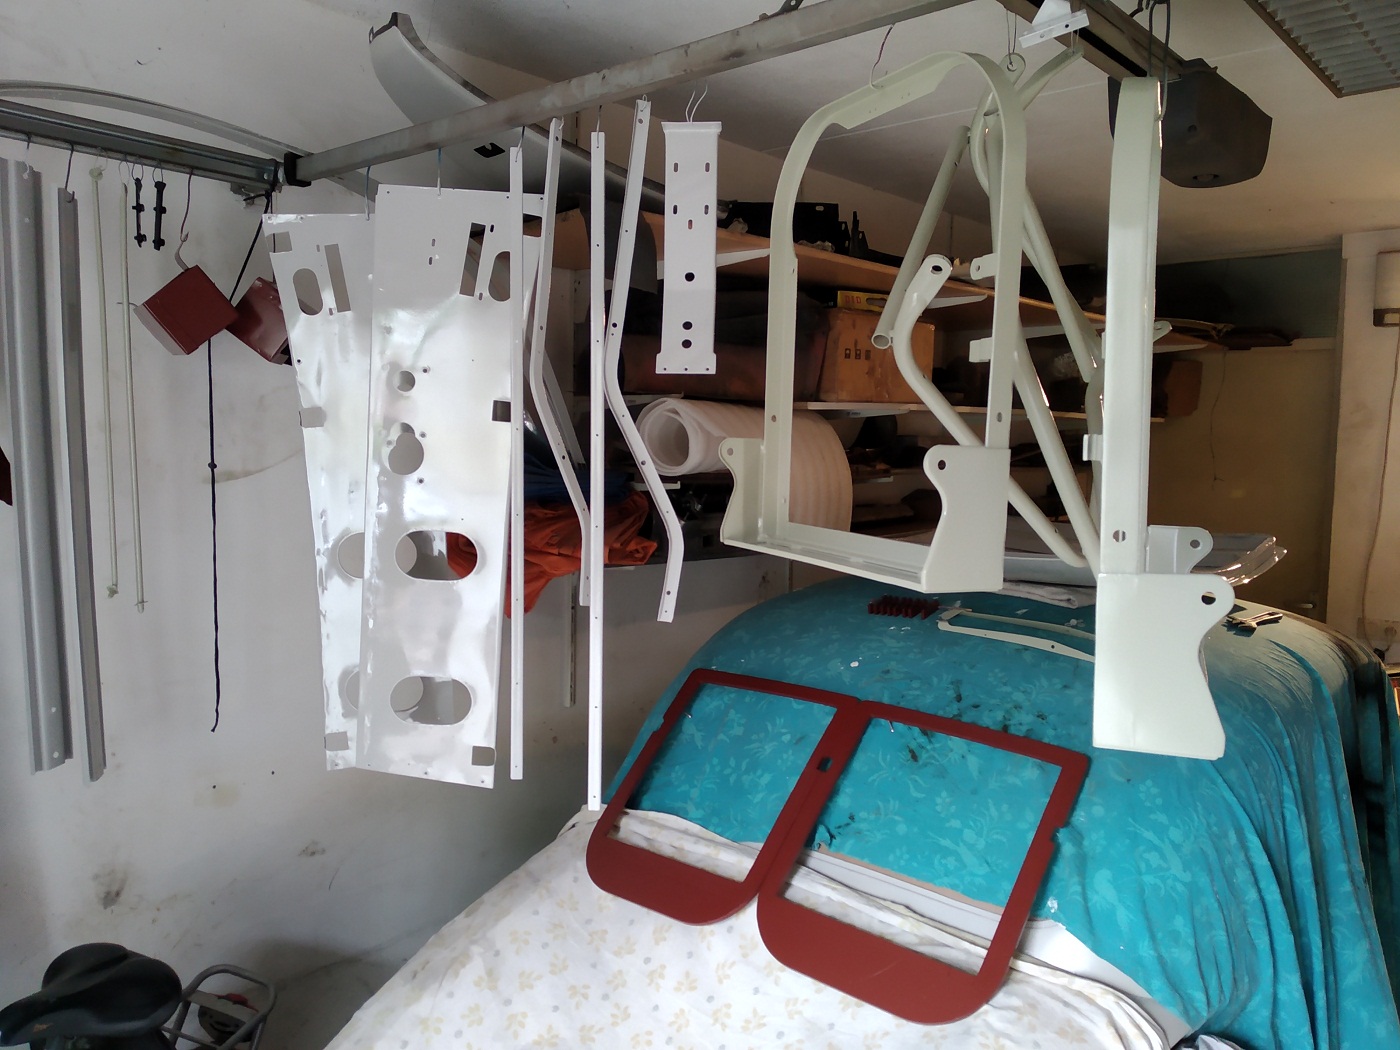
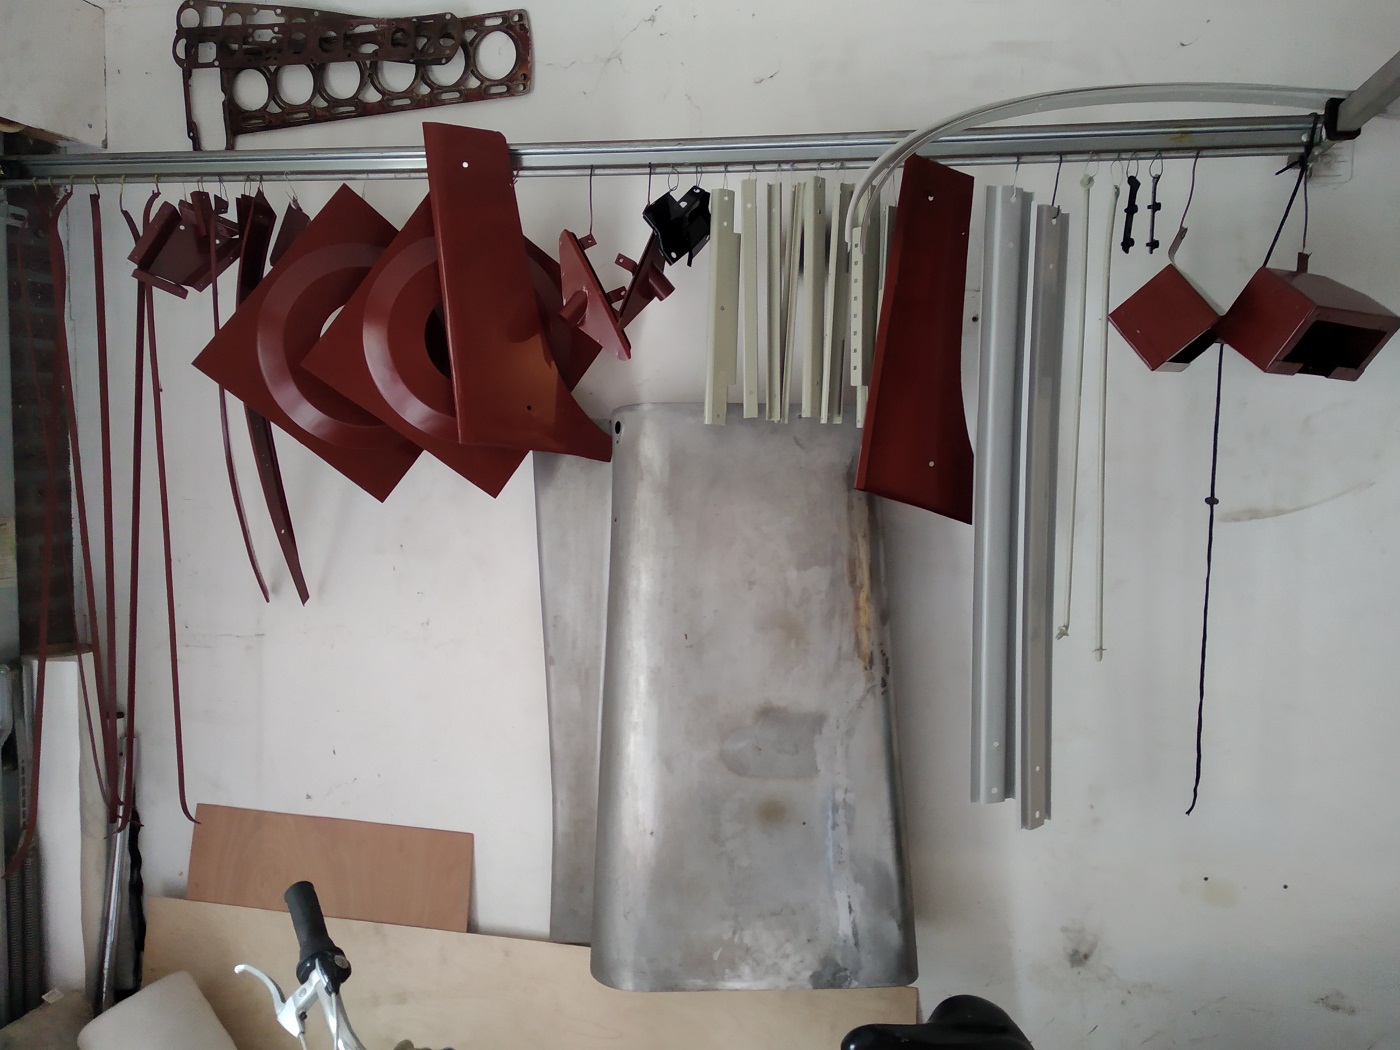
Parts brought to the sand blasterParts returned from the sand blaster together with all other parts sandblasted by myself
After inspecting I found out that the surface of all parts where made very rough and before I could start painting it had to be sanded very well. I also had to straighten out some sheet metal parts because they very distorted. The right door also show some kind of dent and will need to be repaired. The same hold for the left door because the lower part of the door has been replace completely
After the sand blasting I also found two parts which show holes through the metal which are in need to be welded before they can be painted.
All parts are, as mentioned before, sanded and painted in 2K Epoxy primer, before they are painted in the correct color;
High gloss black (TH de beer 2K) Parts below the dash and for spare wheel tray cover (not on the pictures)
Pearl grey (TH de beer 2K Special made) Parts which are visible
Red brown (Sikkens 2K, ACC colormap 408H5 50% gloss) Parts which are not visible directly
Light green (Sikkens 2K, ACC colormap 436F1 70% gloss) Front seat frames
The last items which are still in need of some fresh layer epoxy primer are;