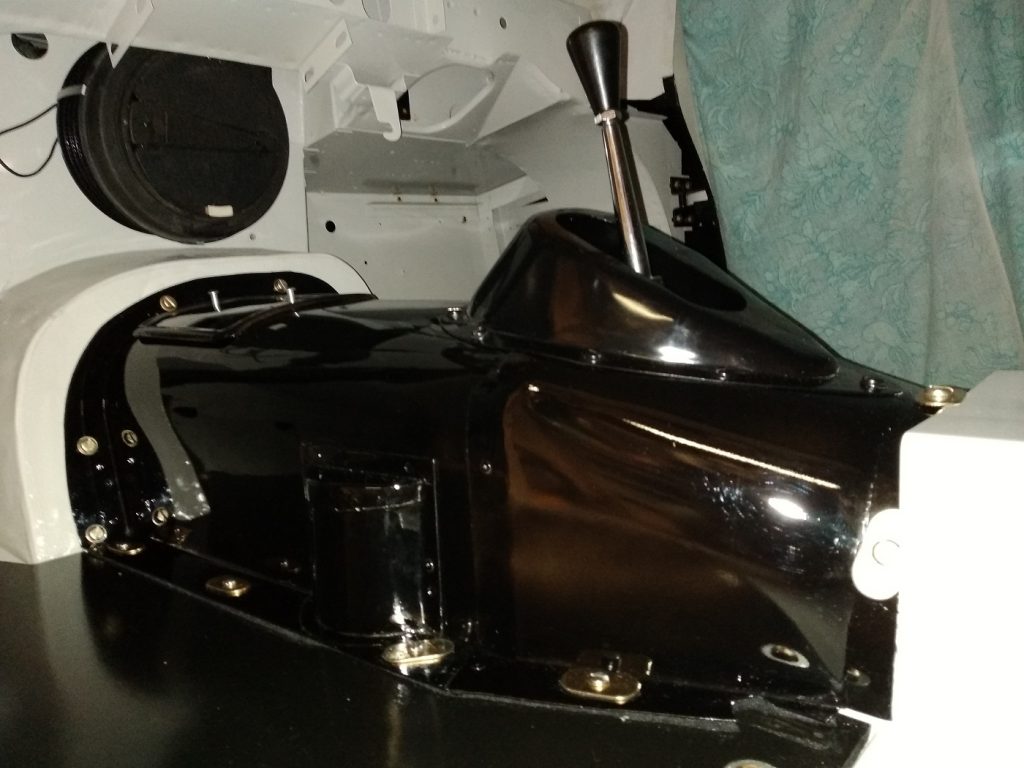
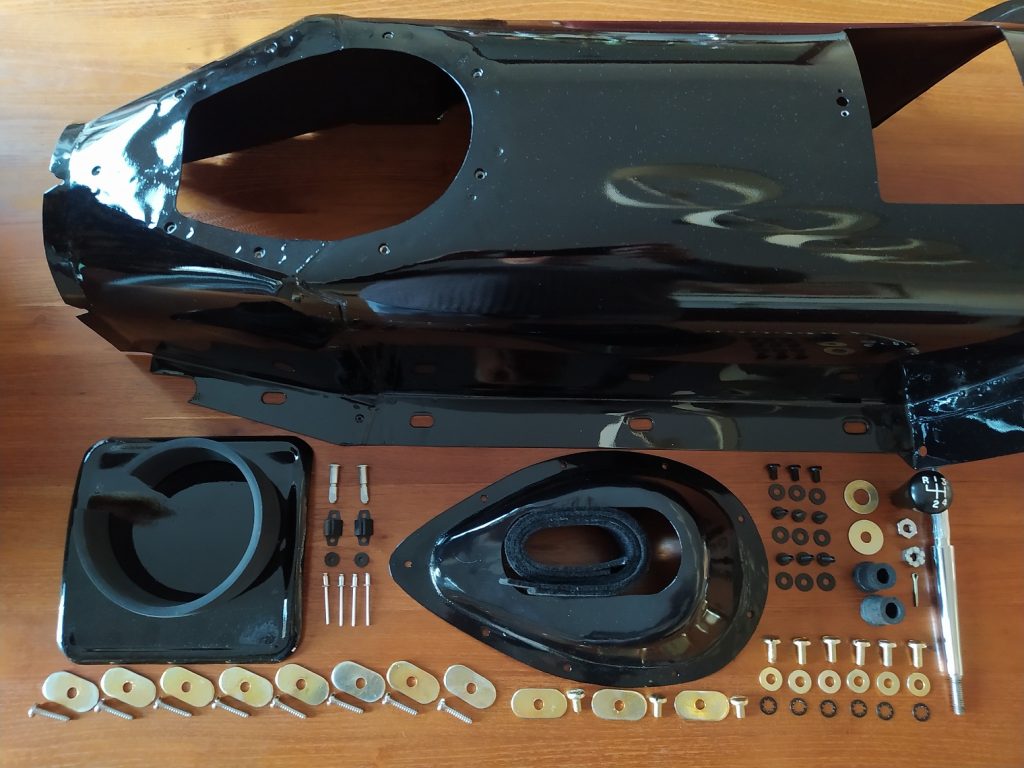
When I bought the car the heater was already removed from the body and placed in one of the many boxes.
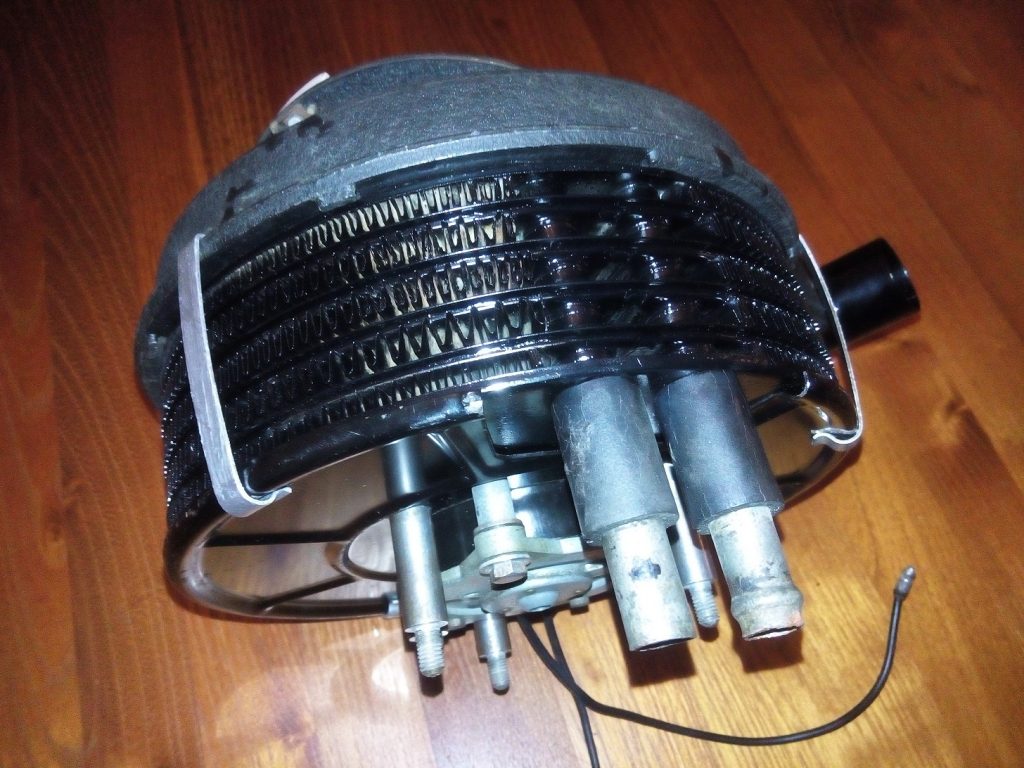
After looking at it in more detail I noticed there was a bit of oxidation visible in the area around the connection pipes.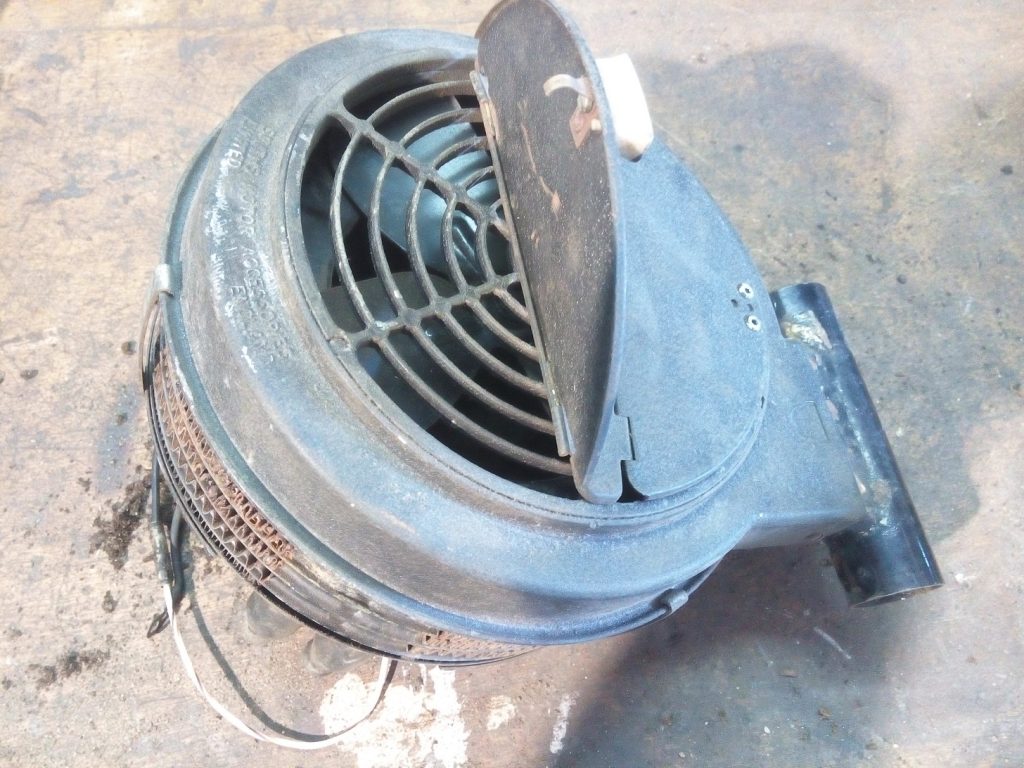
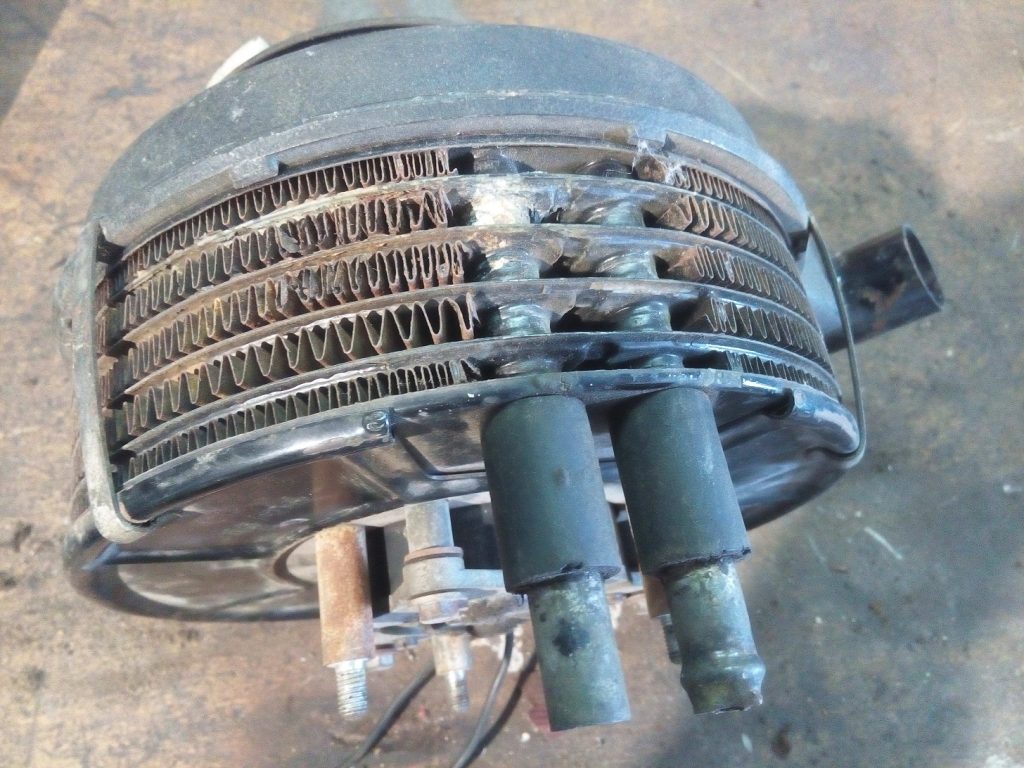
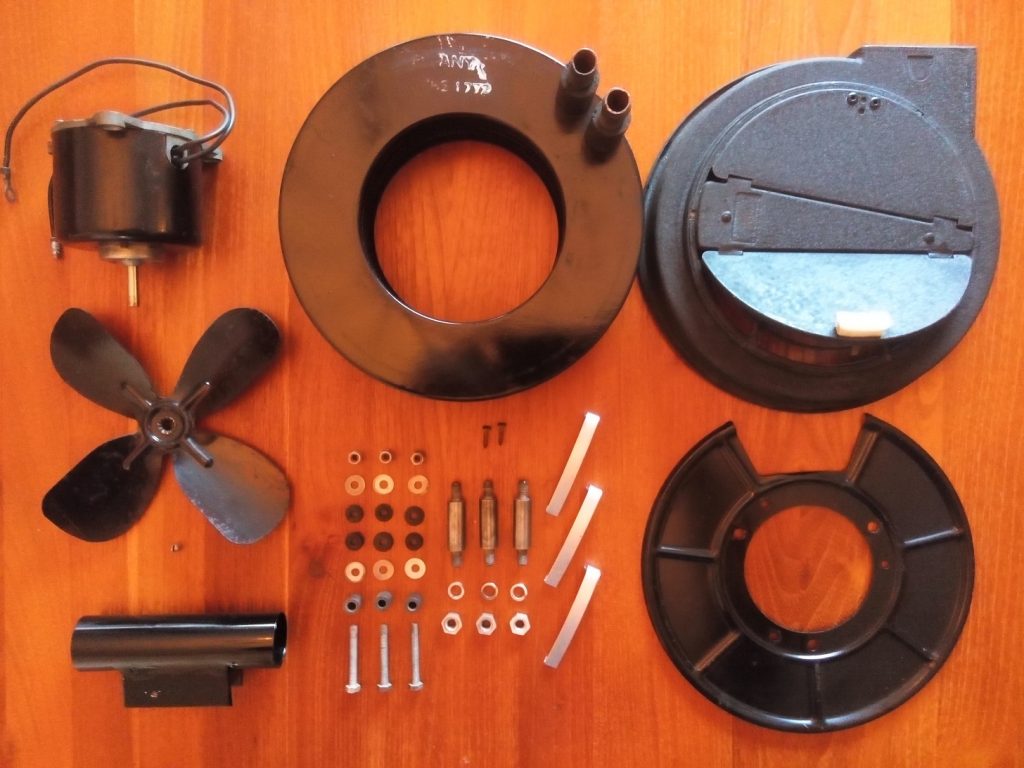
I started with dis-assembling everything. Most parts still looks fine and can be finished with some retouching especially the upper part, which is made of cast aluminium, is finished with special wrinkle paint. The rest of the painted parts are just in gloss black paint. To prevent leakages after installing I pressure test the heater core with 0.5 bar (normally the cool system of the car will not become higher then 4 LBS). Although the heater core has signs of leakage the core is still water tight. After glass beat blasting and cleaning it can be finished with several layers of gloss black paint. The upper part is painted only partly the preserve the numbers painted on it from the factory.
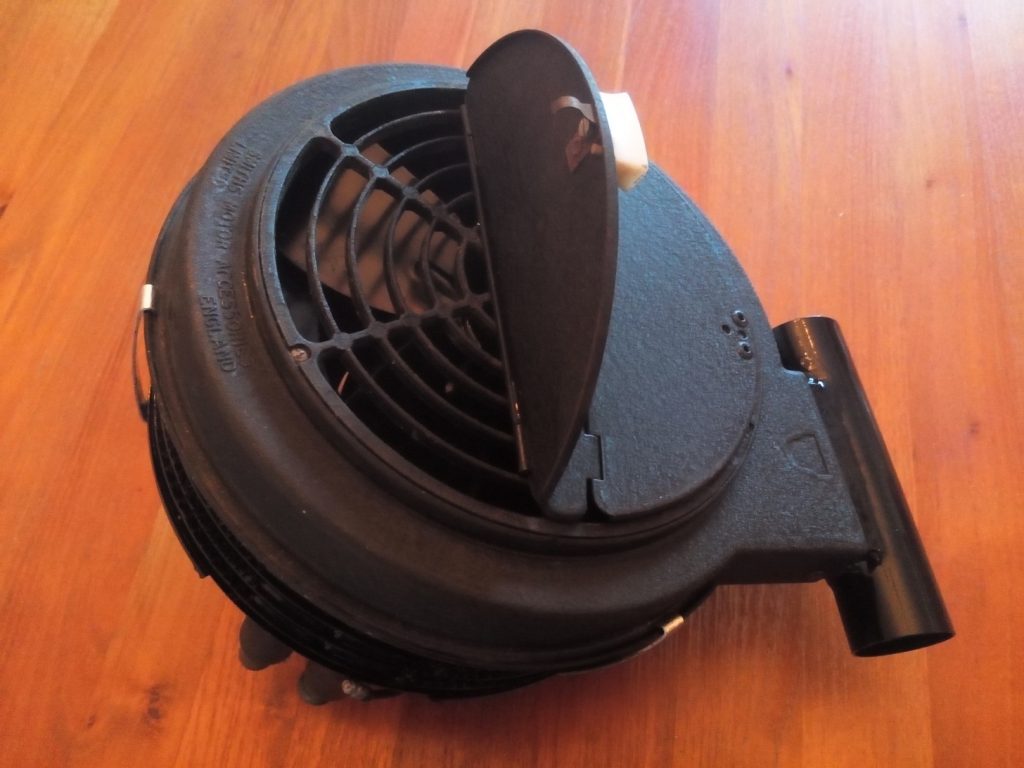
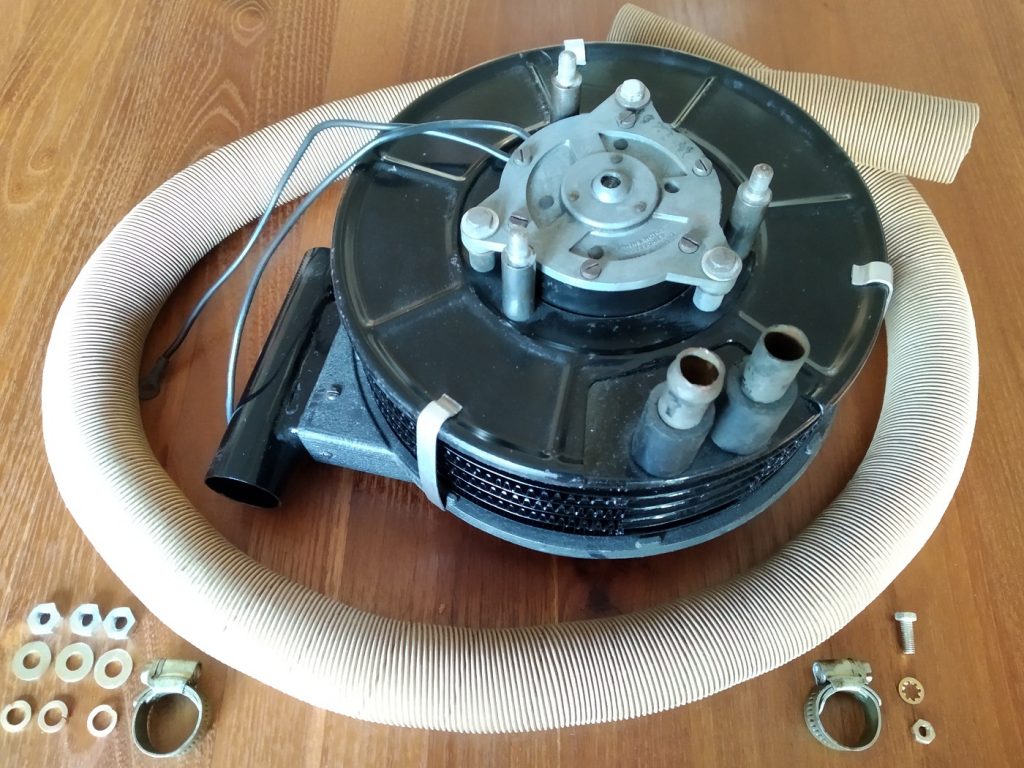
Now that all parts are thoroughly cleaned, painted and retouched everything can be re-assembled again. Also the 12V motor has been tested, after applying some crease inside, it spins without making any noise. (the carbon brushes are OK, and there is no play on the bearings)
