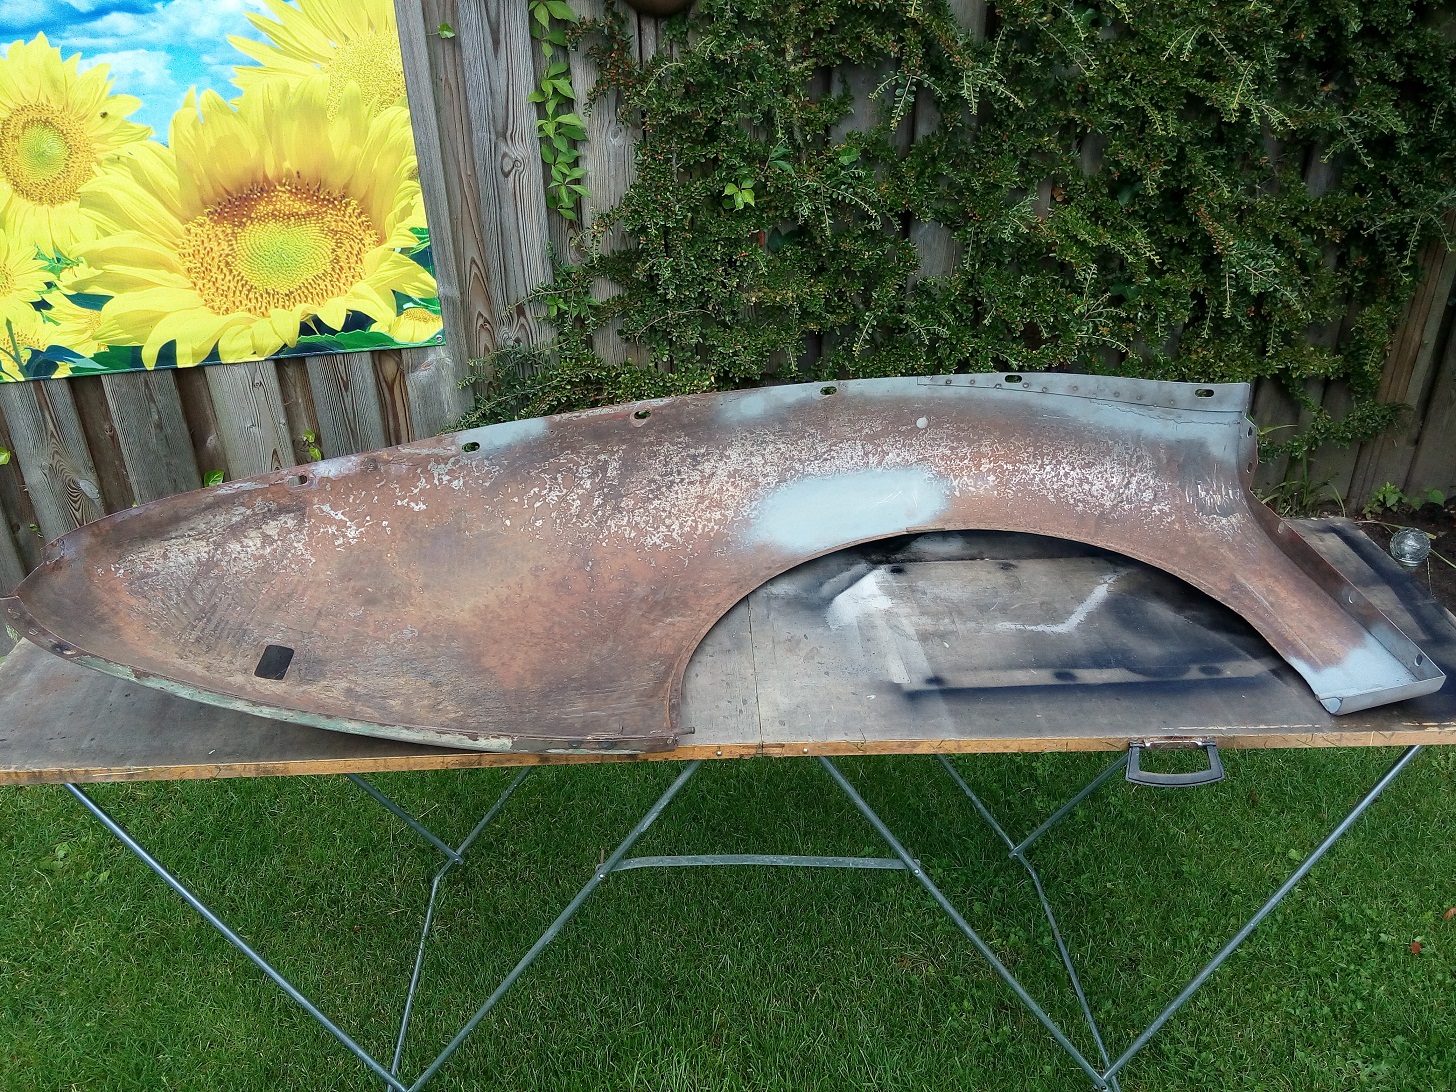
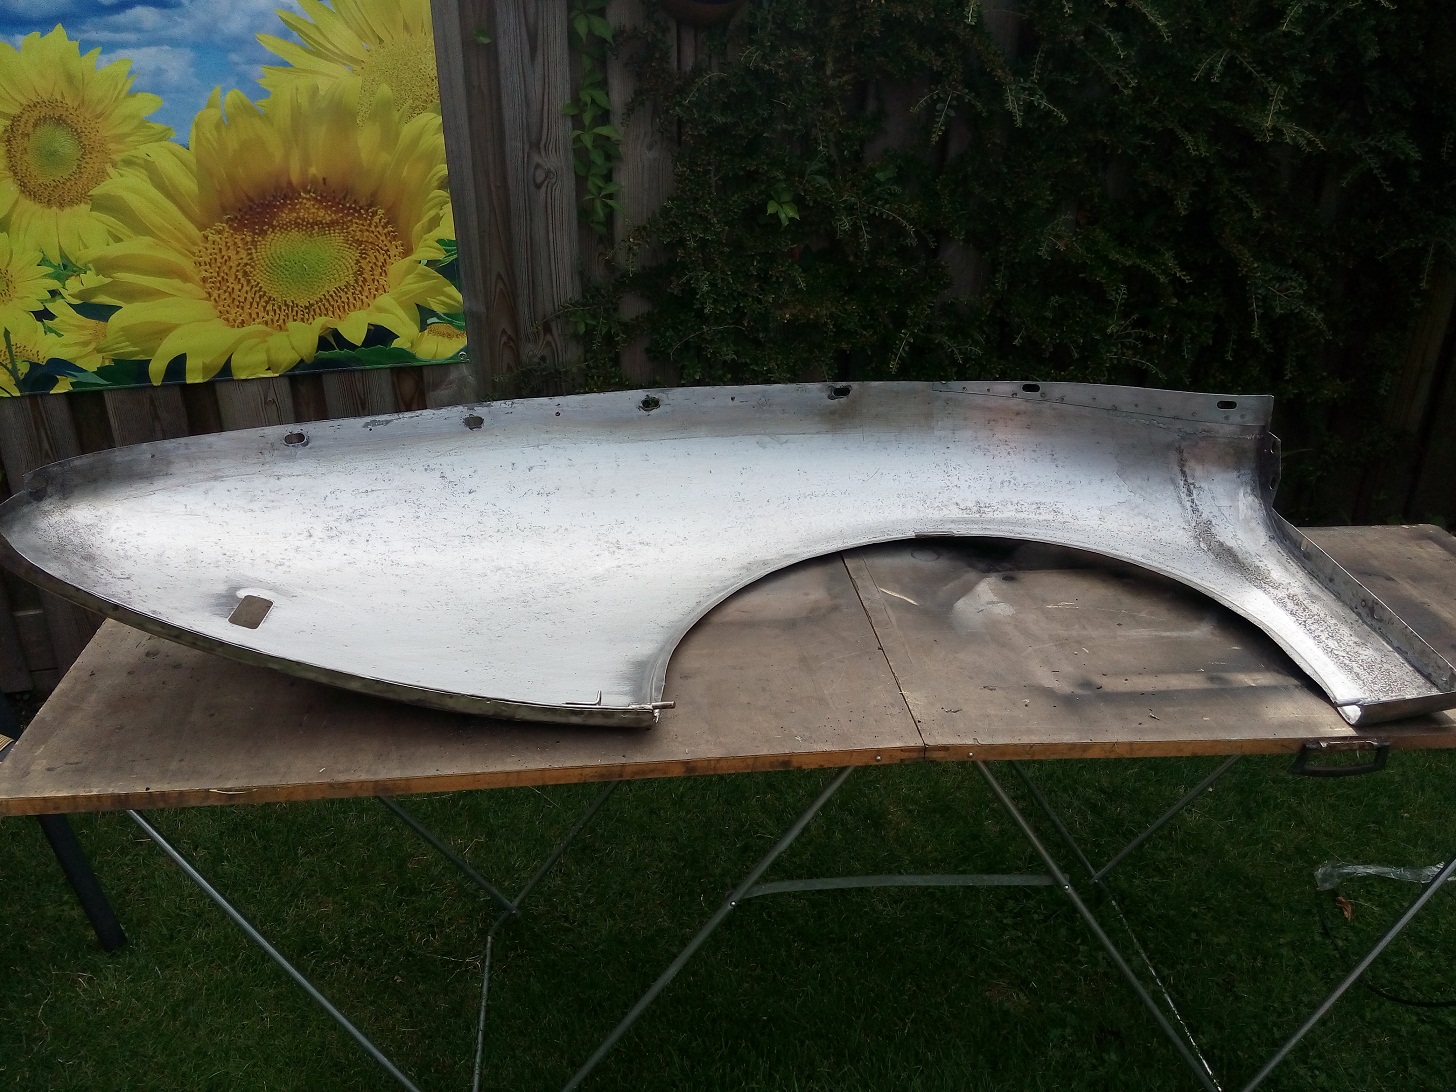
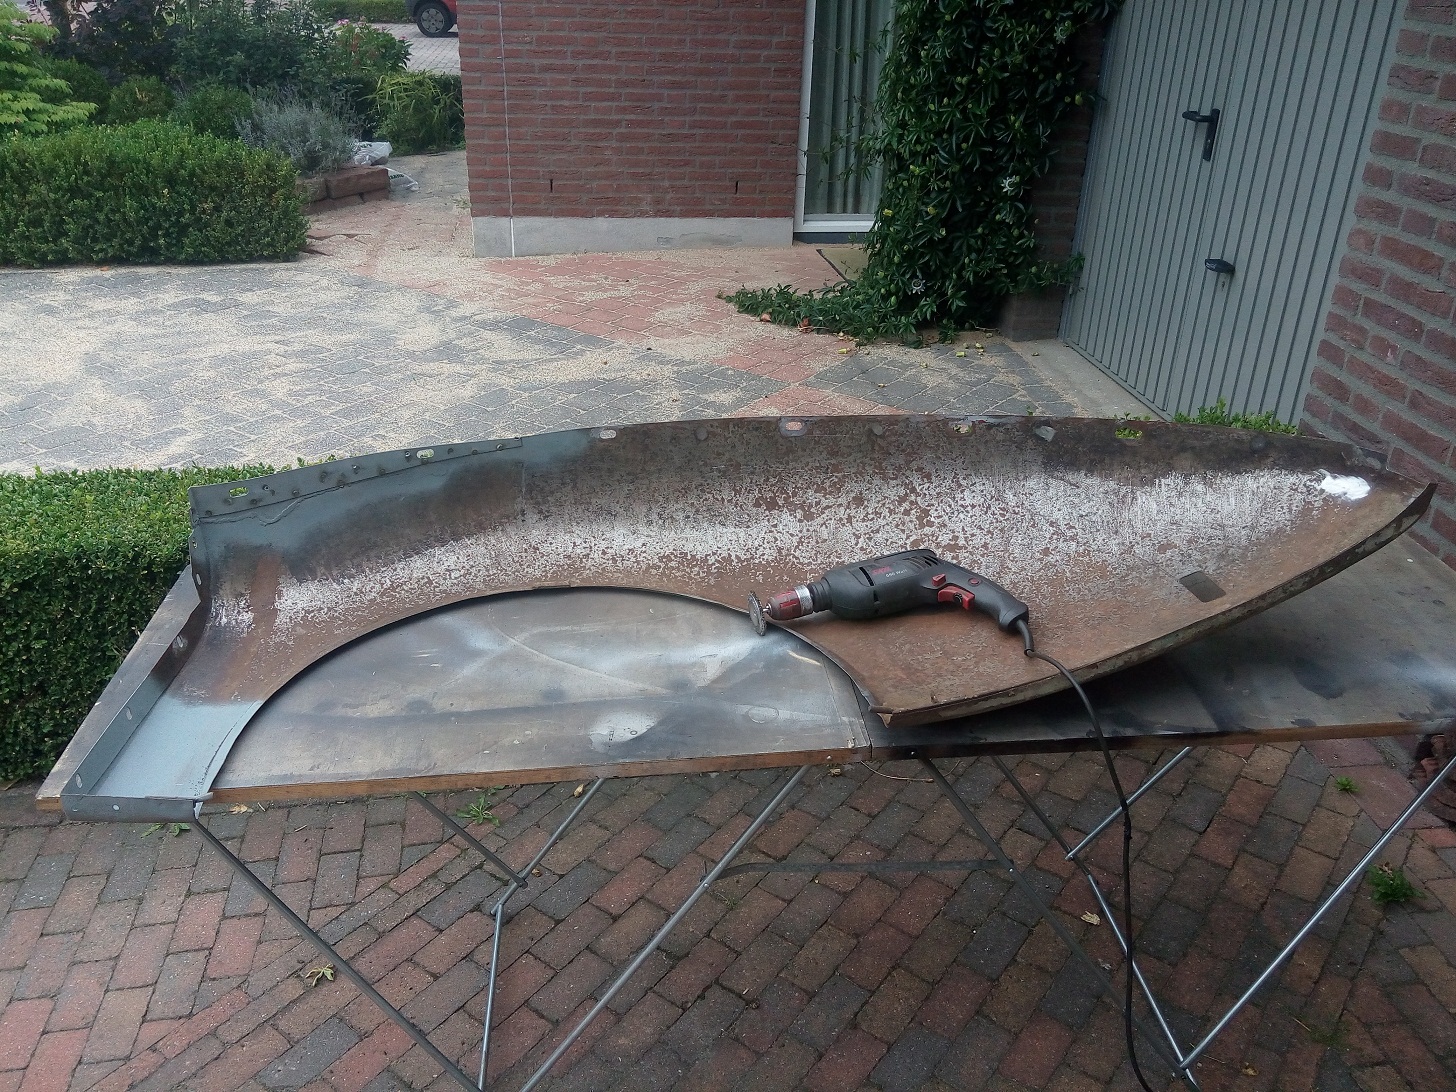
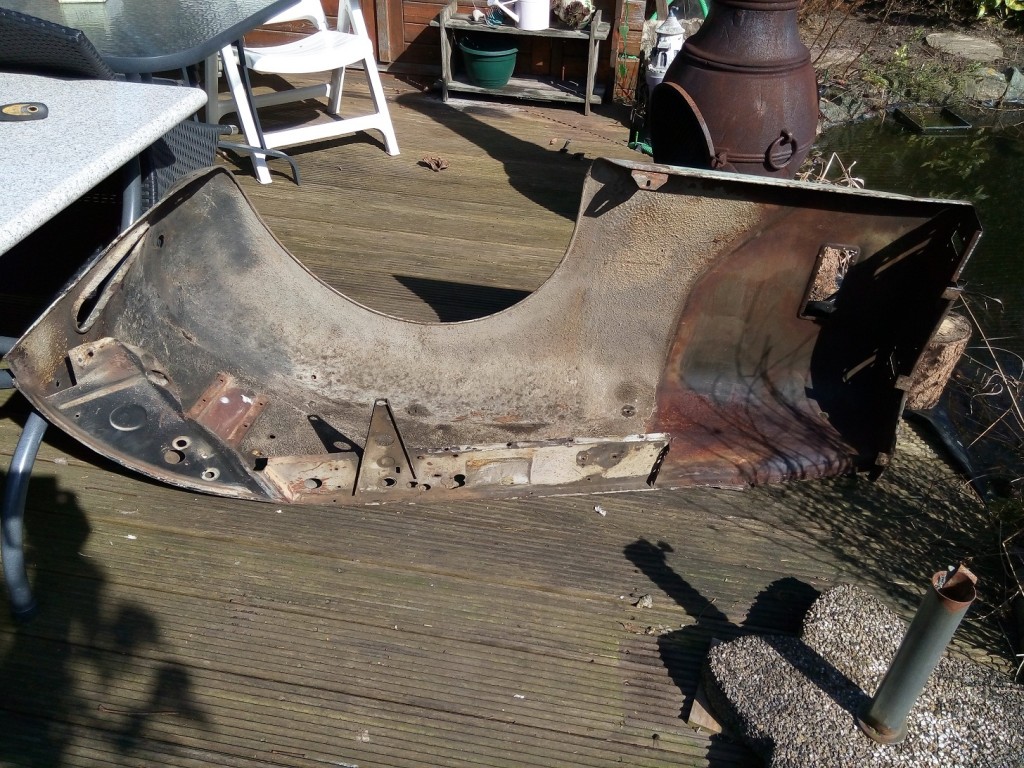
One of the last big metal work pieces are the front wings. After the left front wing was cleaned thoroughly the following repairs need to be done before the wing can be painted inside.
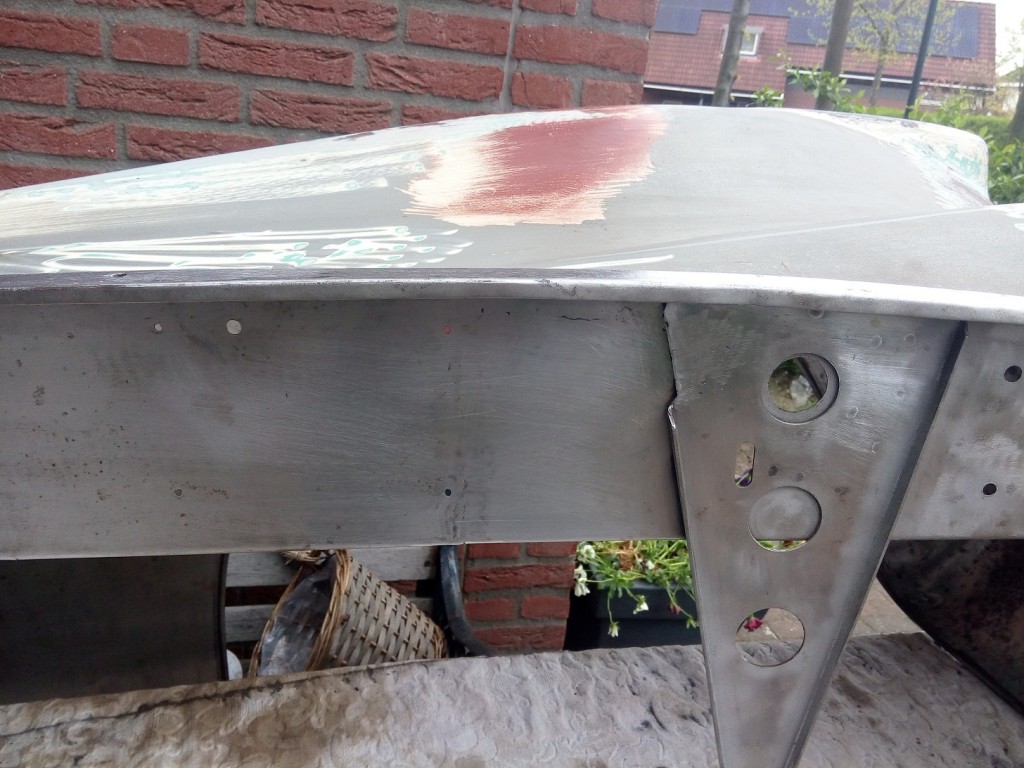
- The valance assembly has several holes of 1″” drilled for some unknown reason.
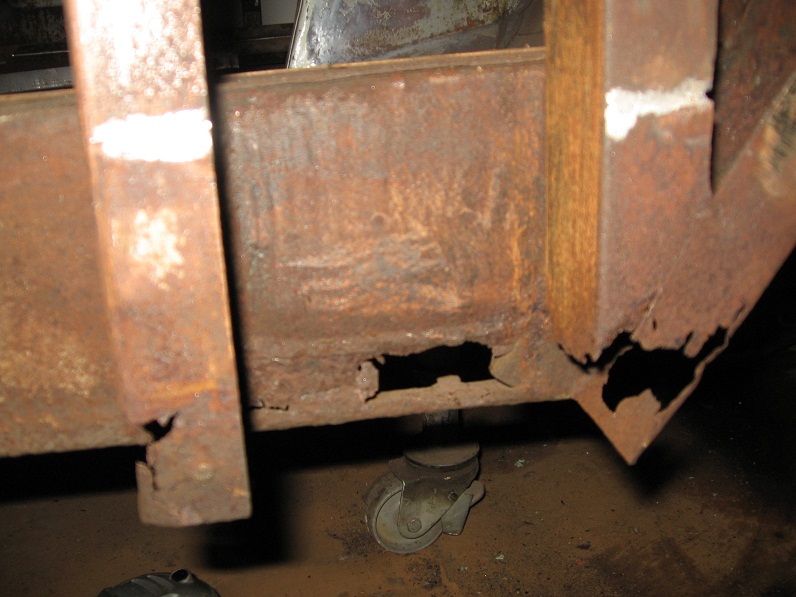
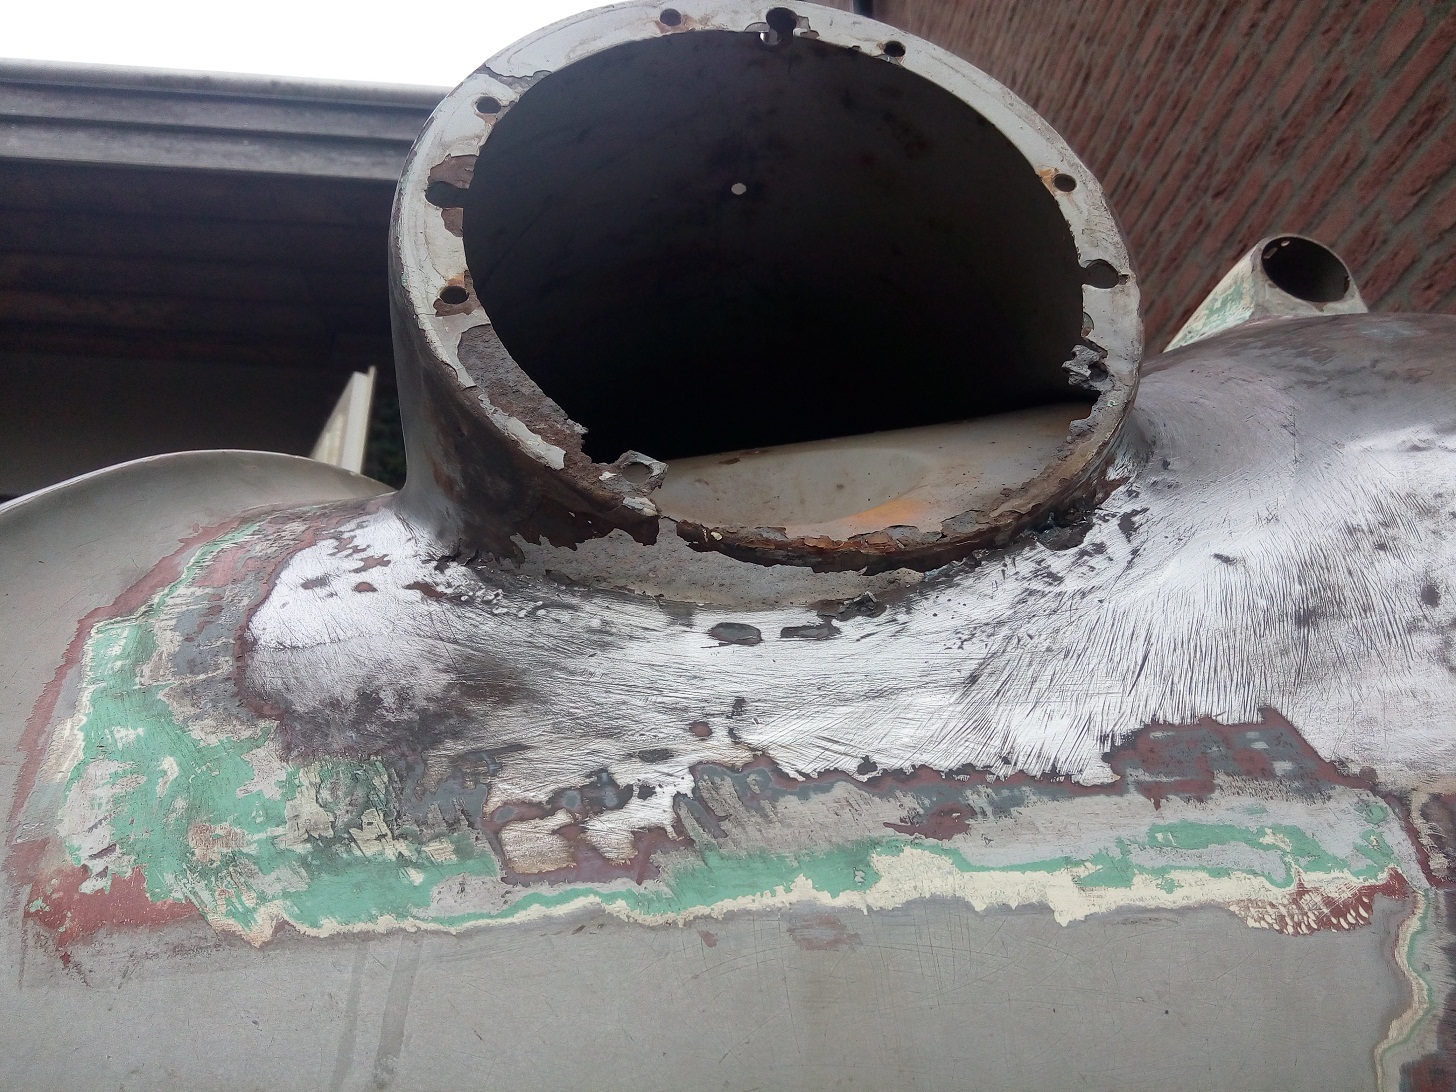
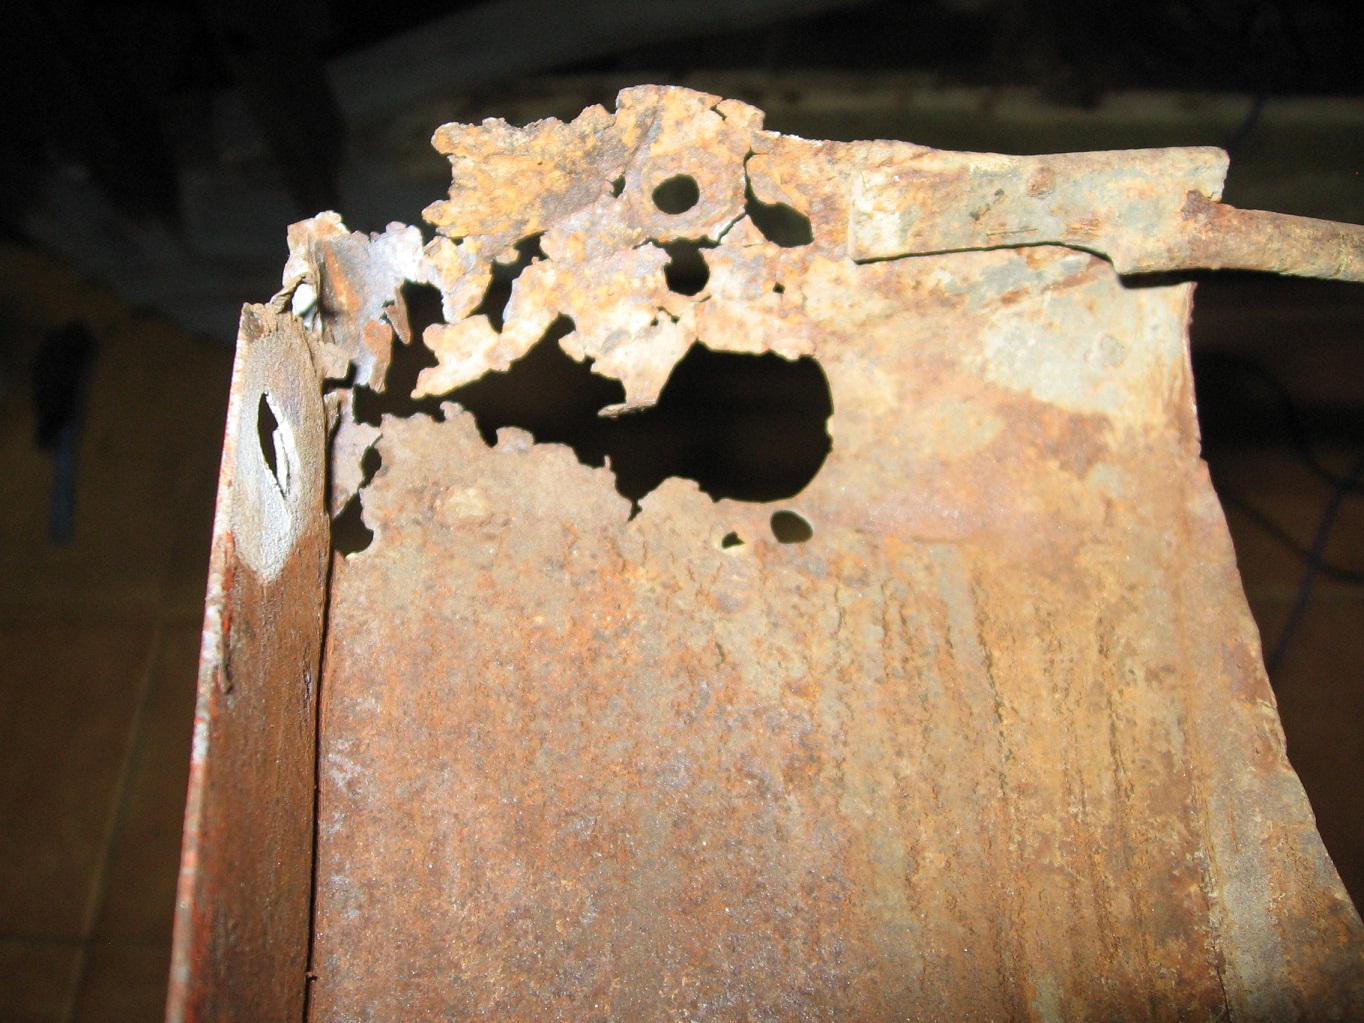
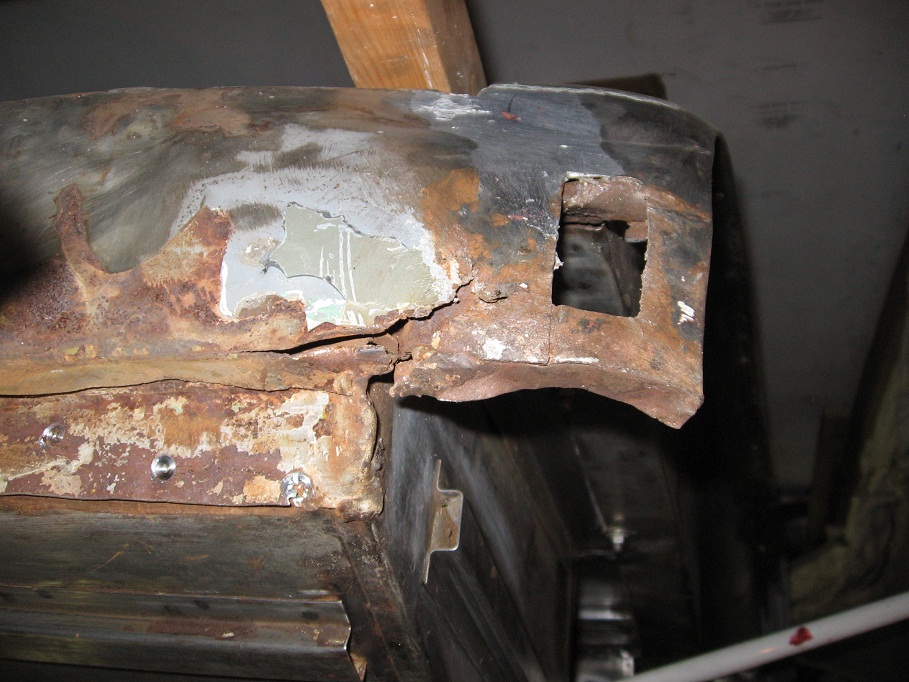
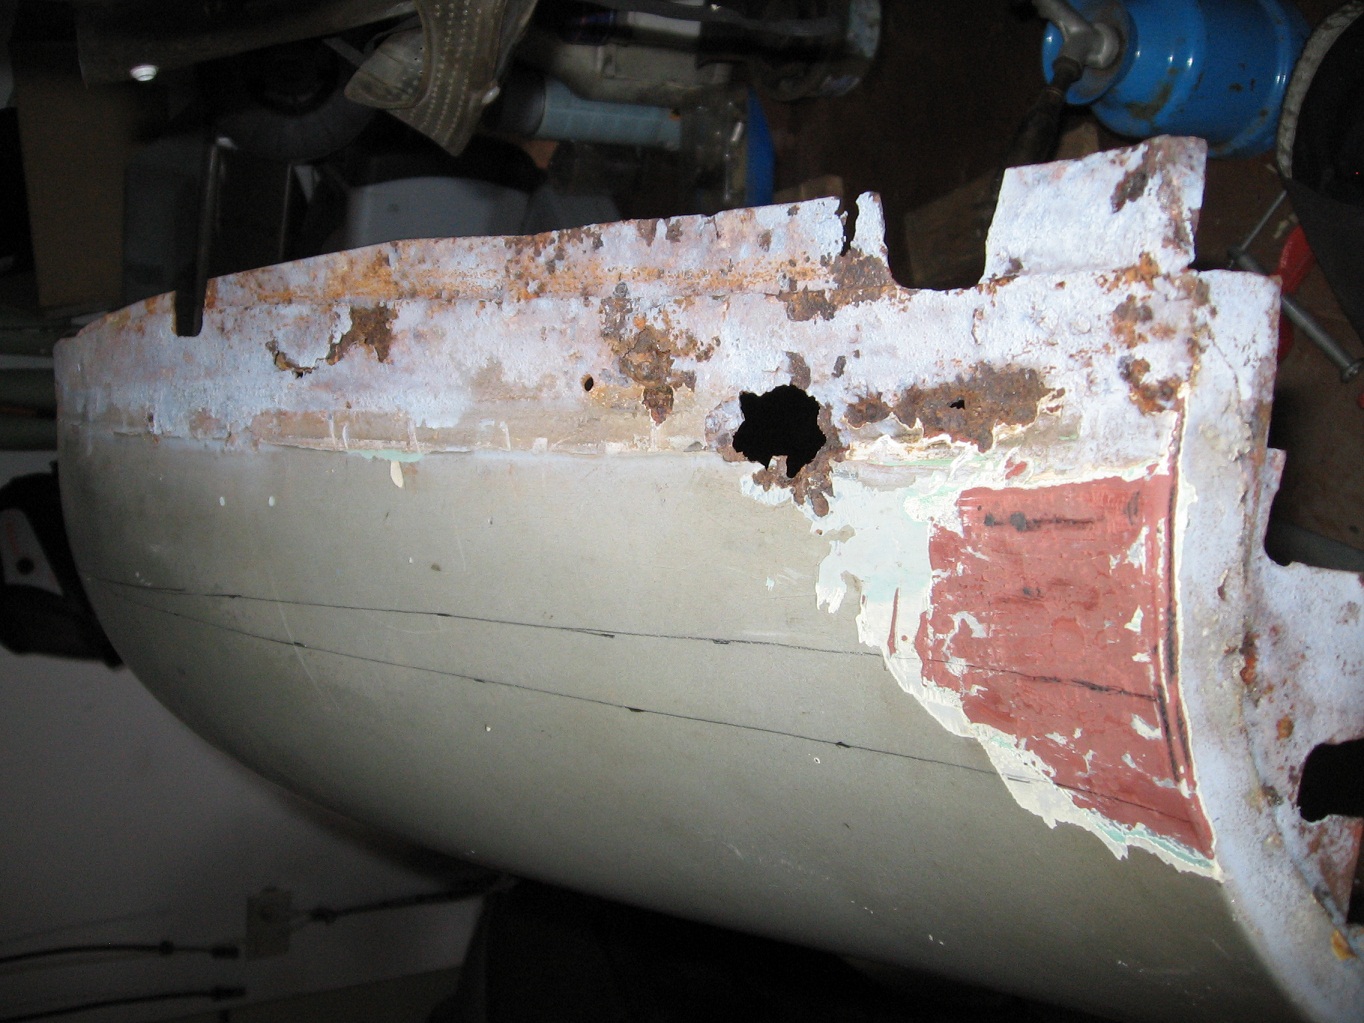
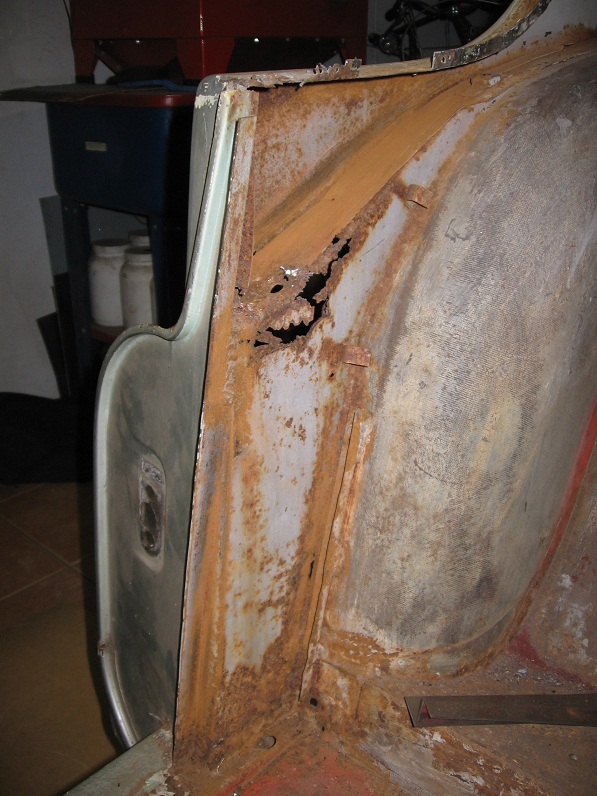
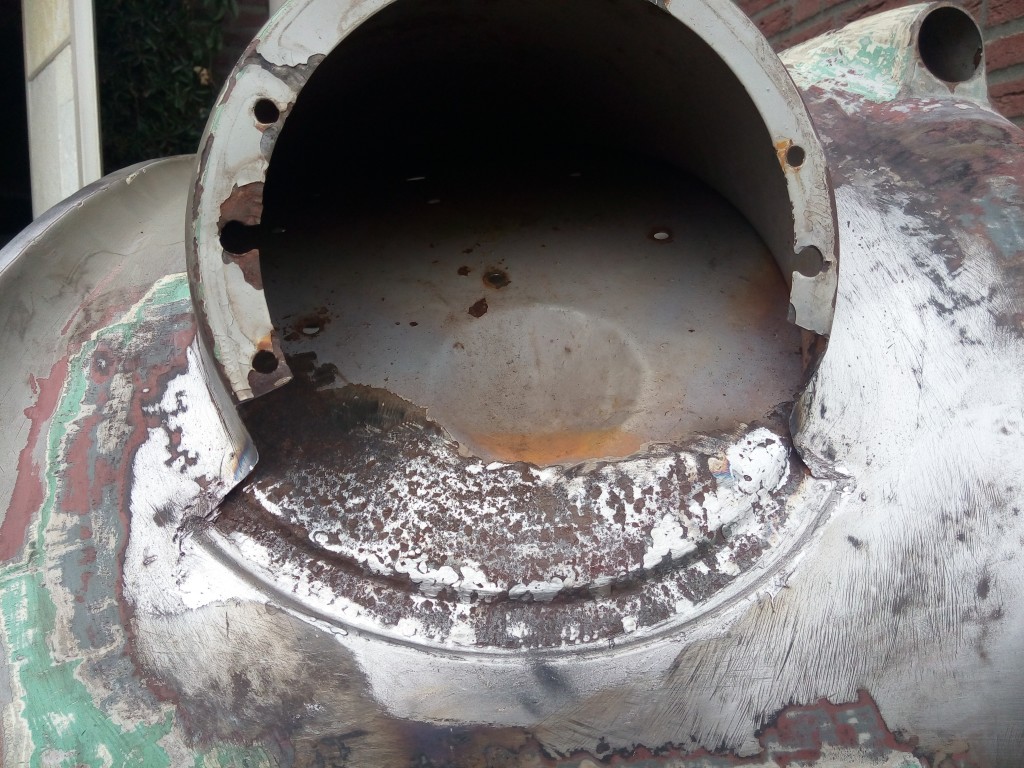
- Headlight pod has extensive rust in the under side of the headlight mounting area.
- The lower edge of the front side has a small hole due to rust (about 2″ by 1/4″)
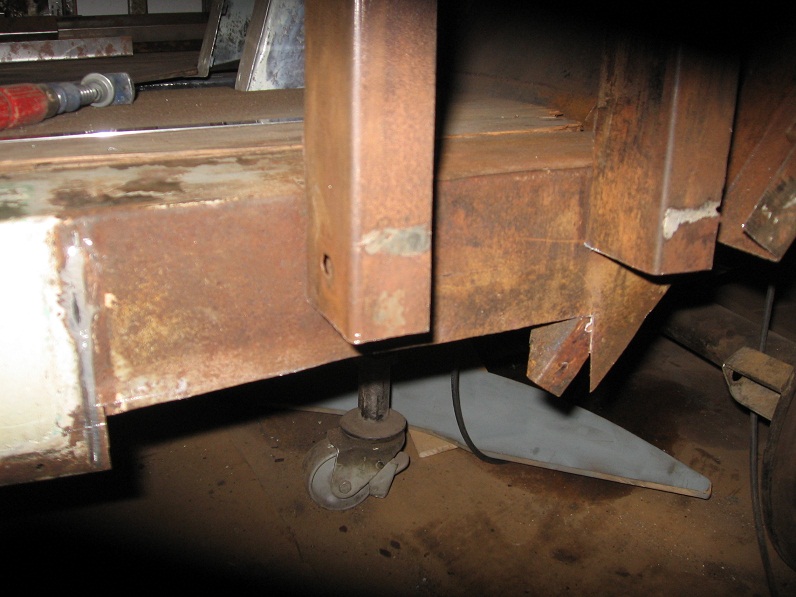
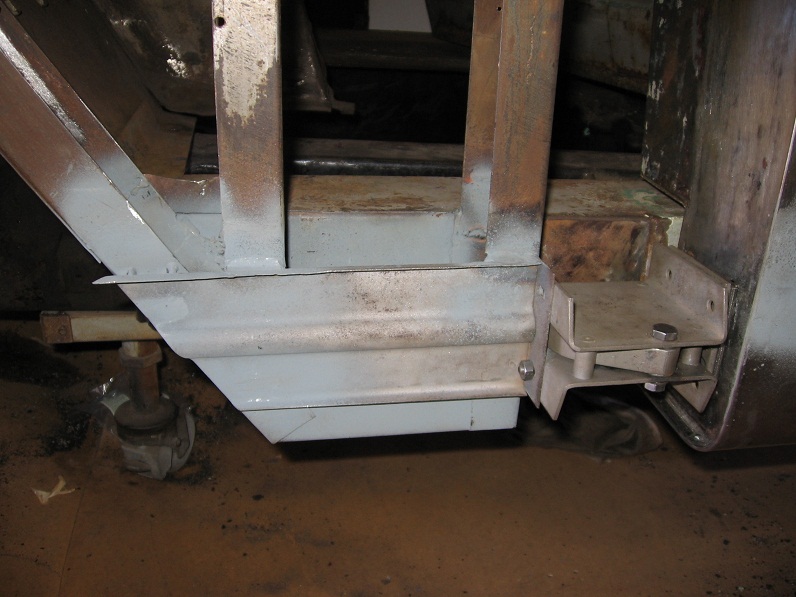
- The steady bracket which mount to the battery box has some rust
- Dents in the area around the flashing light (due to badly repair after a collision in the past)
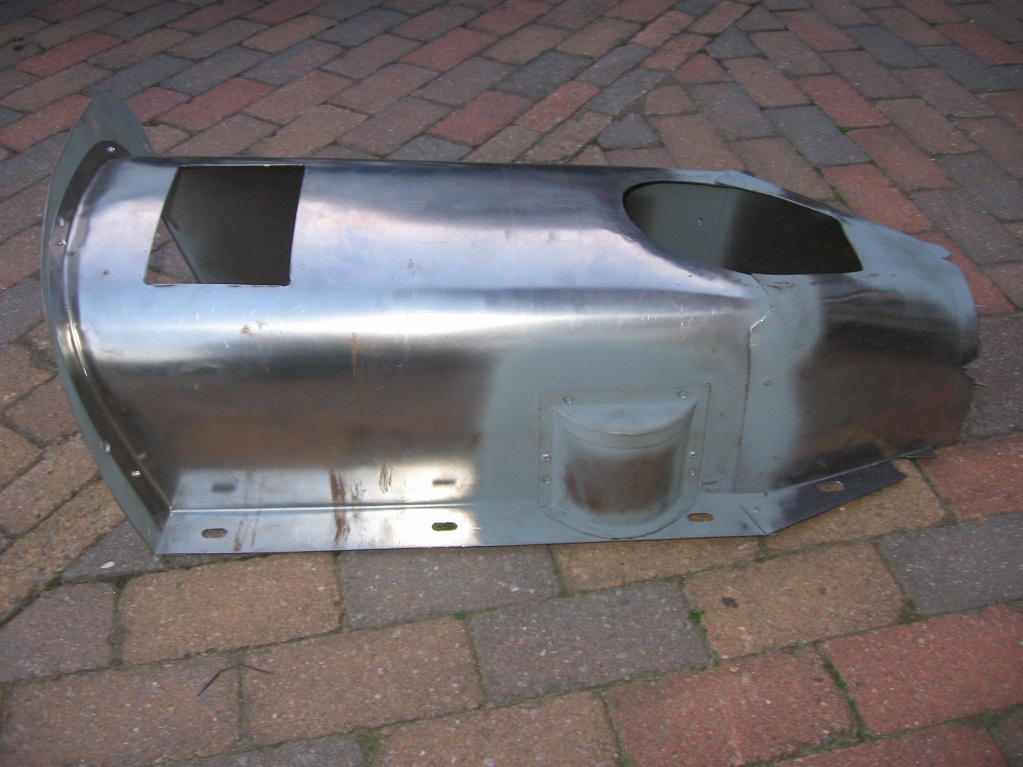
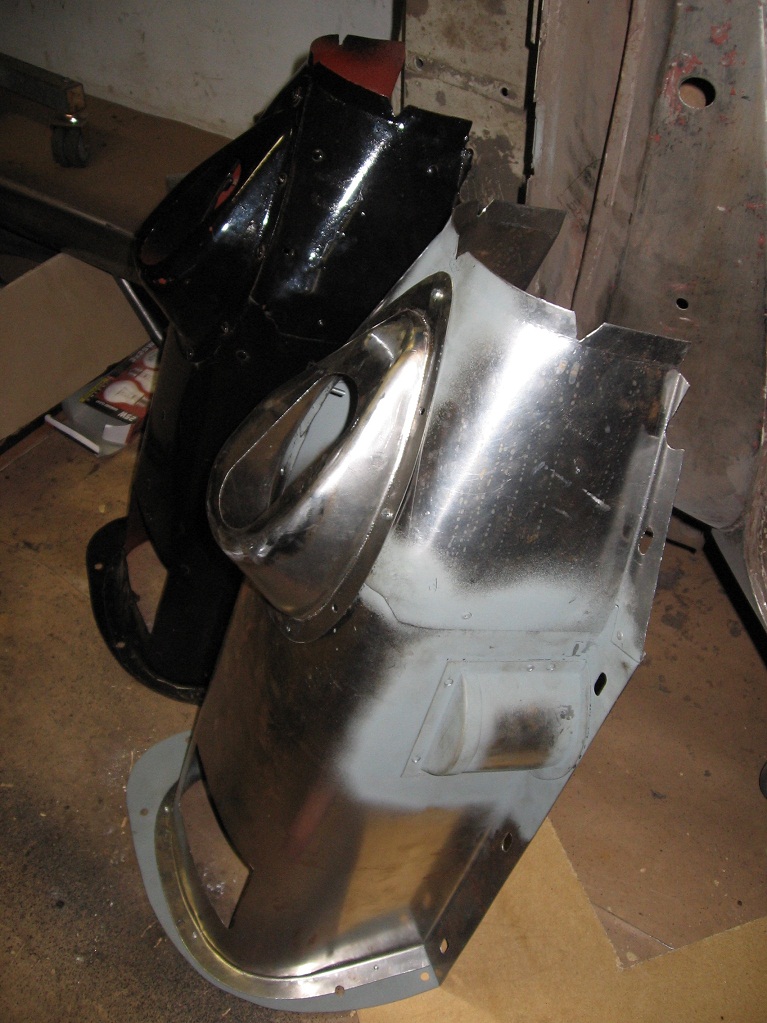
Cleaning the inside
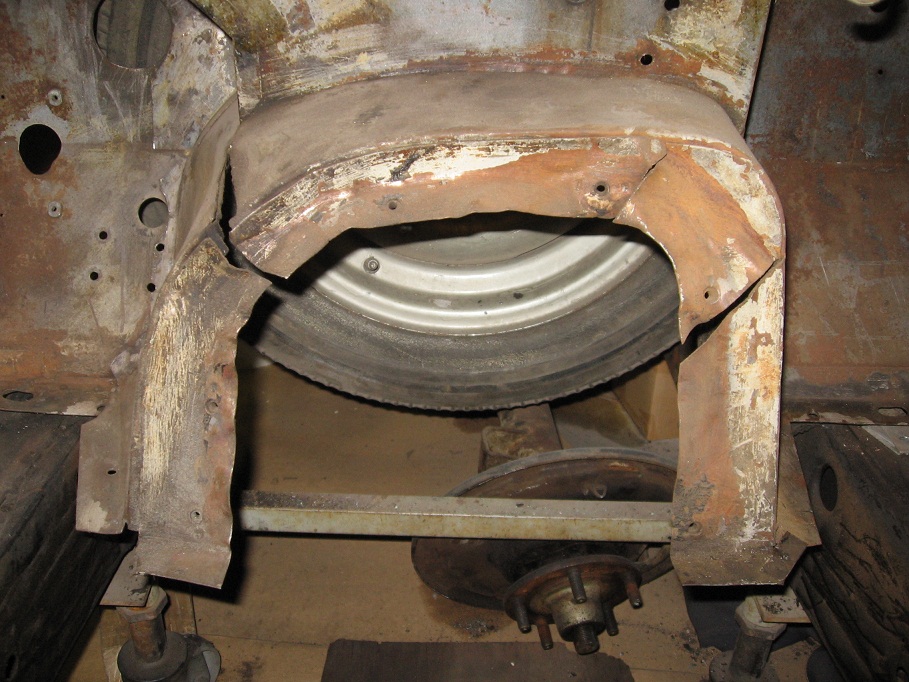
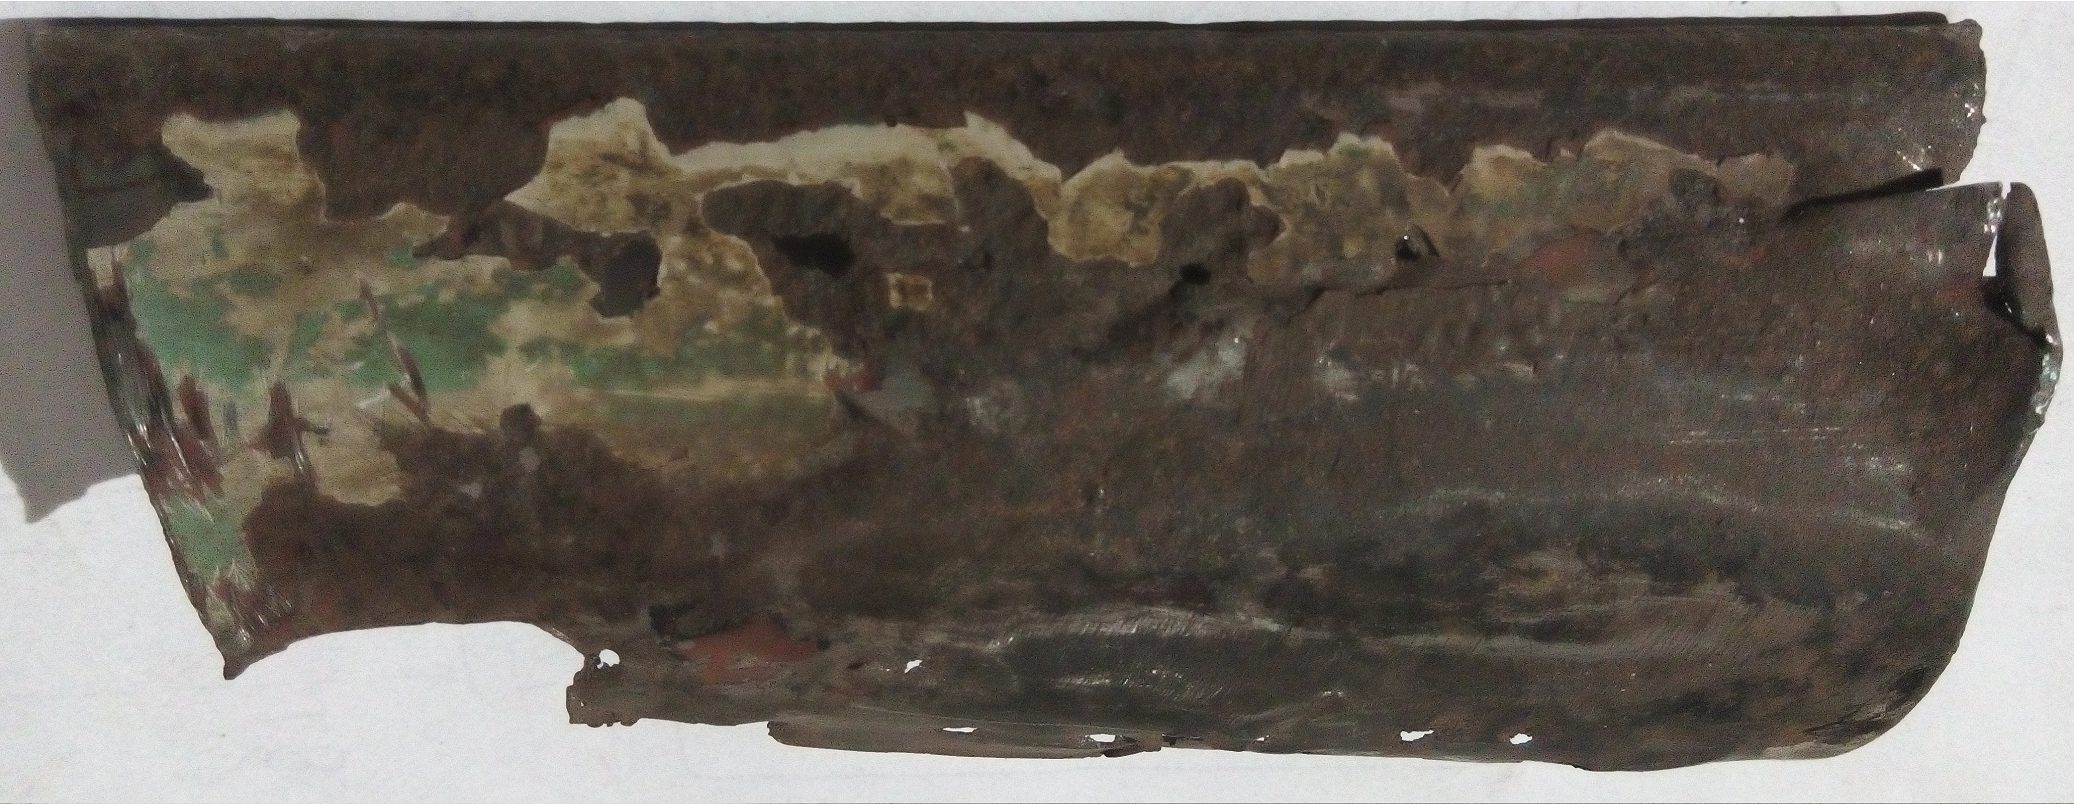
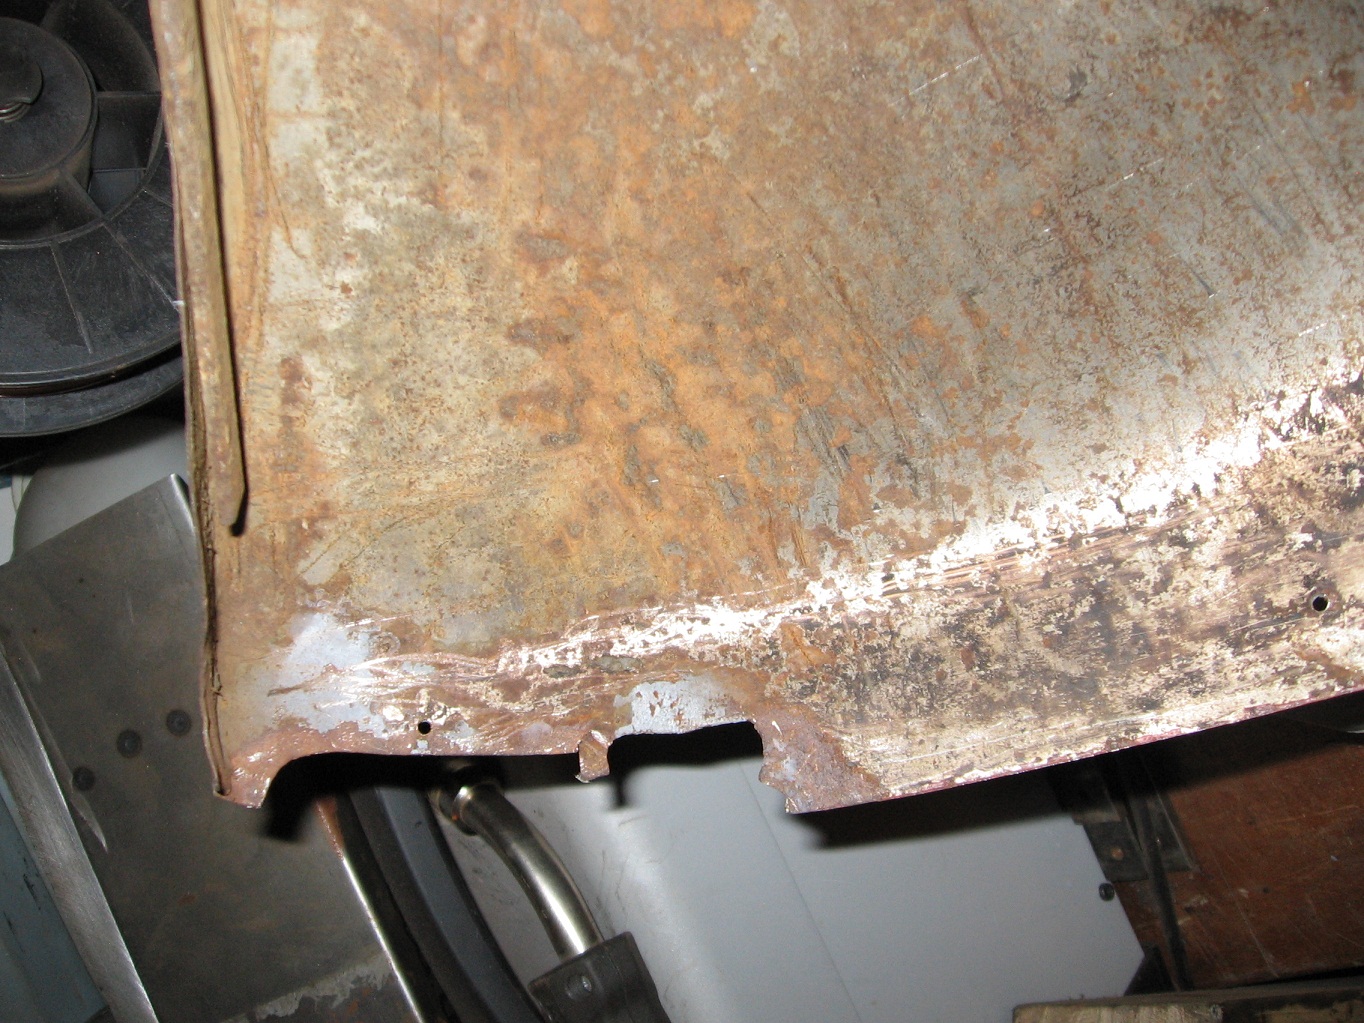
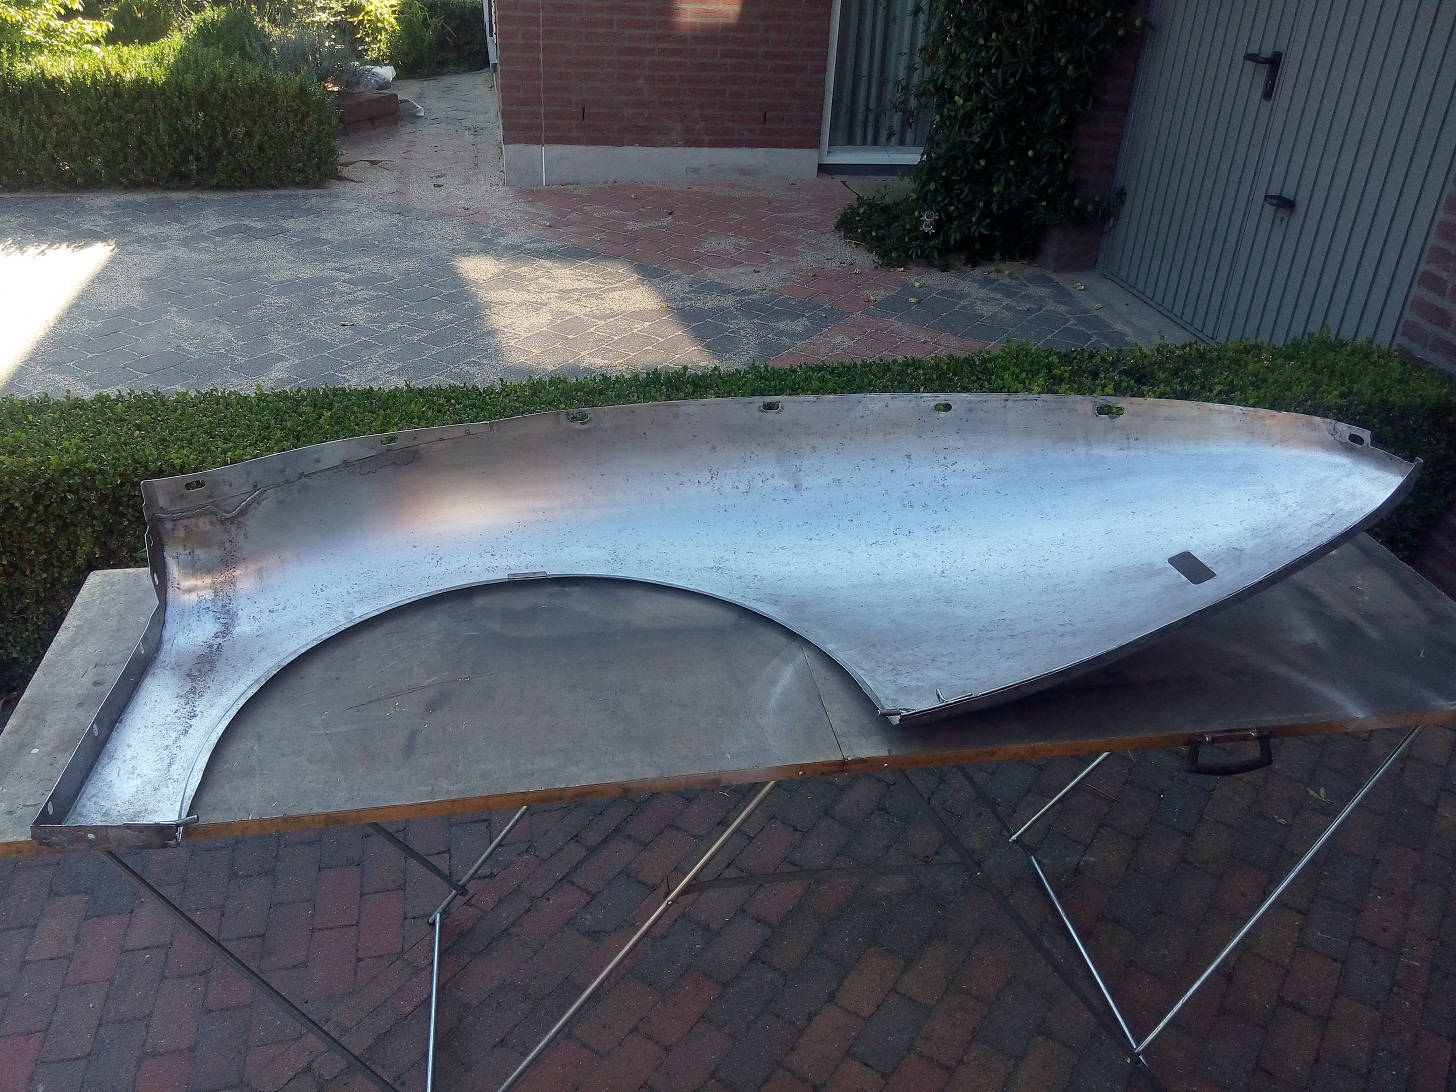
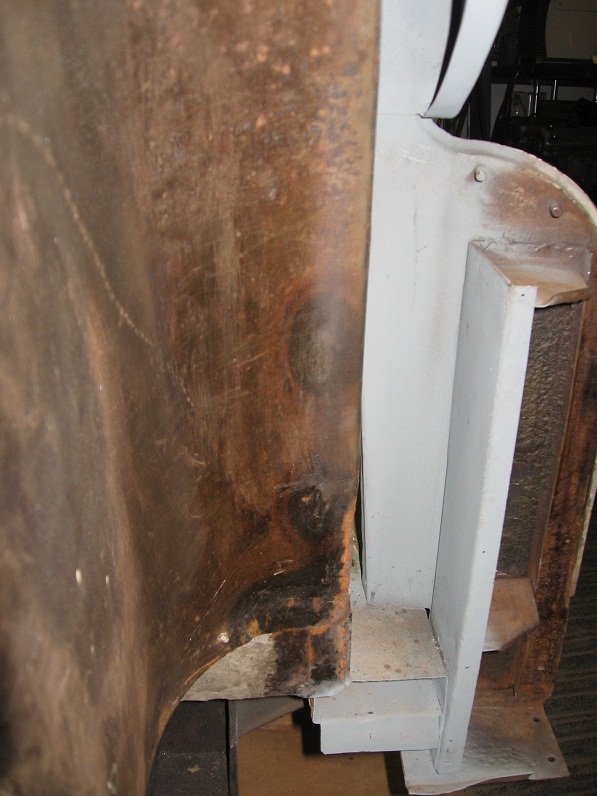
The inside of the wings are protected with a very tick layer of tar which protected the inside from rust.
From the photo it is clearly visible that it did his you very well. The right side, the part behind the mud shield, which was not protected is much more affected by rust.
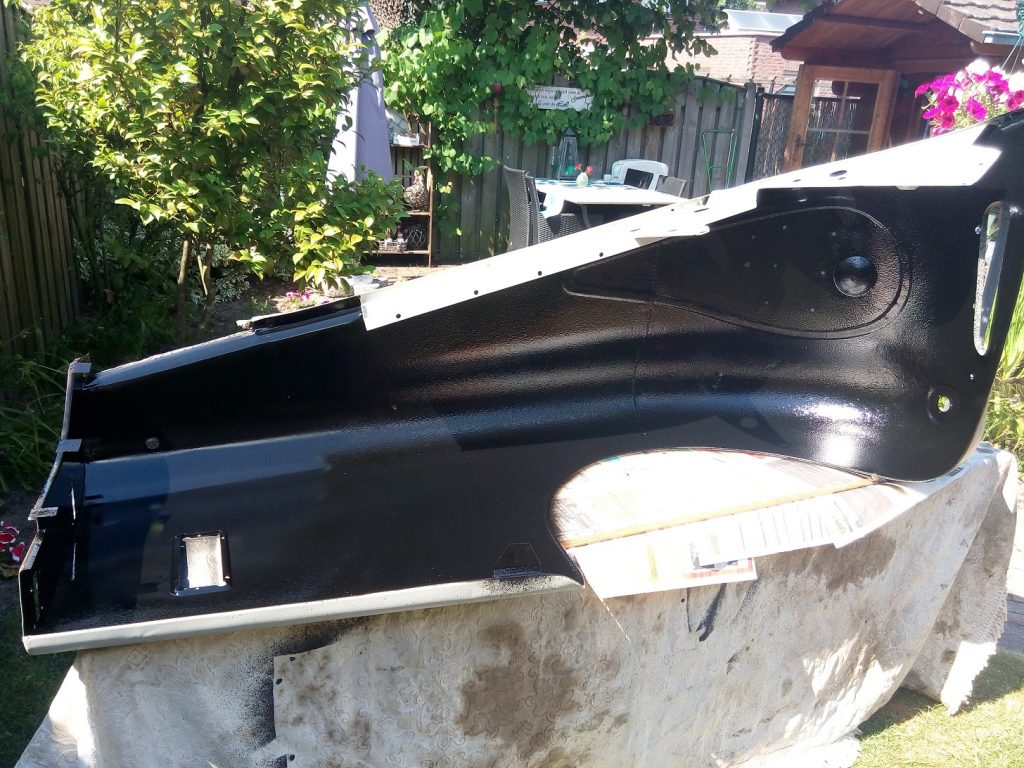
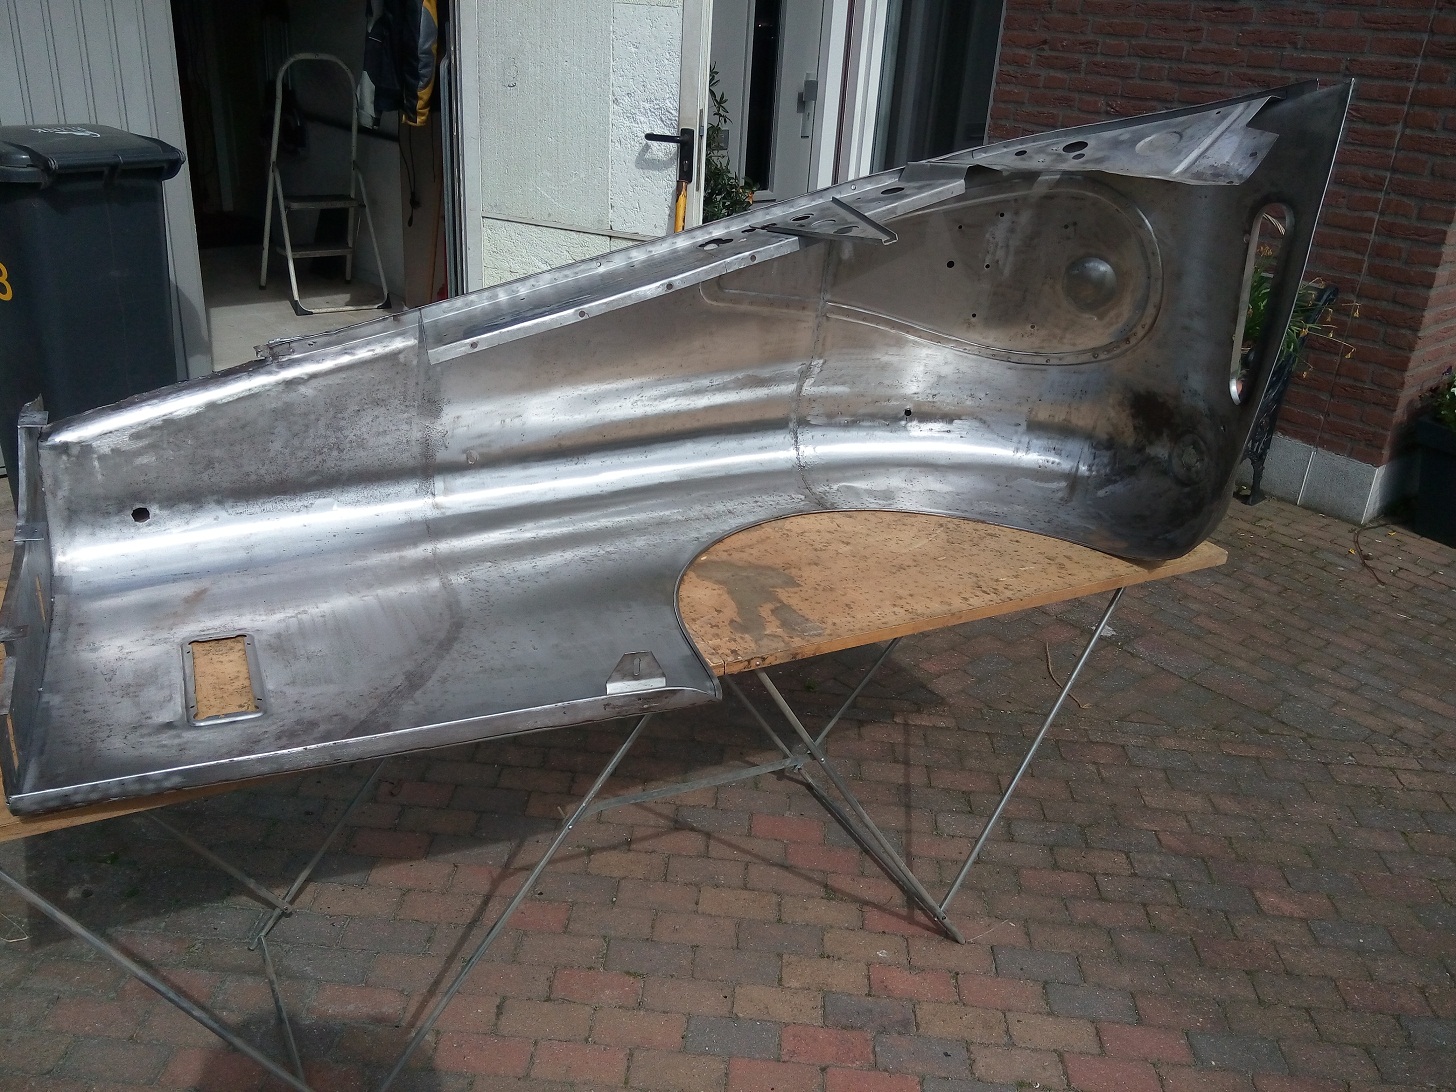
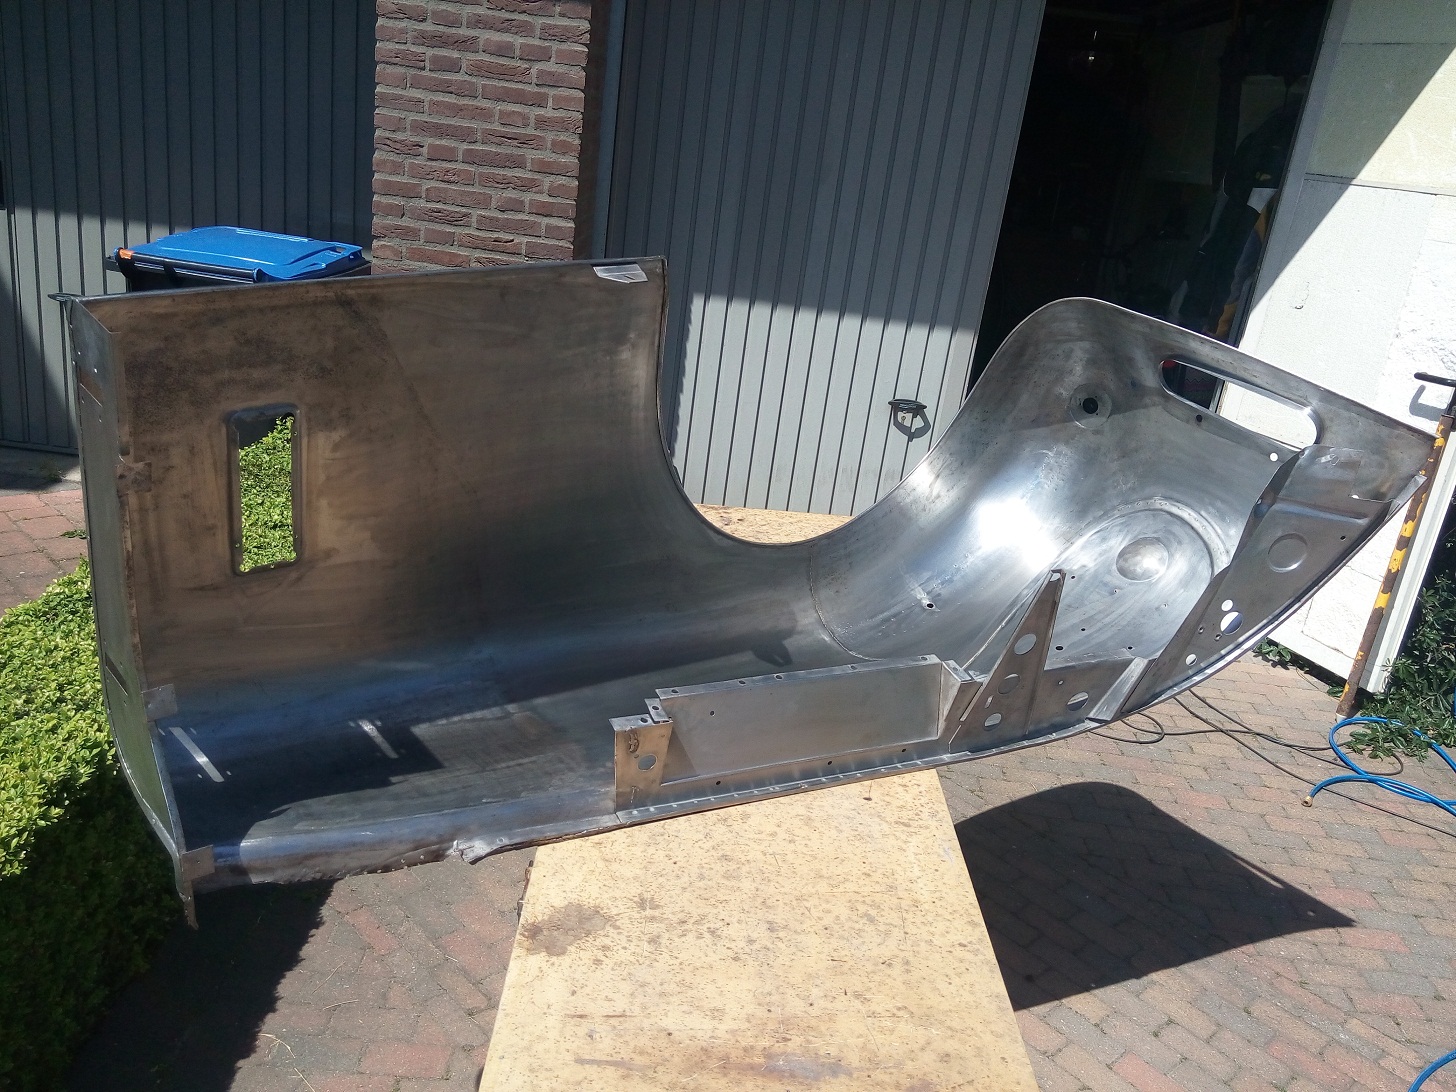
After the layer of tar was removed with a small torch and a putty knife the undamaged metal became visible.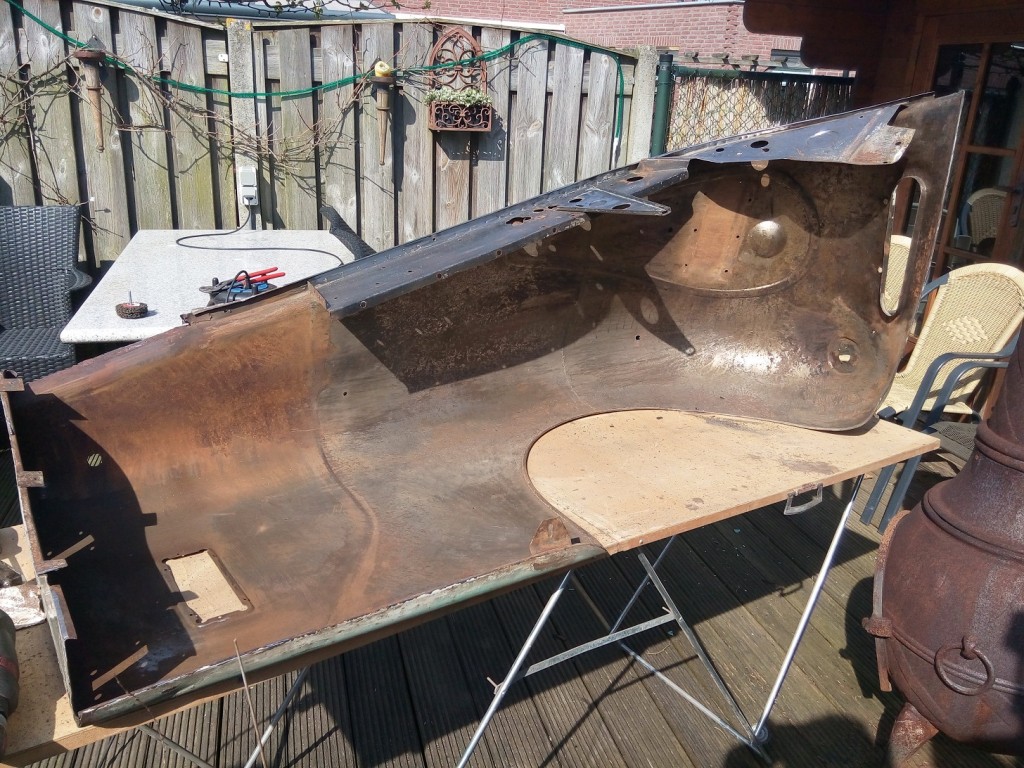
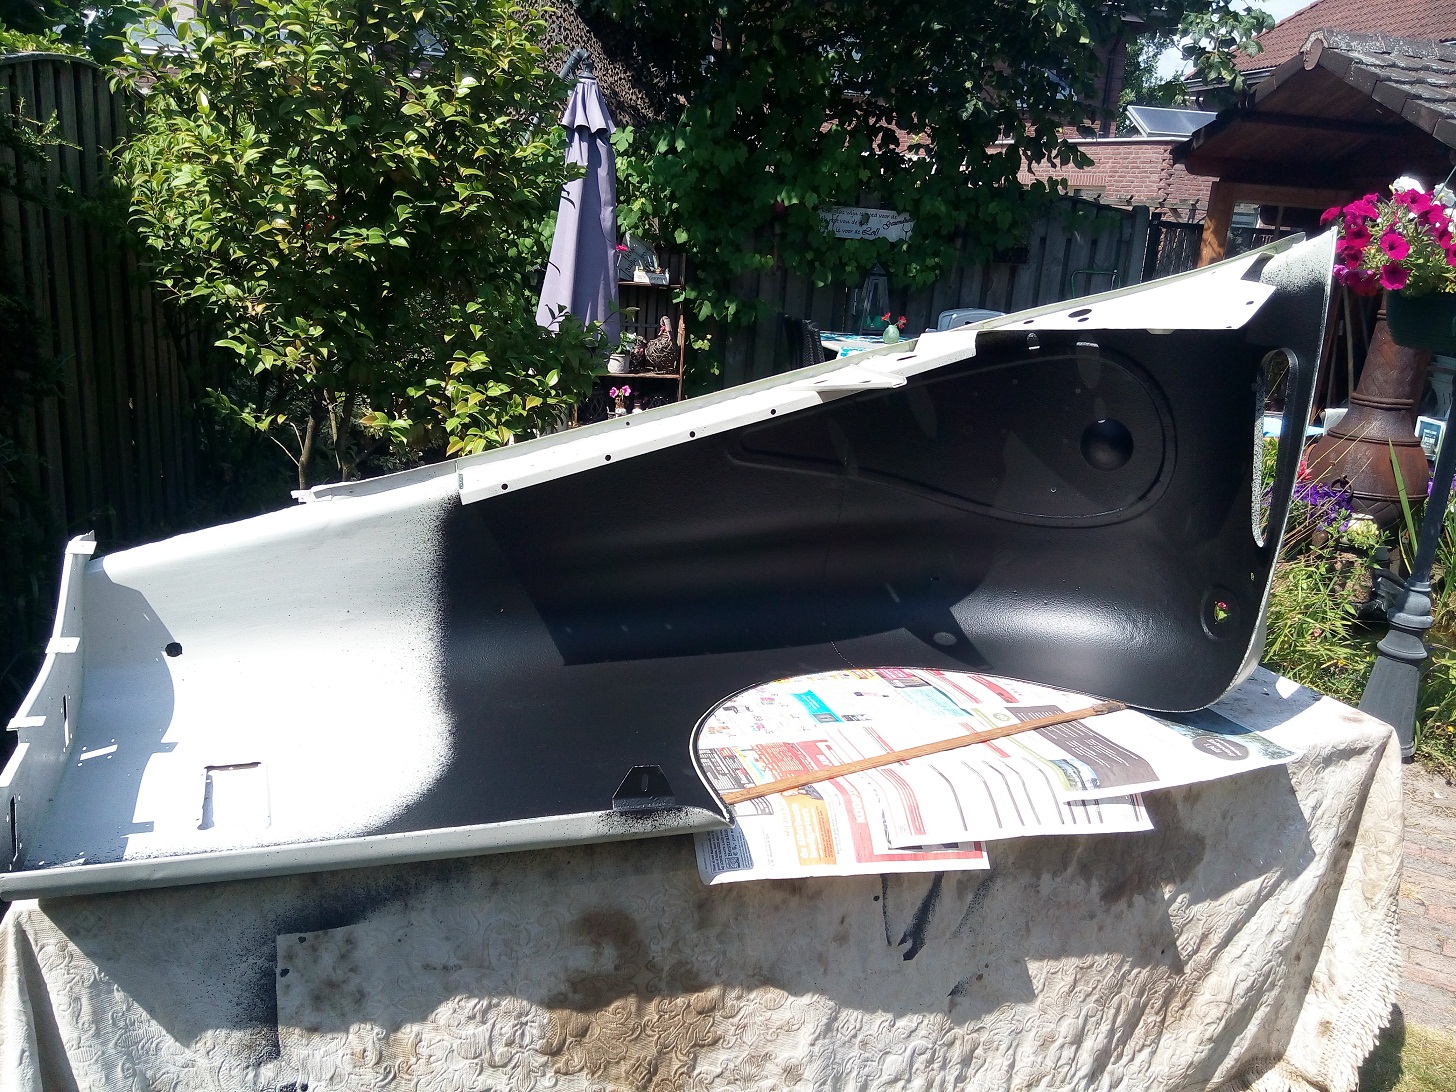
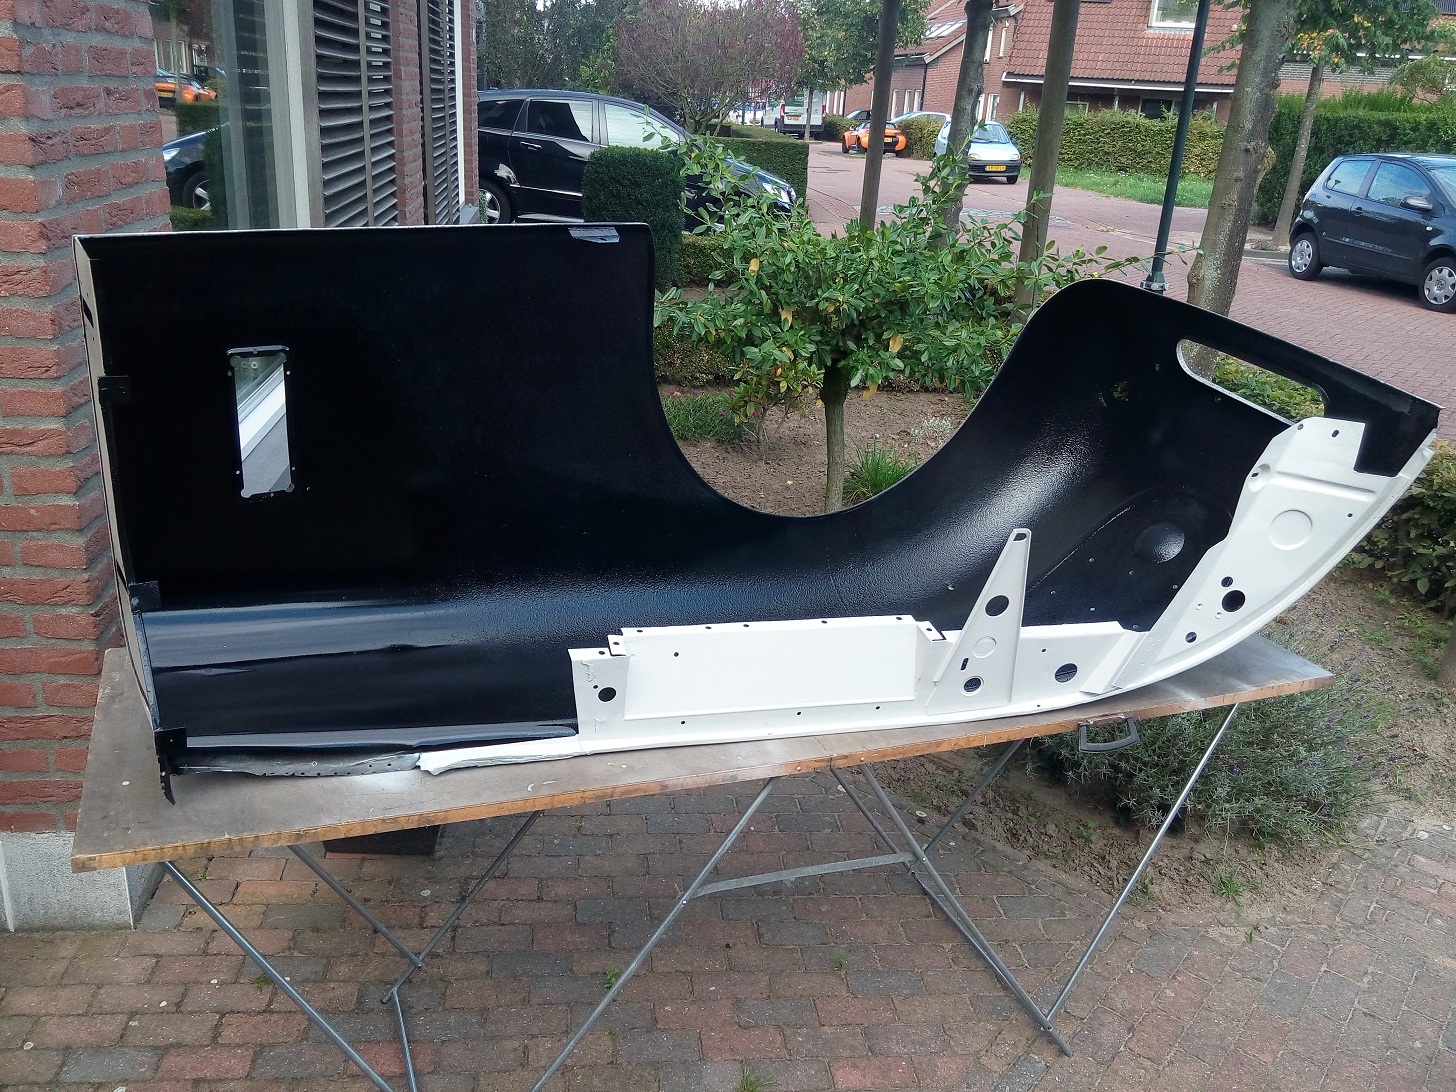
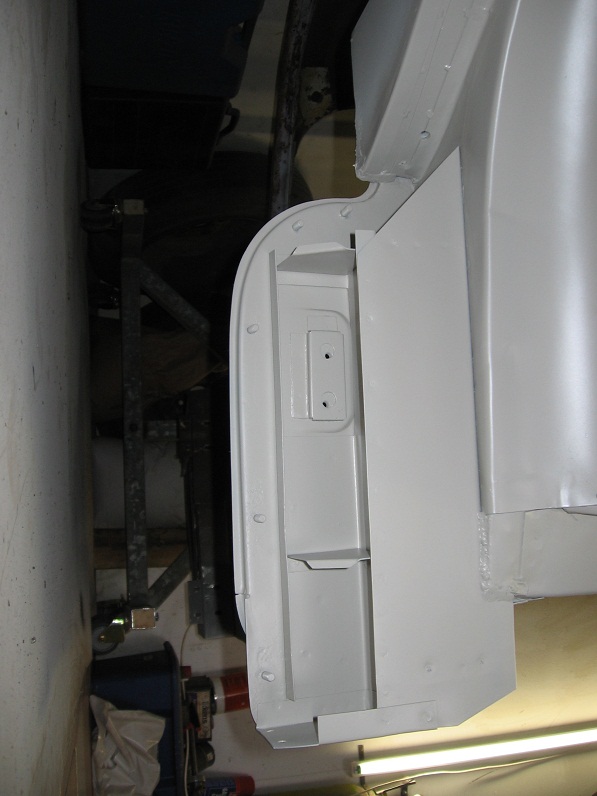
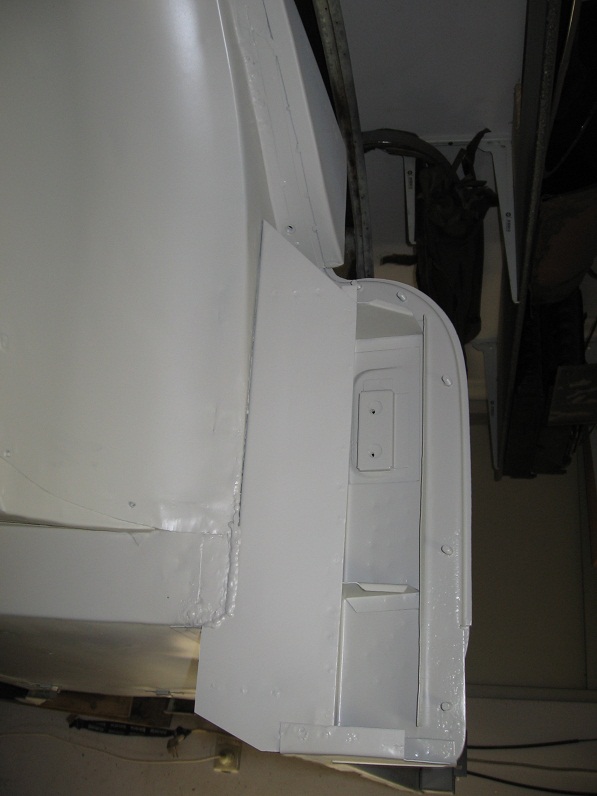
When the whole surface was cleaned with a poly-carbide steel brush the front wing looks like new again. All difficult to reach area’s are now sandblasted so the inside is now ready to receive the first layer of epoxy primer.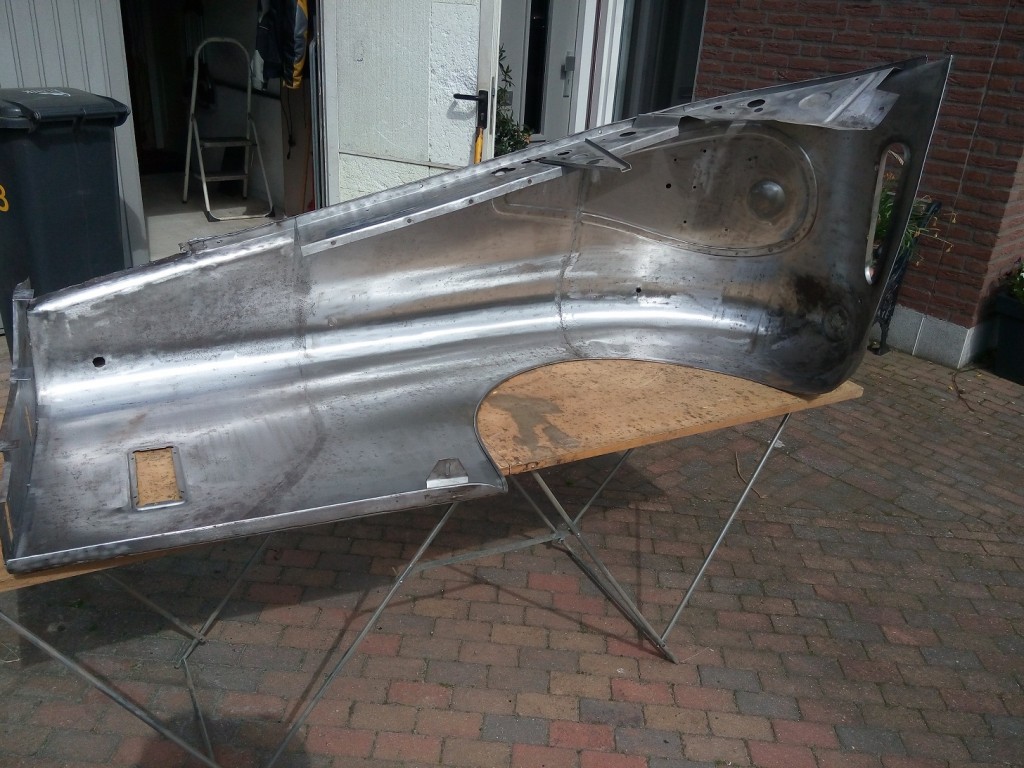
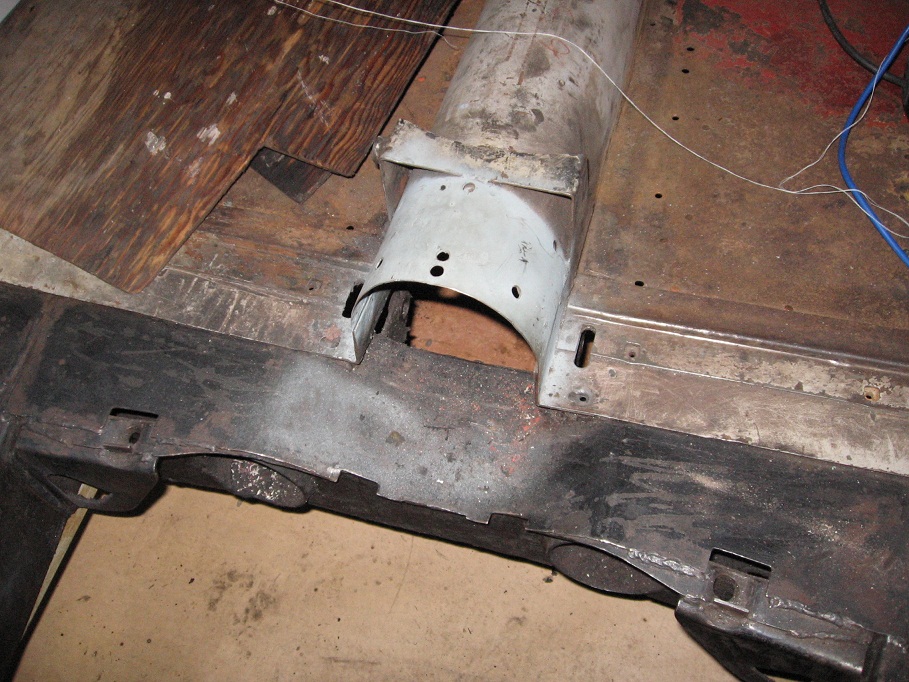
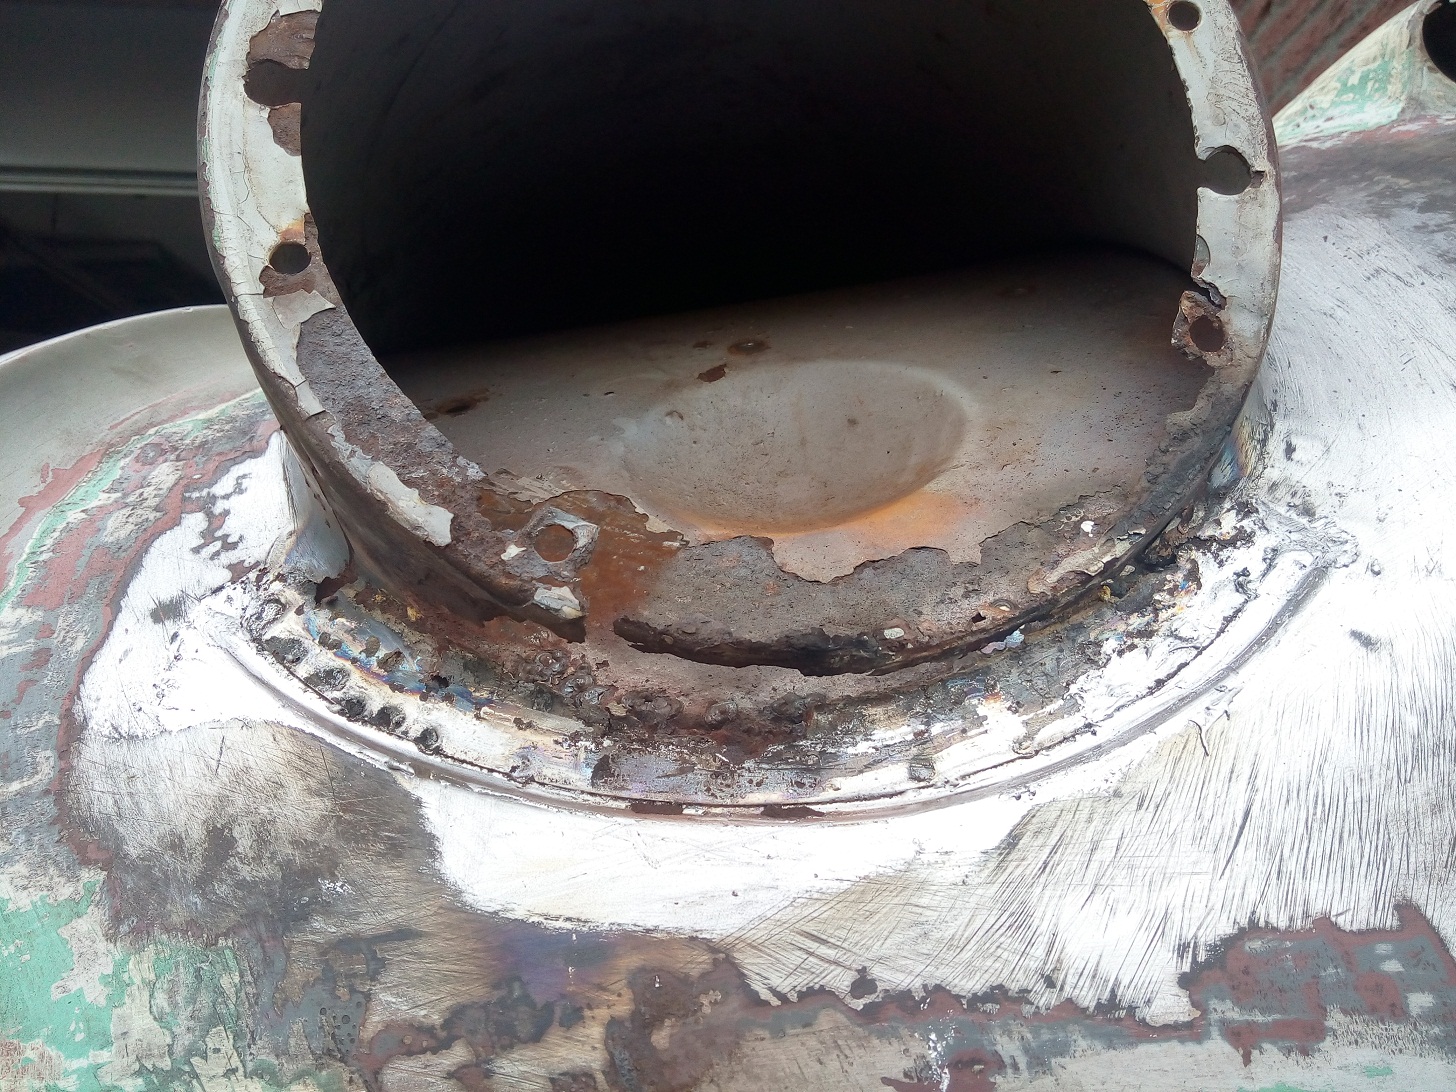
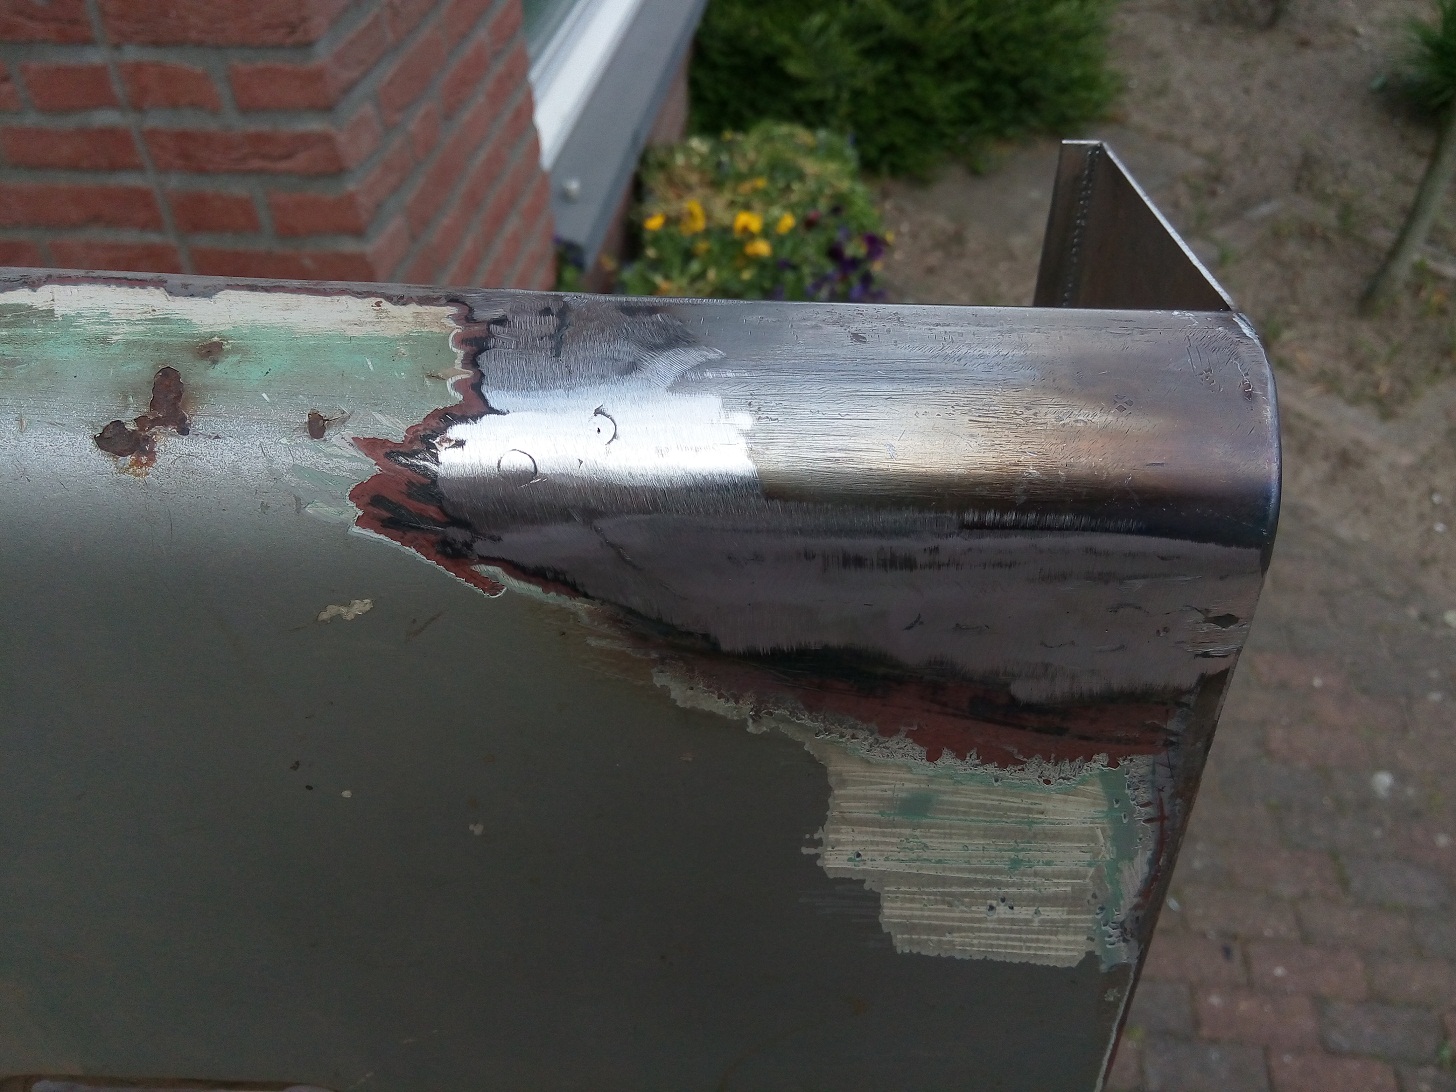
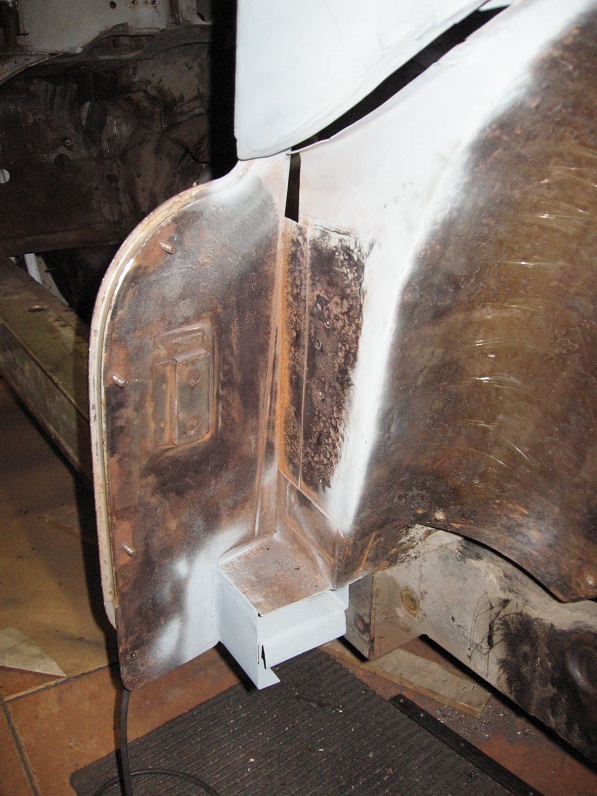
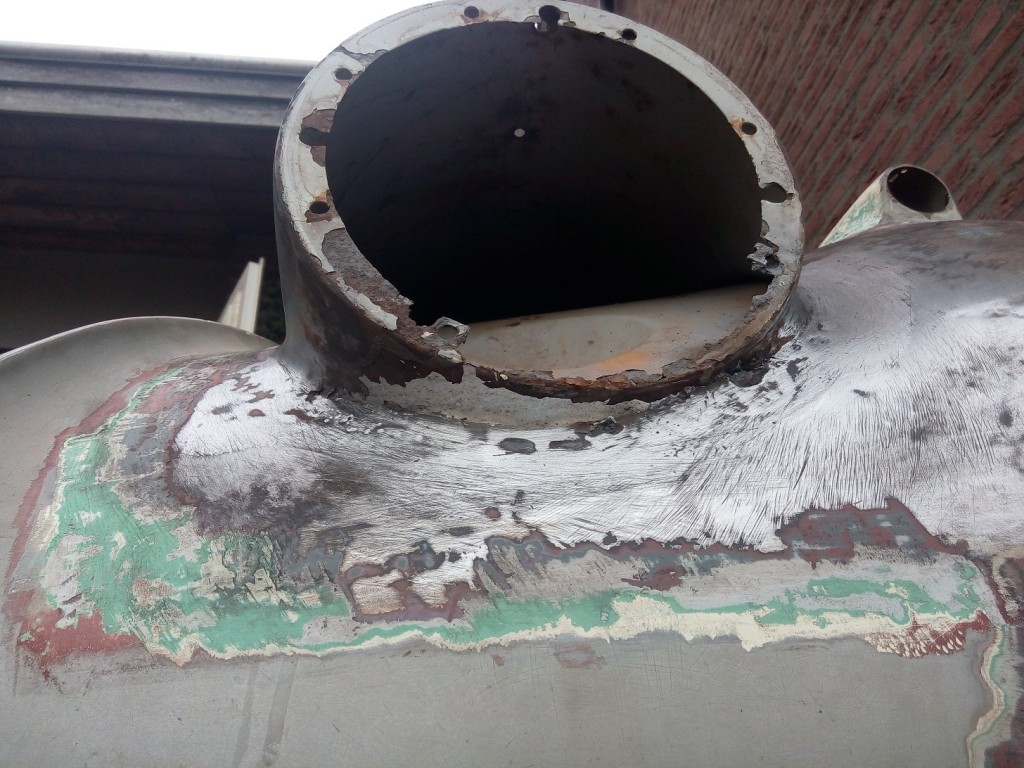
Headlight pod
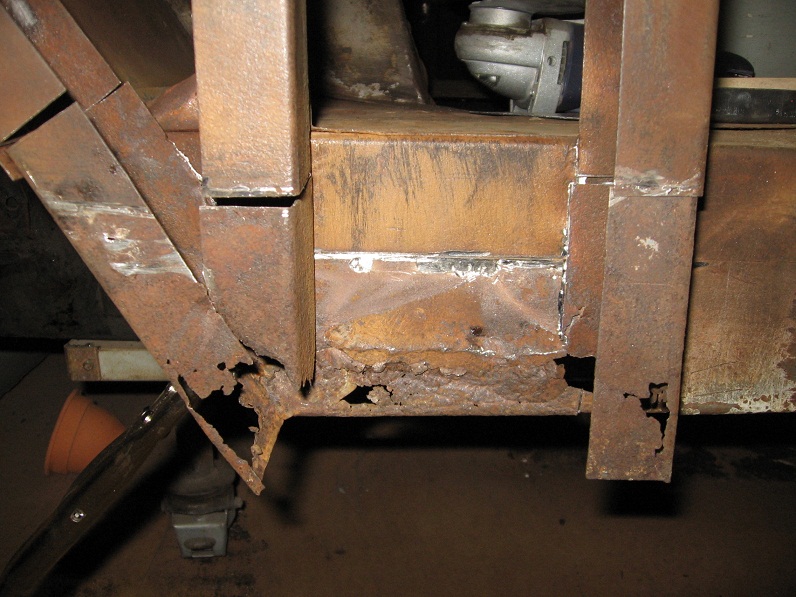
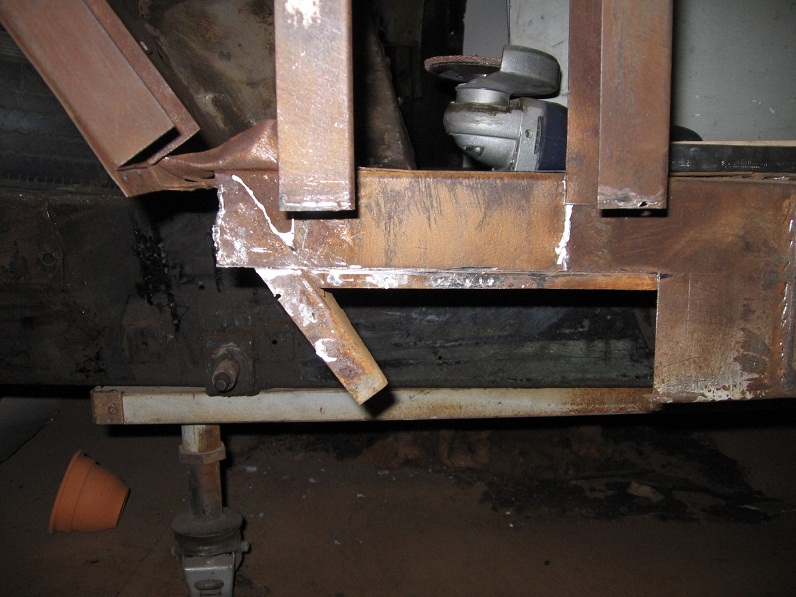
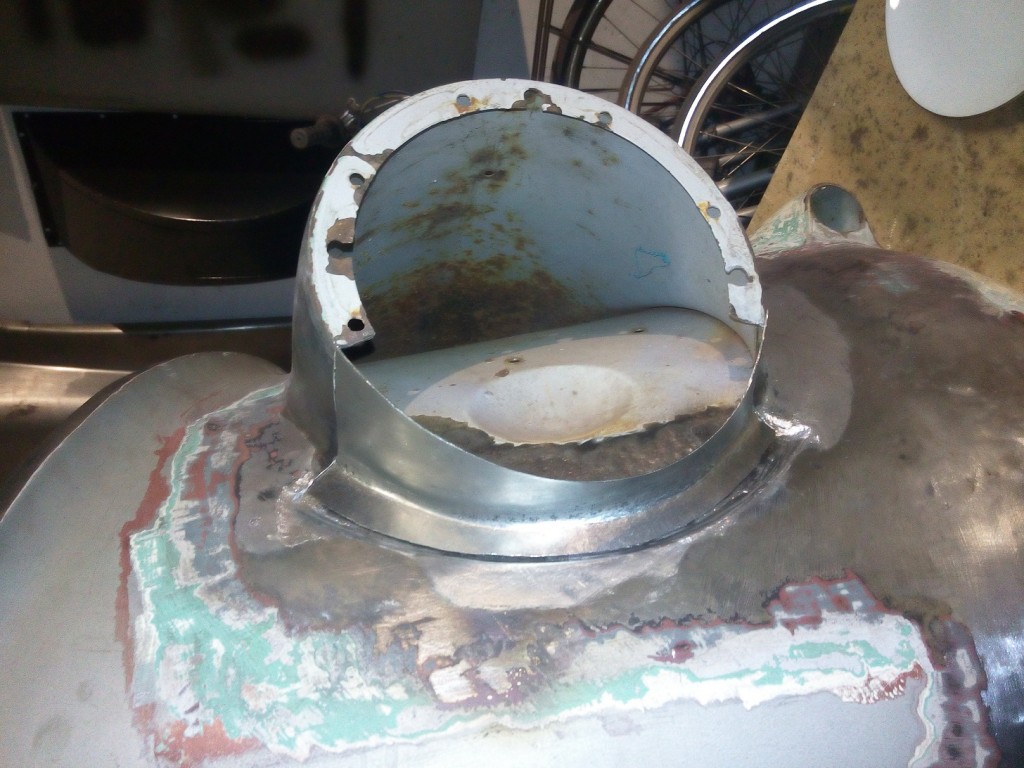
Due to long lasting condensation inside the headlight pod the lower part has been damaged by extensive rust. First the lead, used to smooth up the connection between headlight pod and front wing, is removed. Now all by rust affected material is removed and the holes in the front wing are welded. Now we know how much material is missing we can start with producing the new pieces.

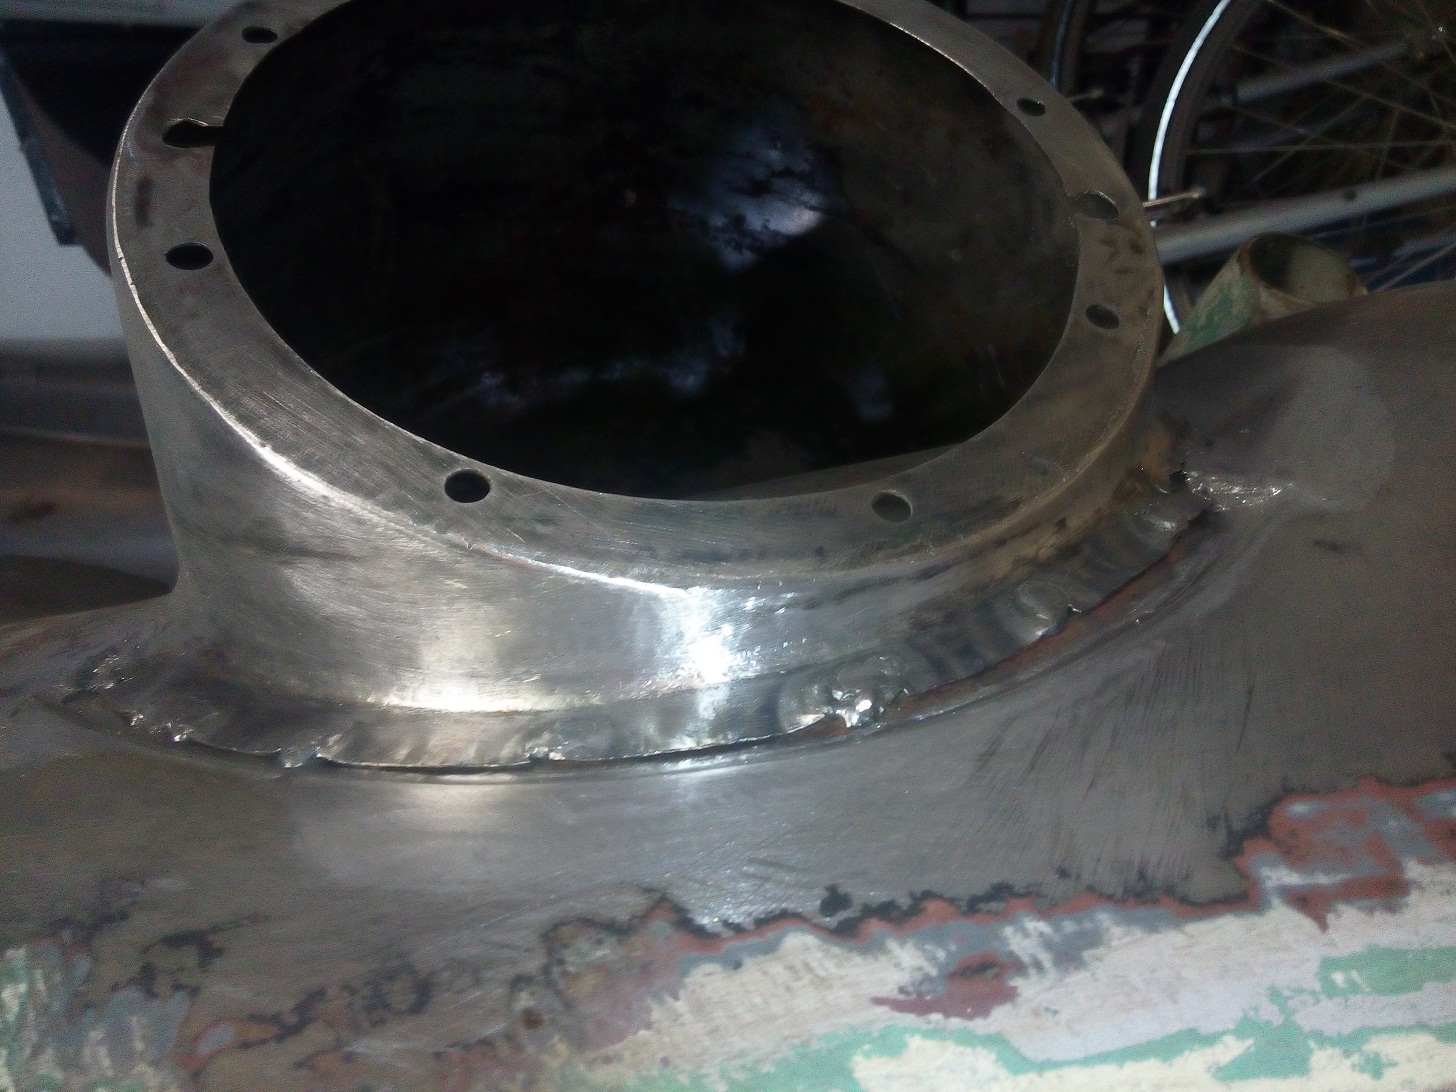
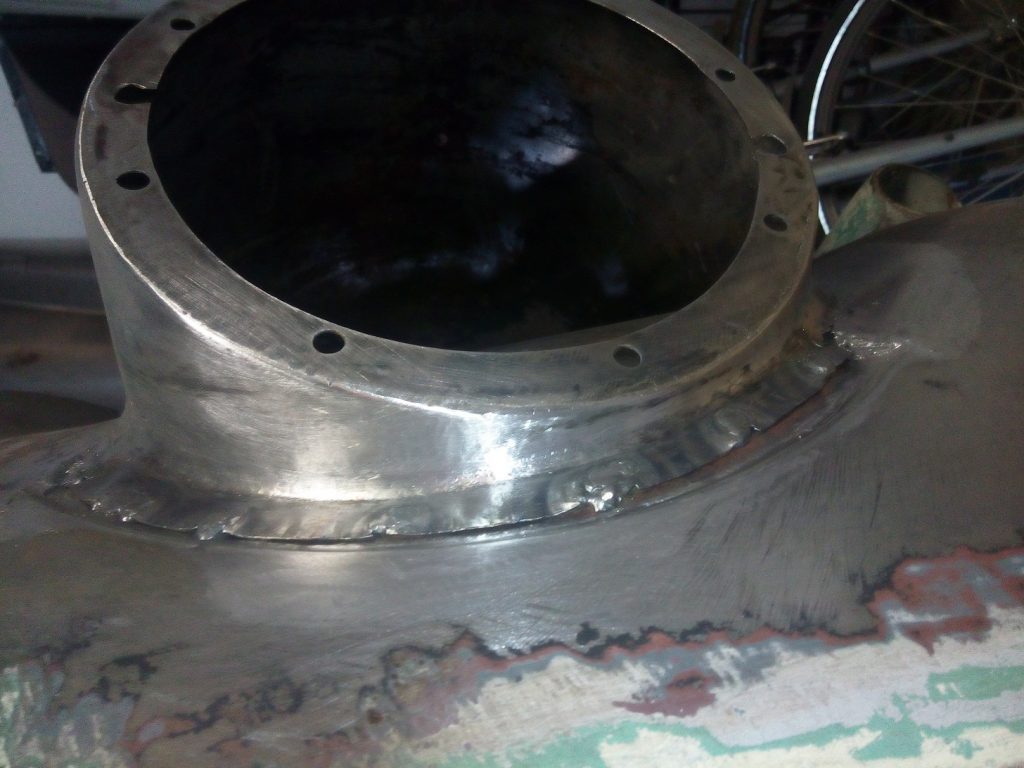
The new pieces are fitted for the last time and welded unto the headlight pod. The last step is reapply the lead to smooth out connection between the wing and headlight pod.

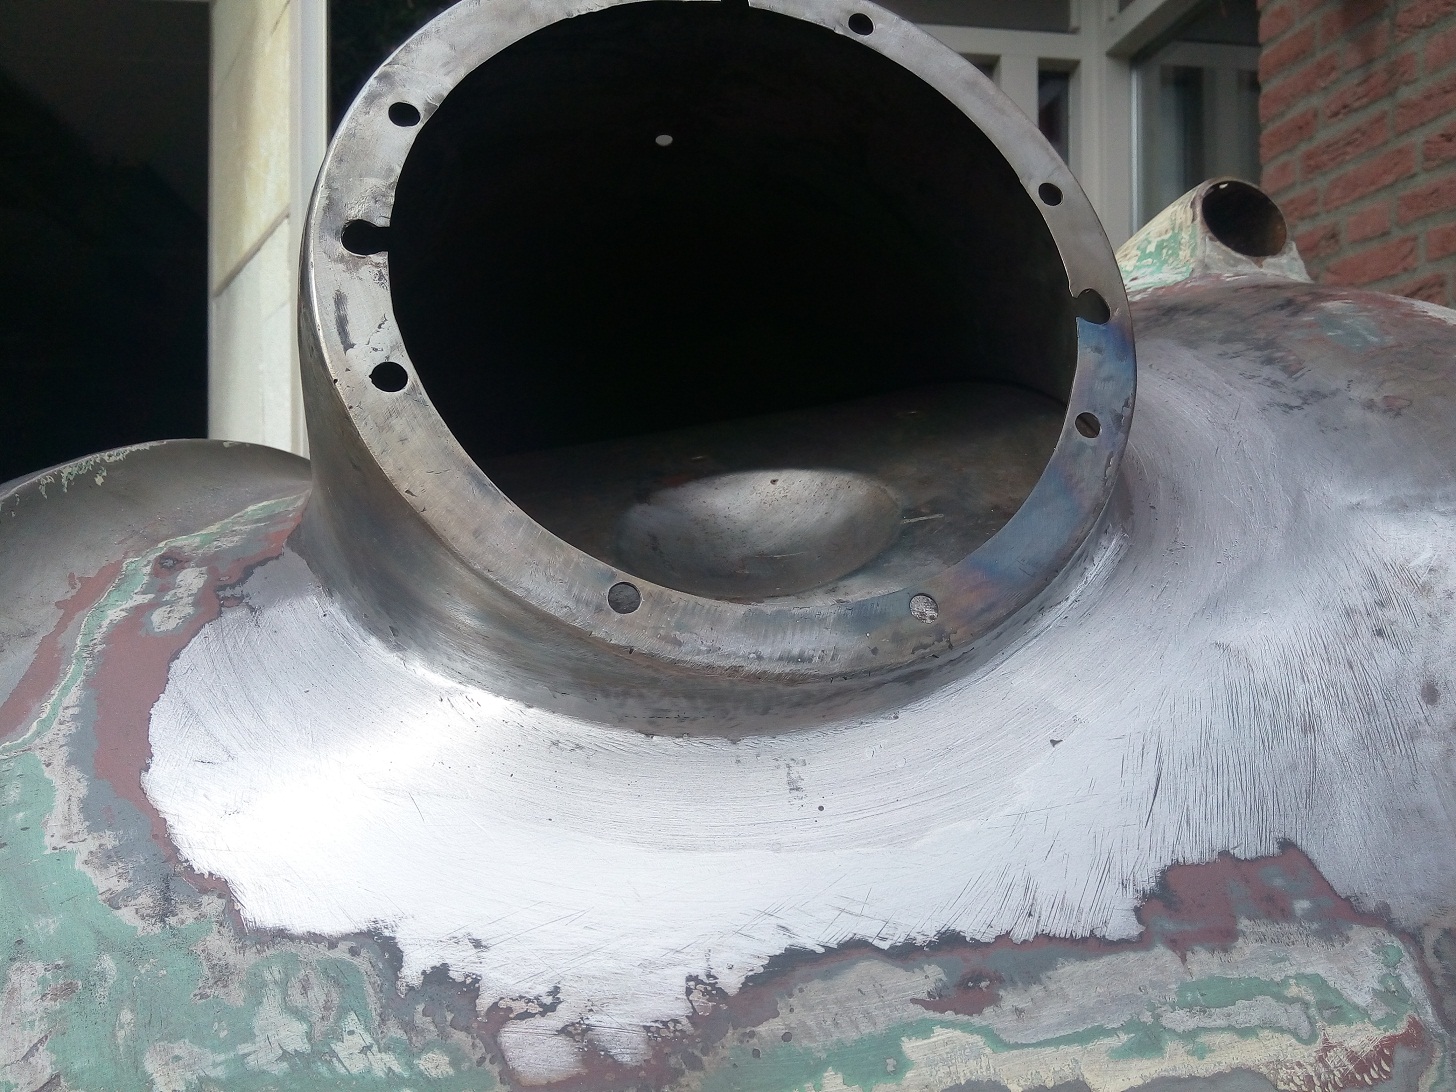
When I was investigating the headlight pod from the right side front wing (which is not rusted at all) i found a small hole in the lowest part. My first impression was that there was a small hole due to rust but after looking in more detail to the inside area it looks like a small hole to drain water. I will make such a hole in the left headlight pod as well.
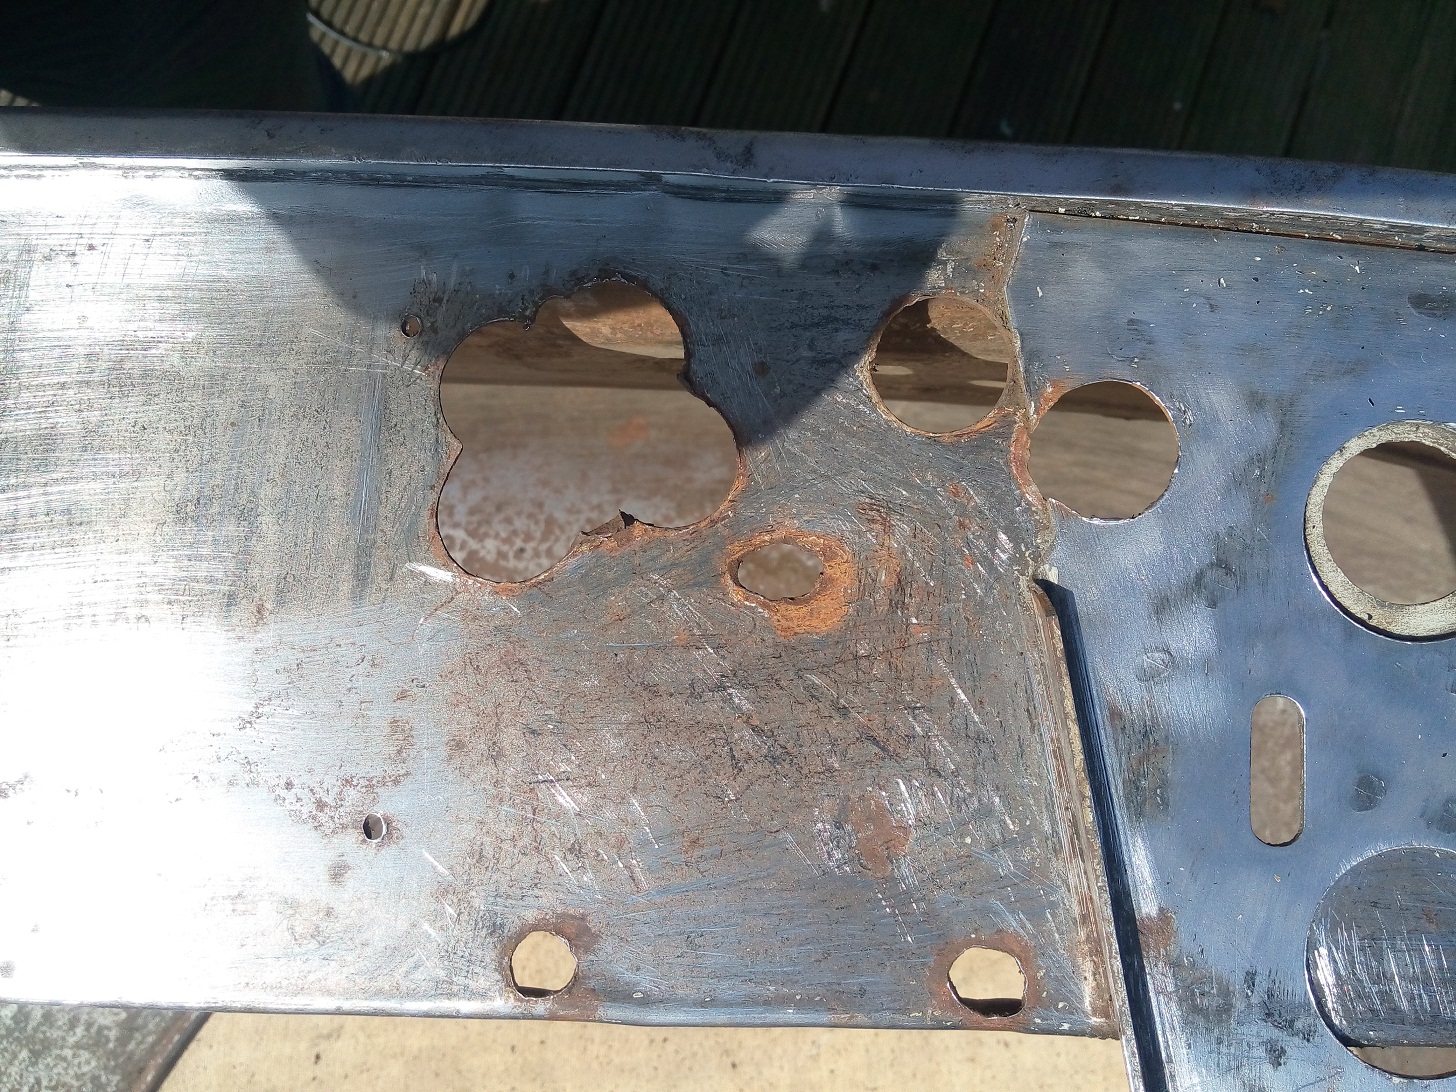
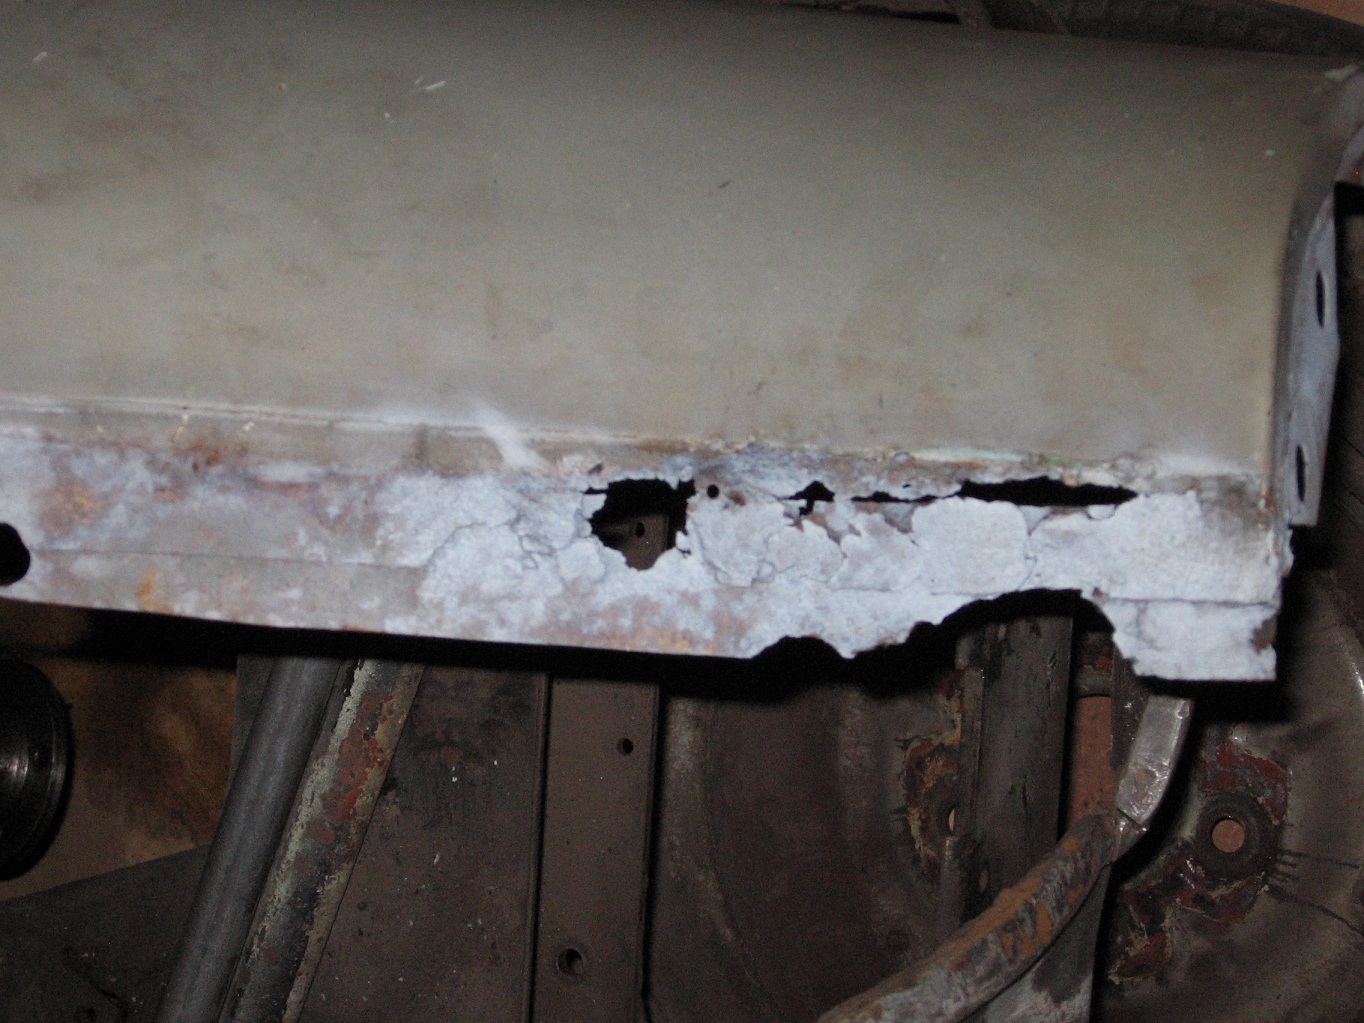
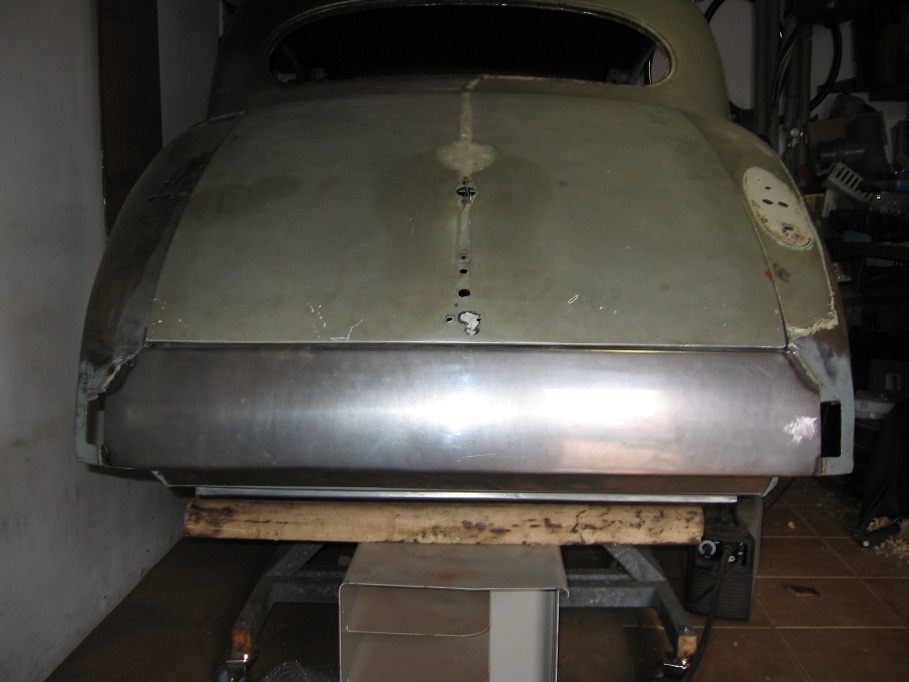
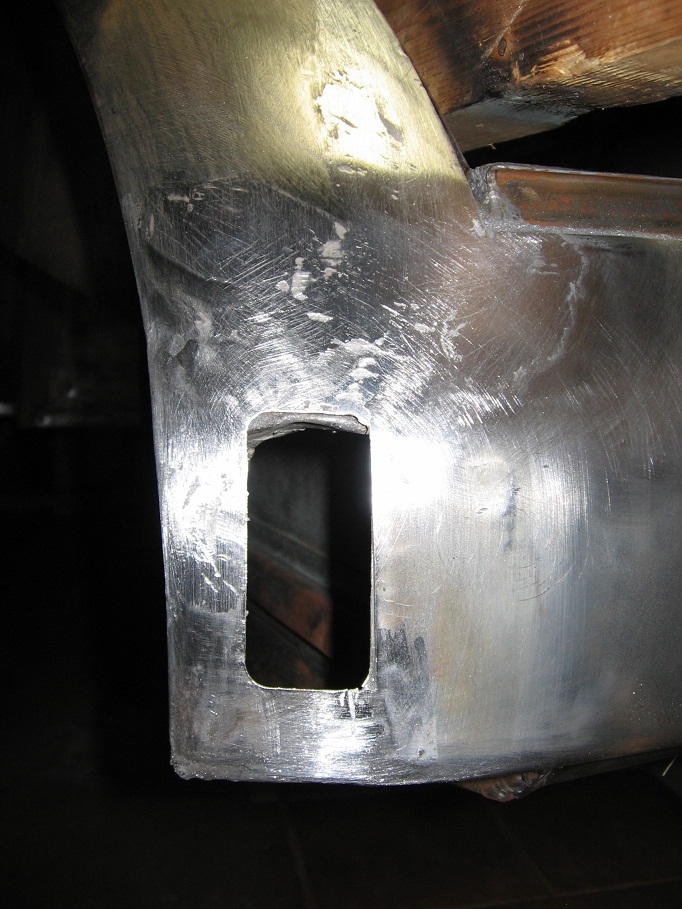
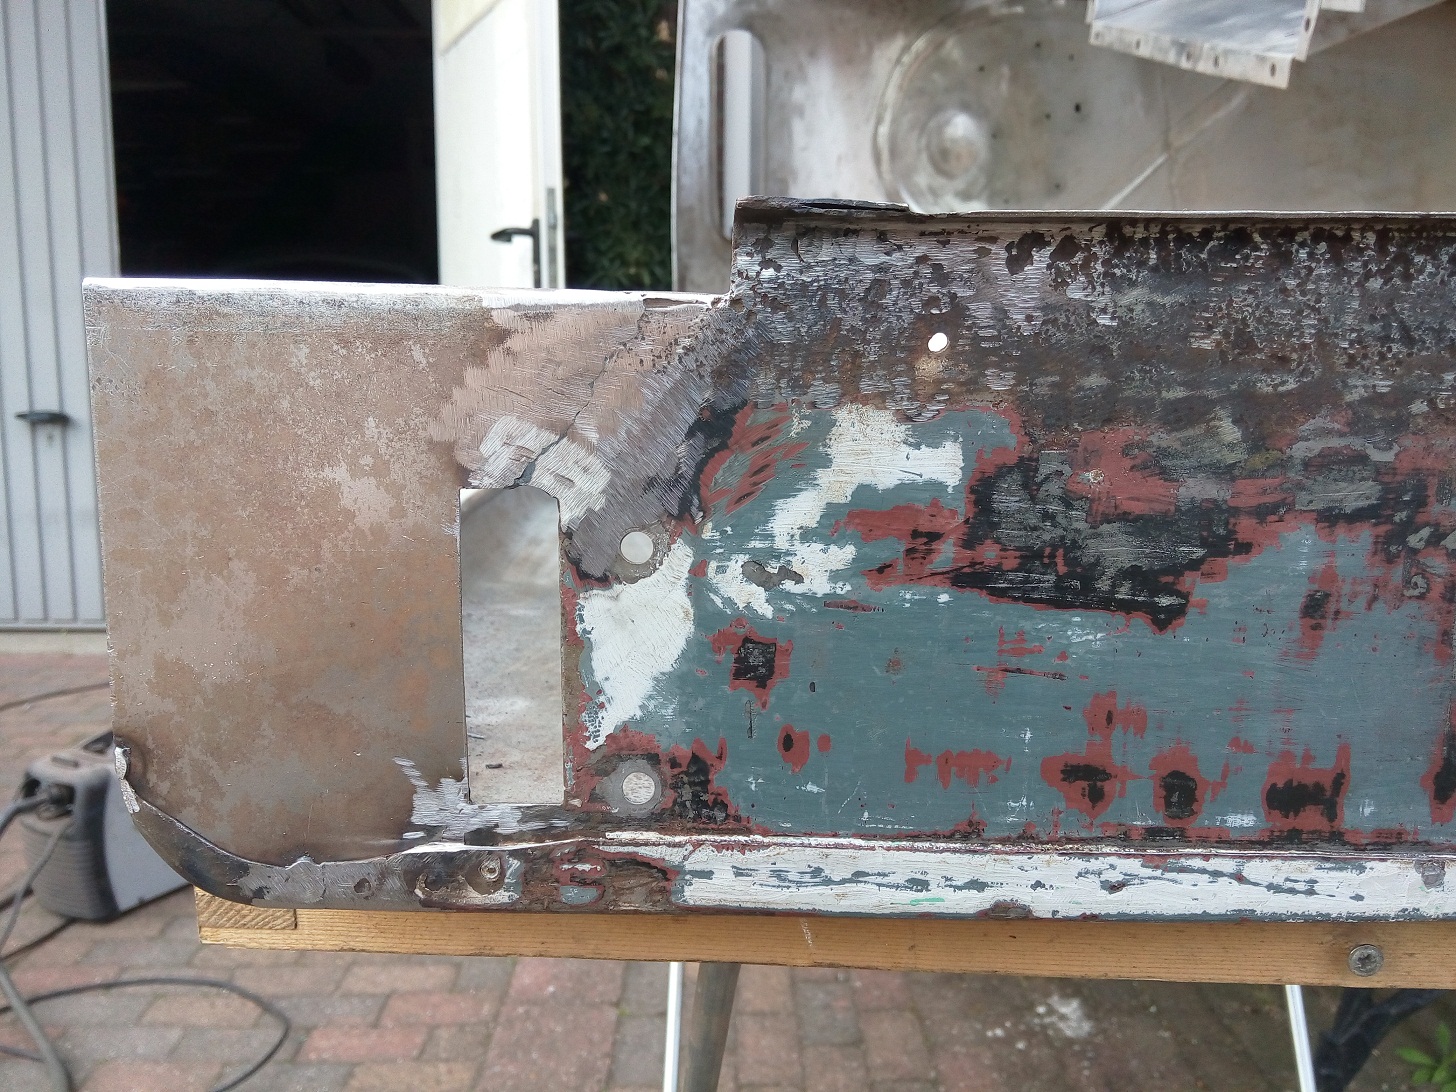
The valance assembly
The holes in the left front valance, which are certainly not original, needs to be removed. In total 9 holes where drilled. With this amount of holes it is better to just remove the hole affected area as one piece and remove it for a new piece.

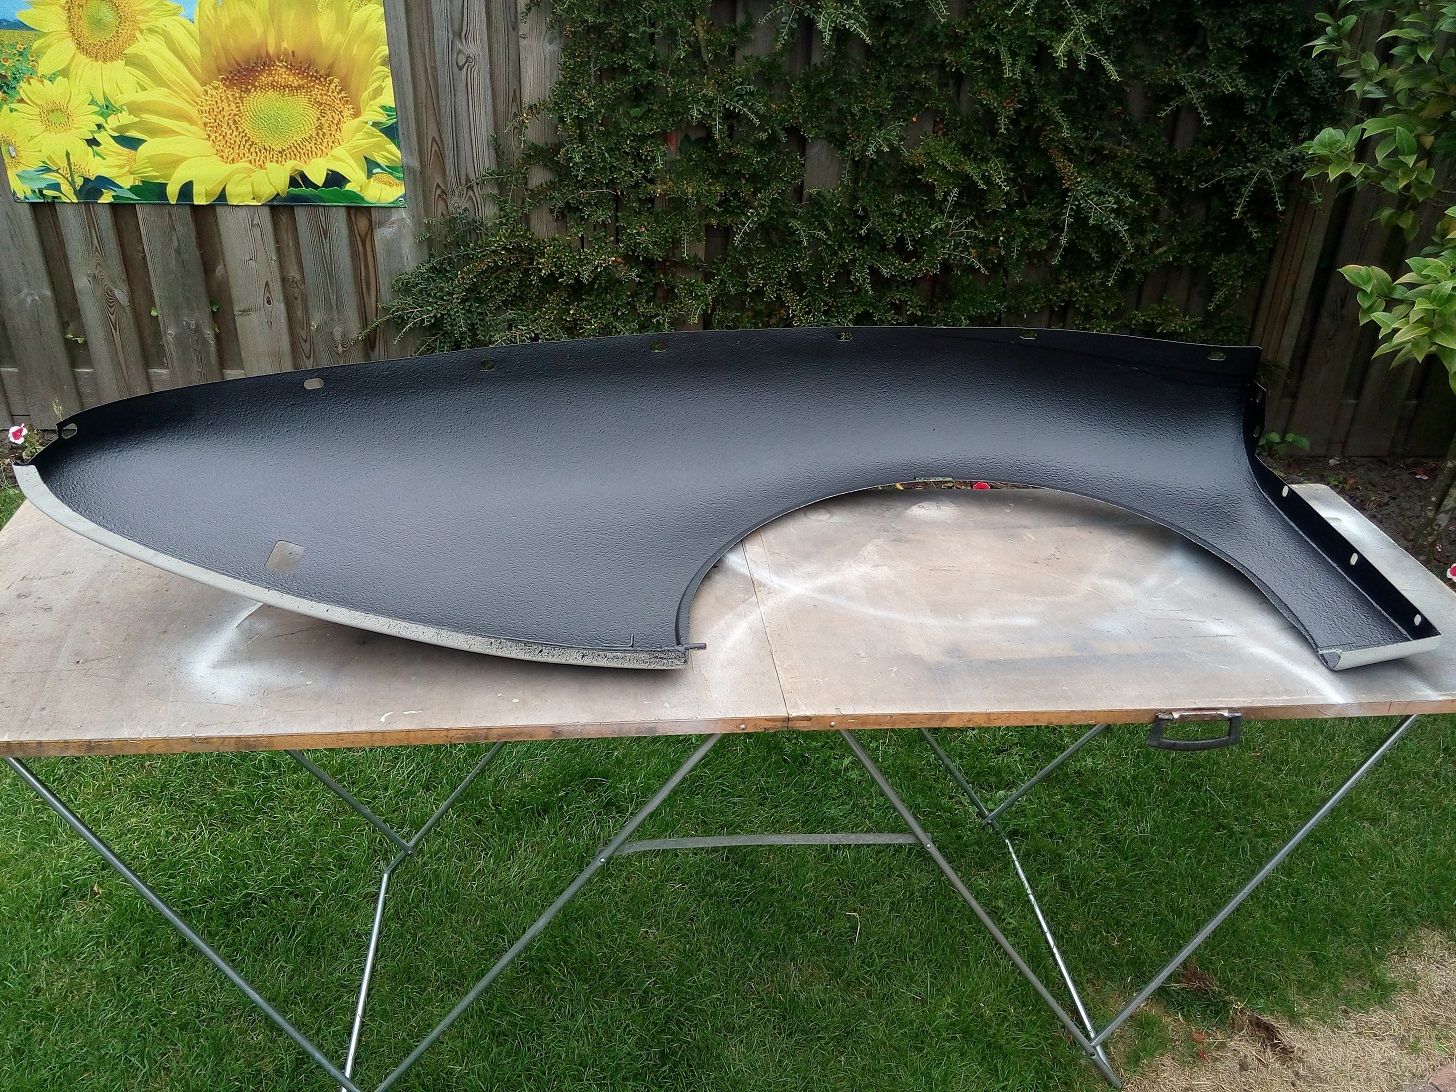
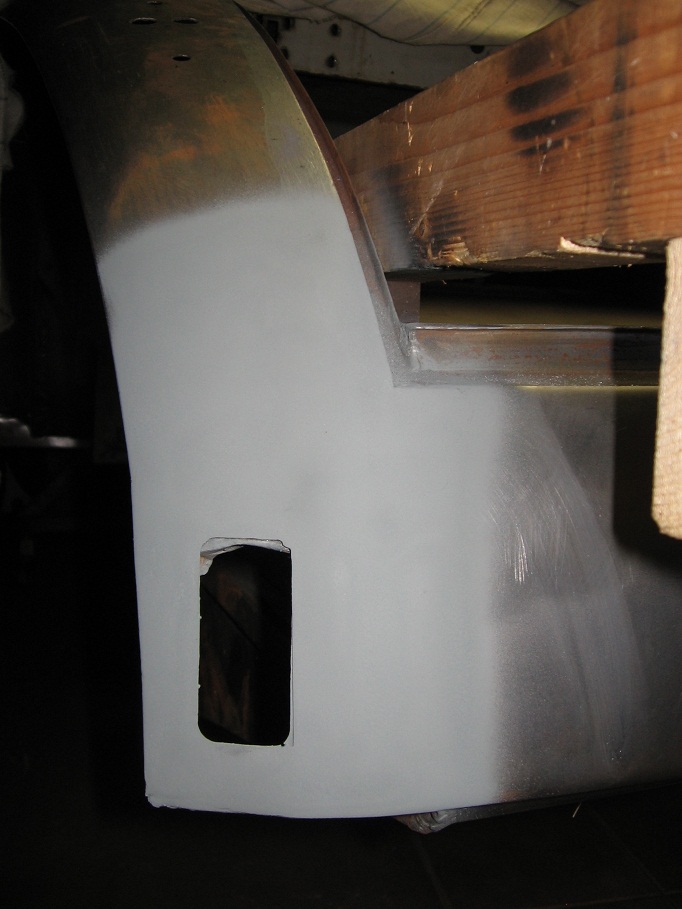
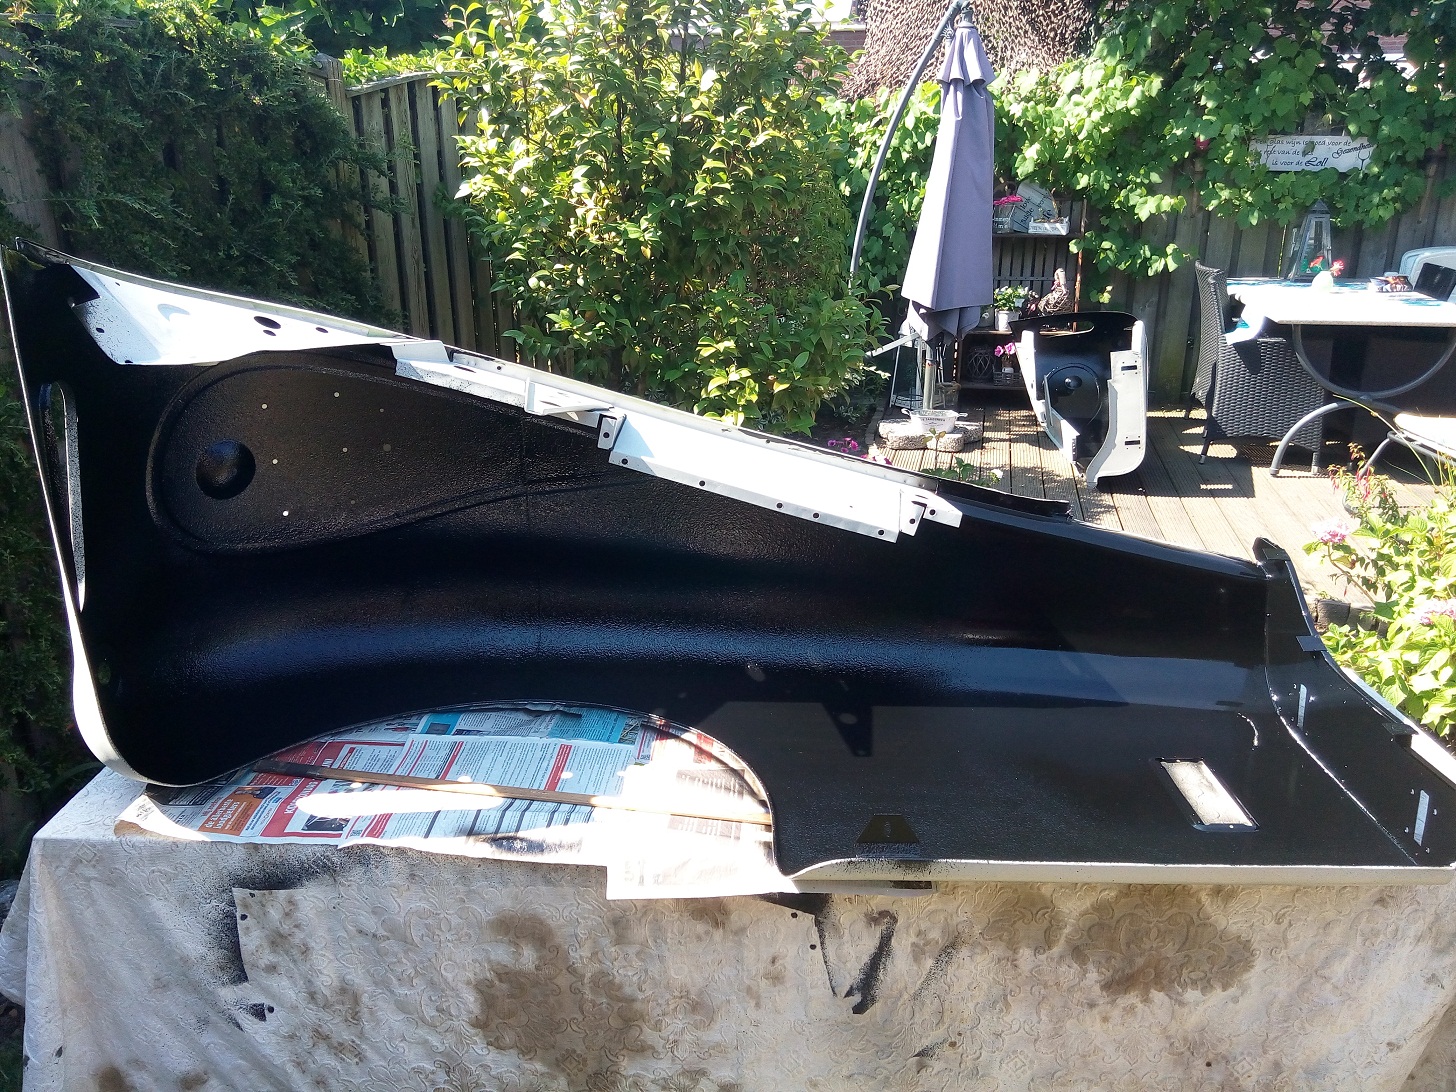
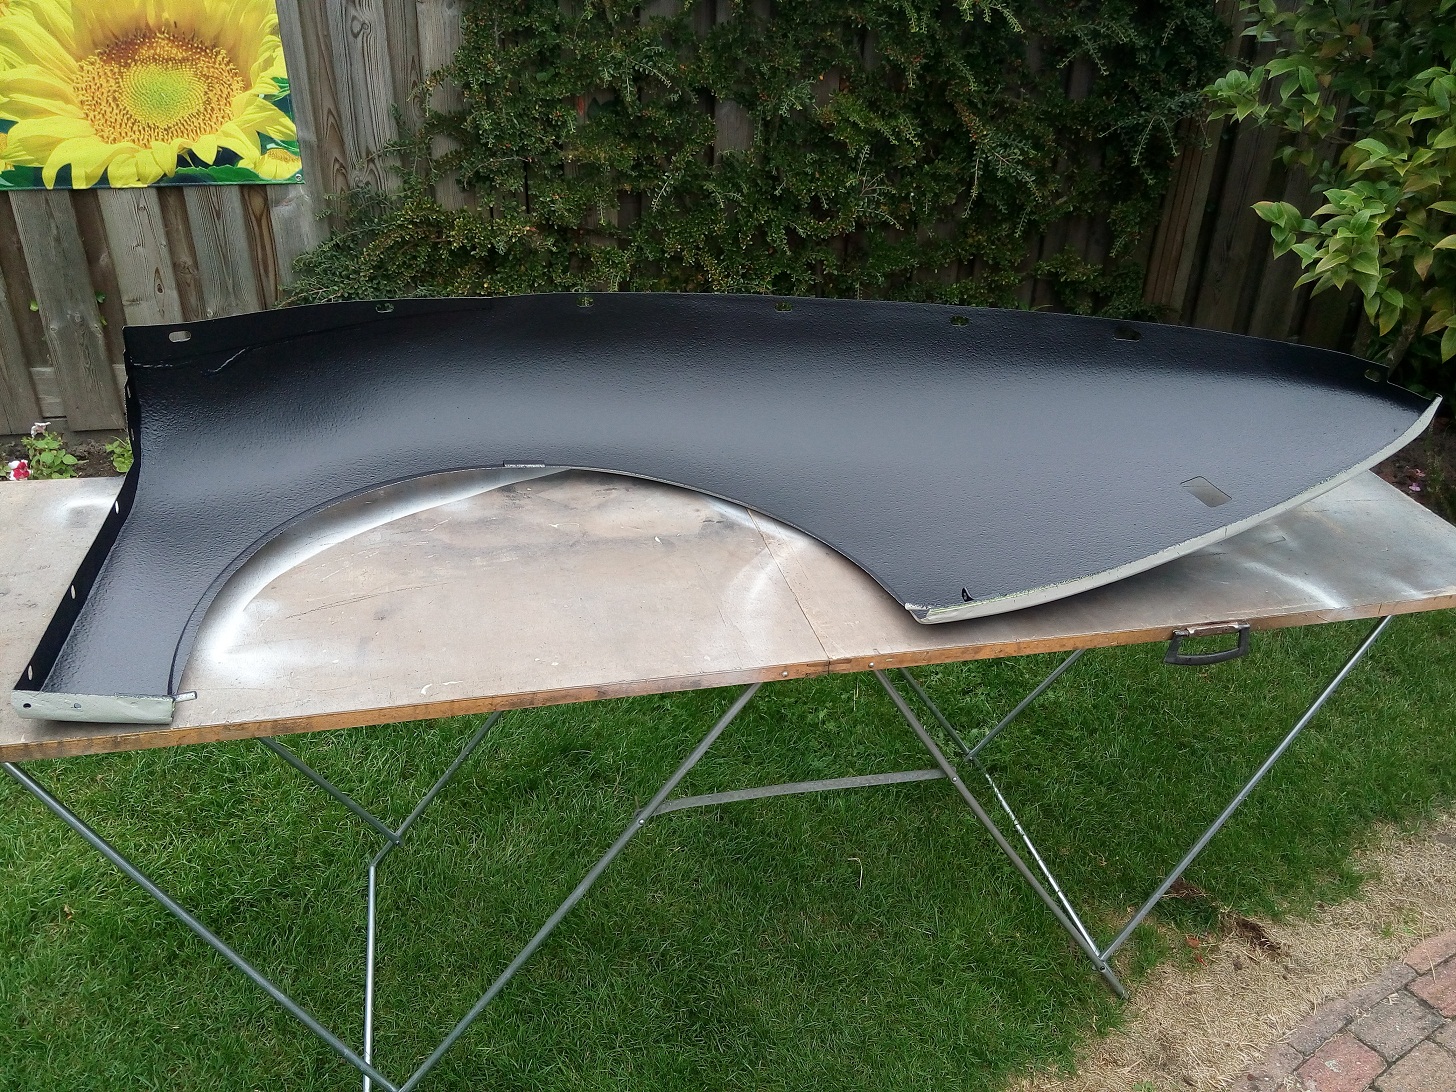
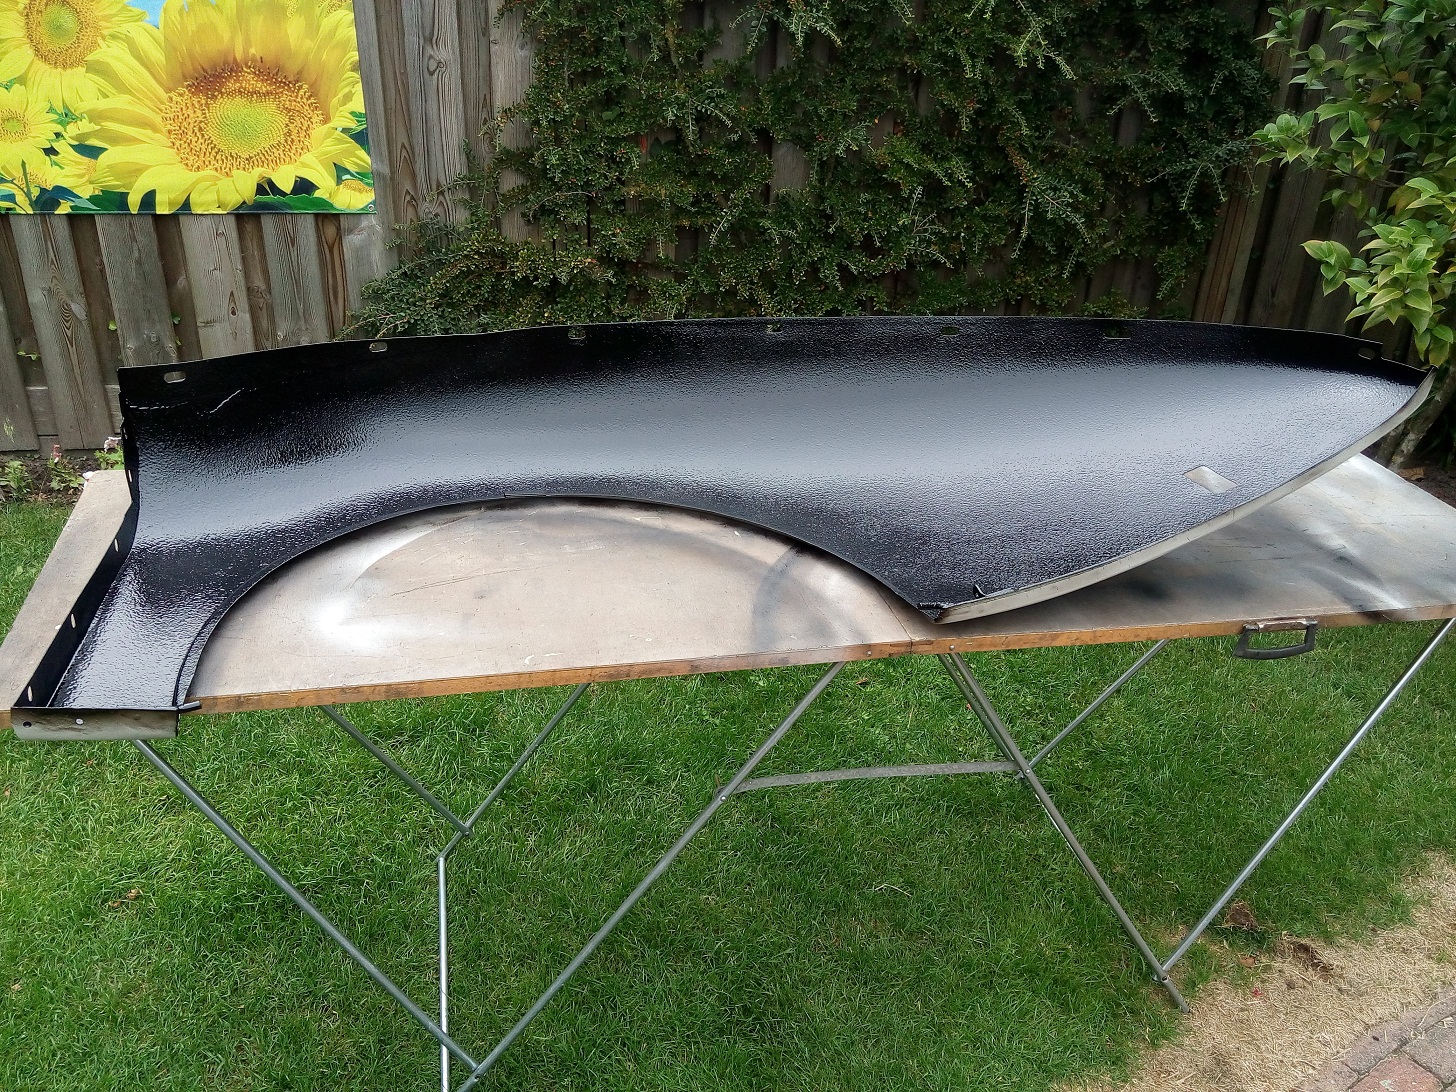
Painting
The inside inclusive the valance will be painted in the following order:
- Epoxy primer
- Body schutz (Protective coating helps protect from corrosion and chips)
- The inside will be painted satin gloss
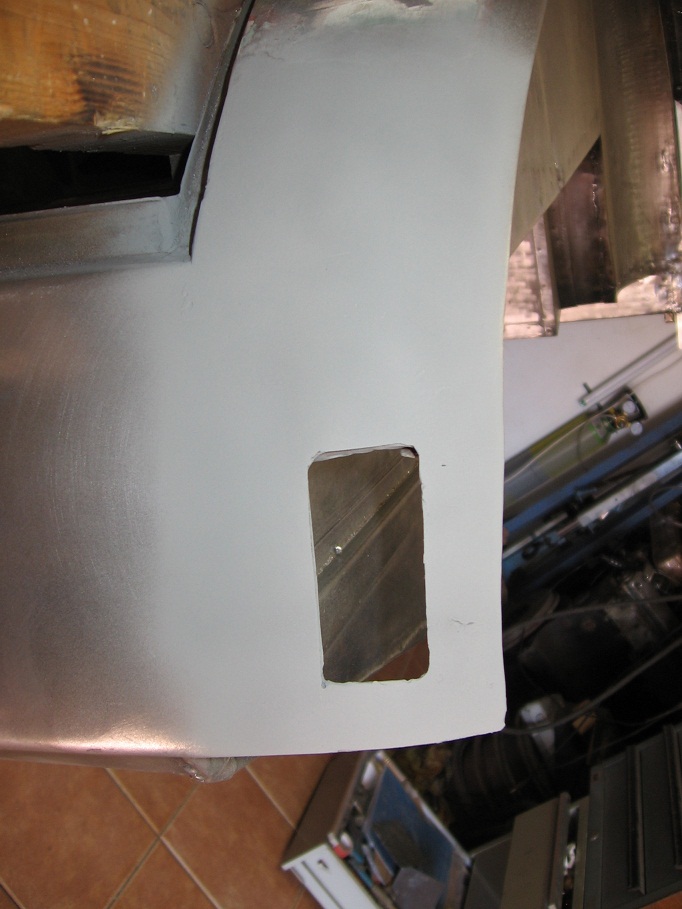
- The following parts are painted in Pearl grey
- Valance assembly (both sides)
- Headlamp light unit container (inside)
- Side lamps casing (inside)